
15 minute meat and cheese board
note: this post contains affiliate links and I will be compensated if you make a purchase after clicking on my links.
I get it. You have to be at a party in 30 minutes and realized you forgot to make your appetizer. I’ve been there. Actually this board was made in that exact situation. Luckily, I have a Trader Joe’s about 5 minutes from my house, so I was able to go grab a few board essentials and get home, leaving me exactly 15 minutes to put this board together.
So let’s get started. This is the easiest meat and cheese board that you can make in 15 minutes or less!
The first thing you want to do is cut up your fruits and cheeses. This definitely takes the longest so I like getting it out of the way. Then, lay out everything you are going to use on the table. Gotta know what you’re workin’ with.
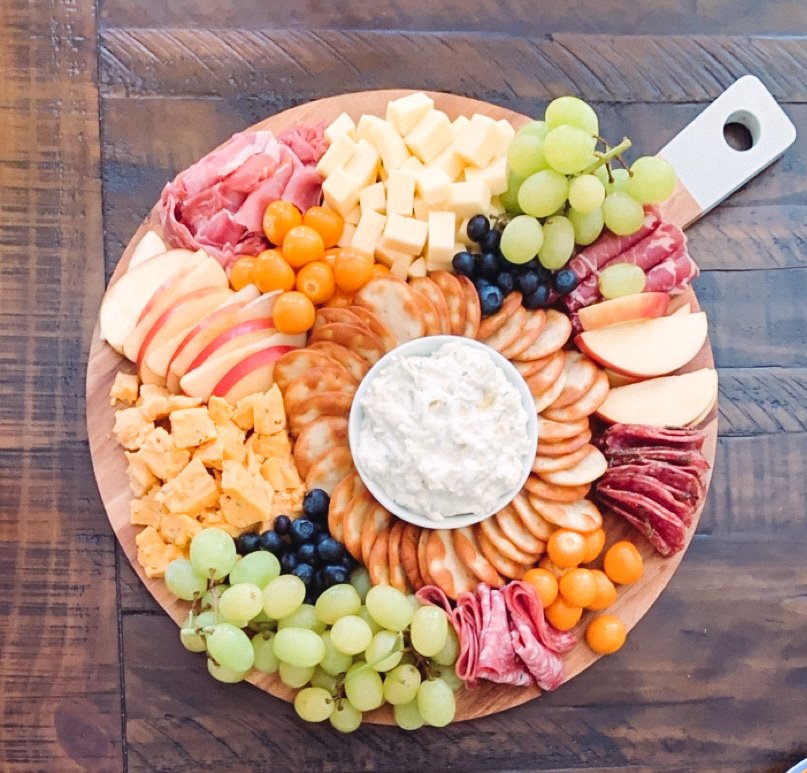
The first thing I put on the board is the bowl for the dip. This gives you something to work around; and then you can place the crackers in a circle around it so you know how much room you have left to use.
Next, start placing your larger items like the cheeses, then grapes and apples. You don’t need to place all of each thing, just start with half so you can make sure that’s where you want to put it. We can fill all this in at the end. I typically use the rule of three to help with placement — imagine a triangle on the board and place similar things at each of the peaks. This keeps the board balanced so you don’t have all the cheeses on one side or all of the same color chunked together (themed or color coded board are for another time). It can also be easier to start with items that will stand on their own. For example, I’ll place cheese on the board before blueberries, because the blueberries tend to get a mind of their own and start rolling away in every which direction. Actually, I usually save these for last!
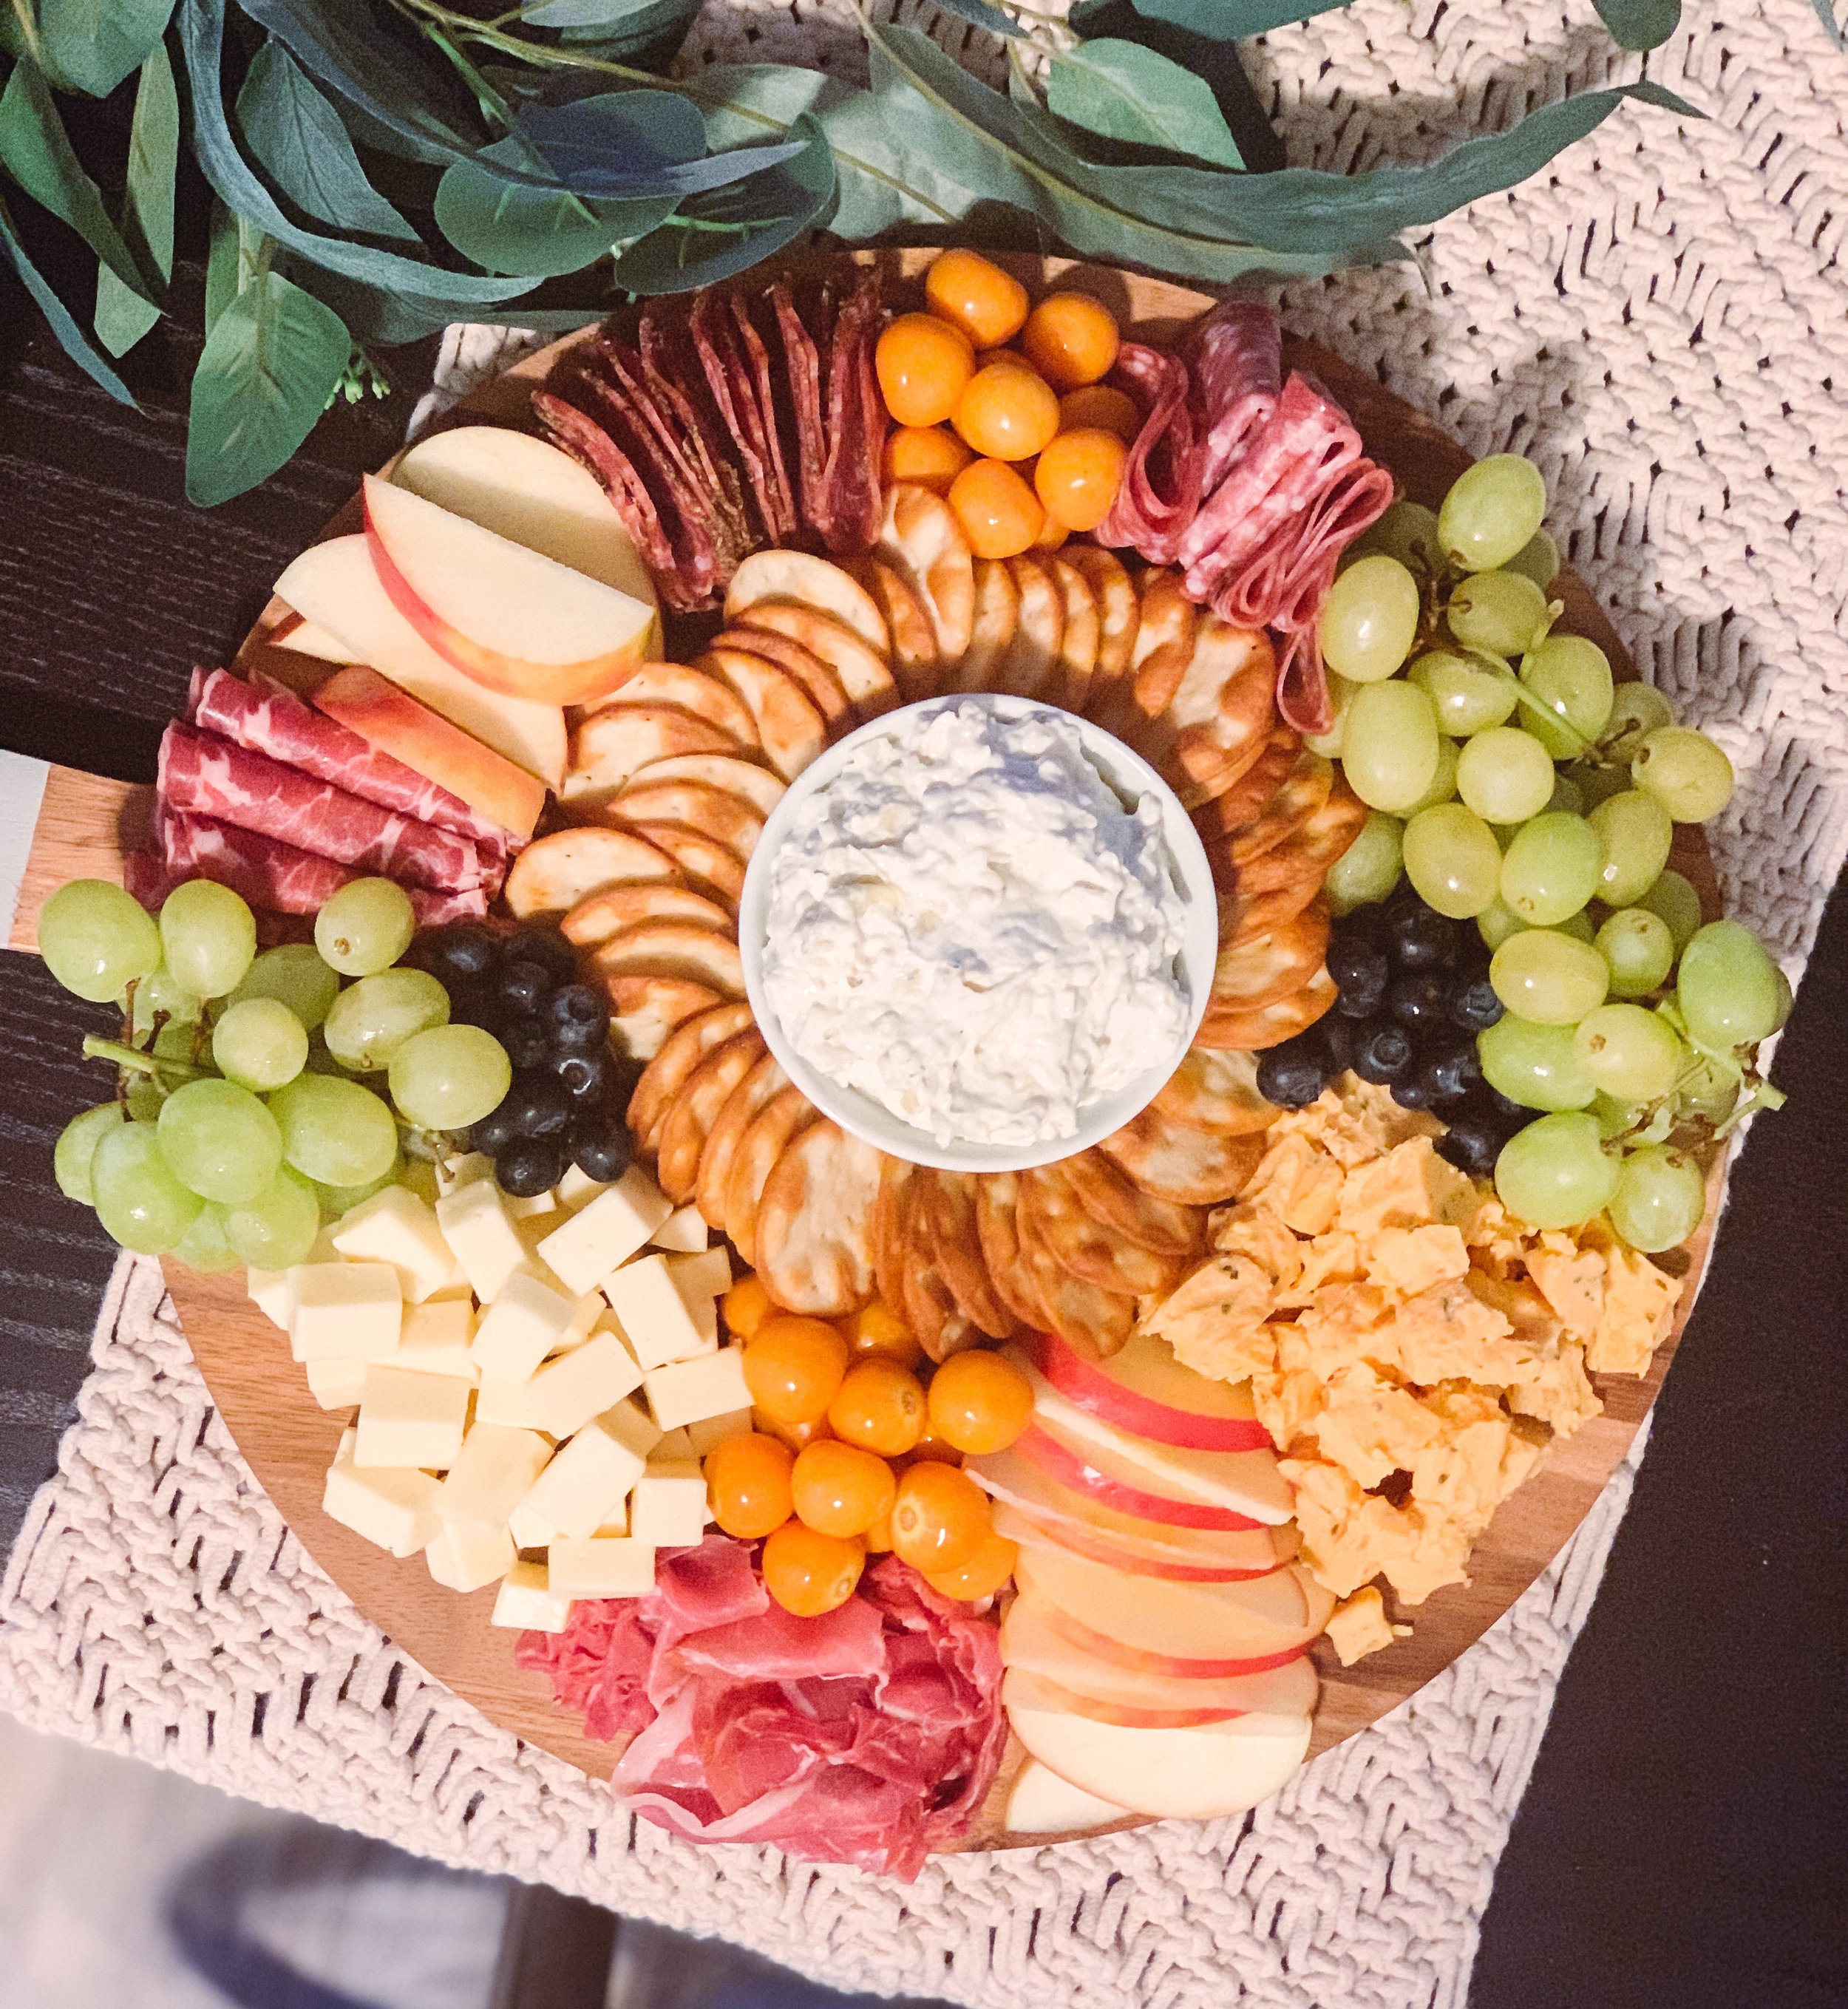
When placing meats, I like to add dimension by rolling, shredding, or folding. Also — if you only want to use two different meats (instead of four), you can put the same kind in two places on the board and display them differently. This gives the impression that you have different kinds without actually having to buy (or use) them all.
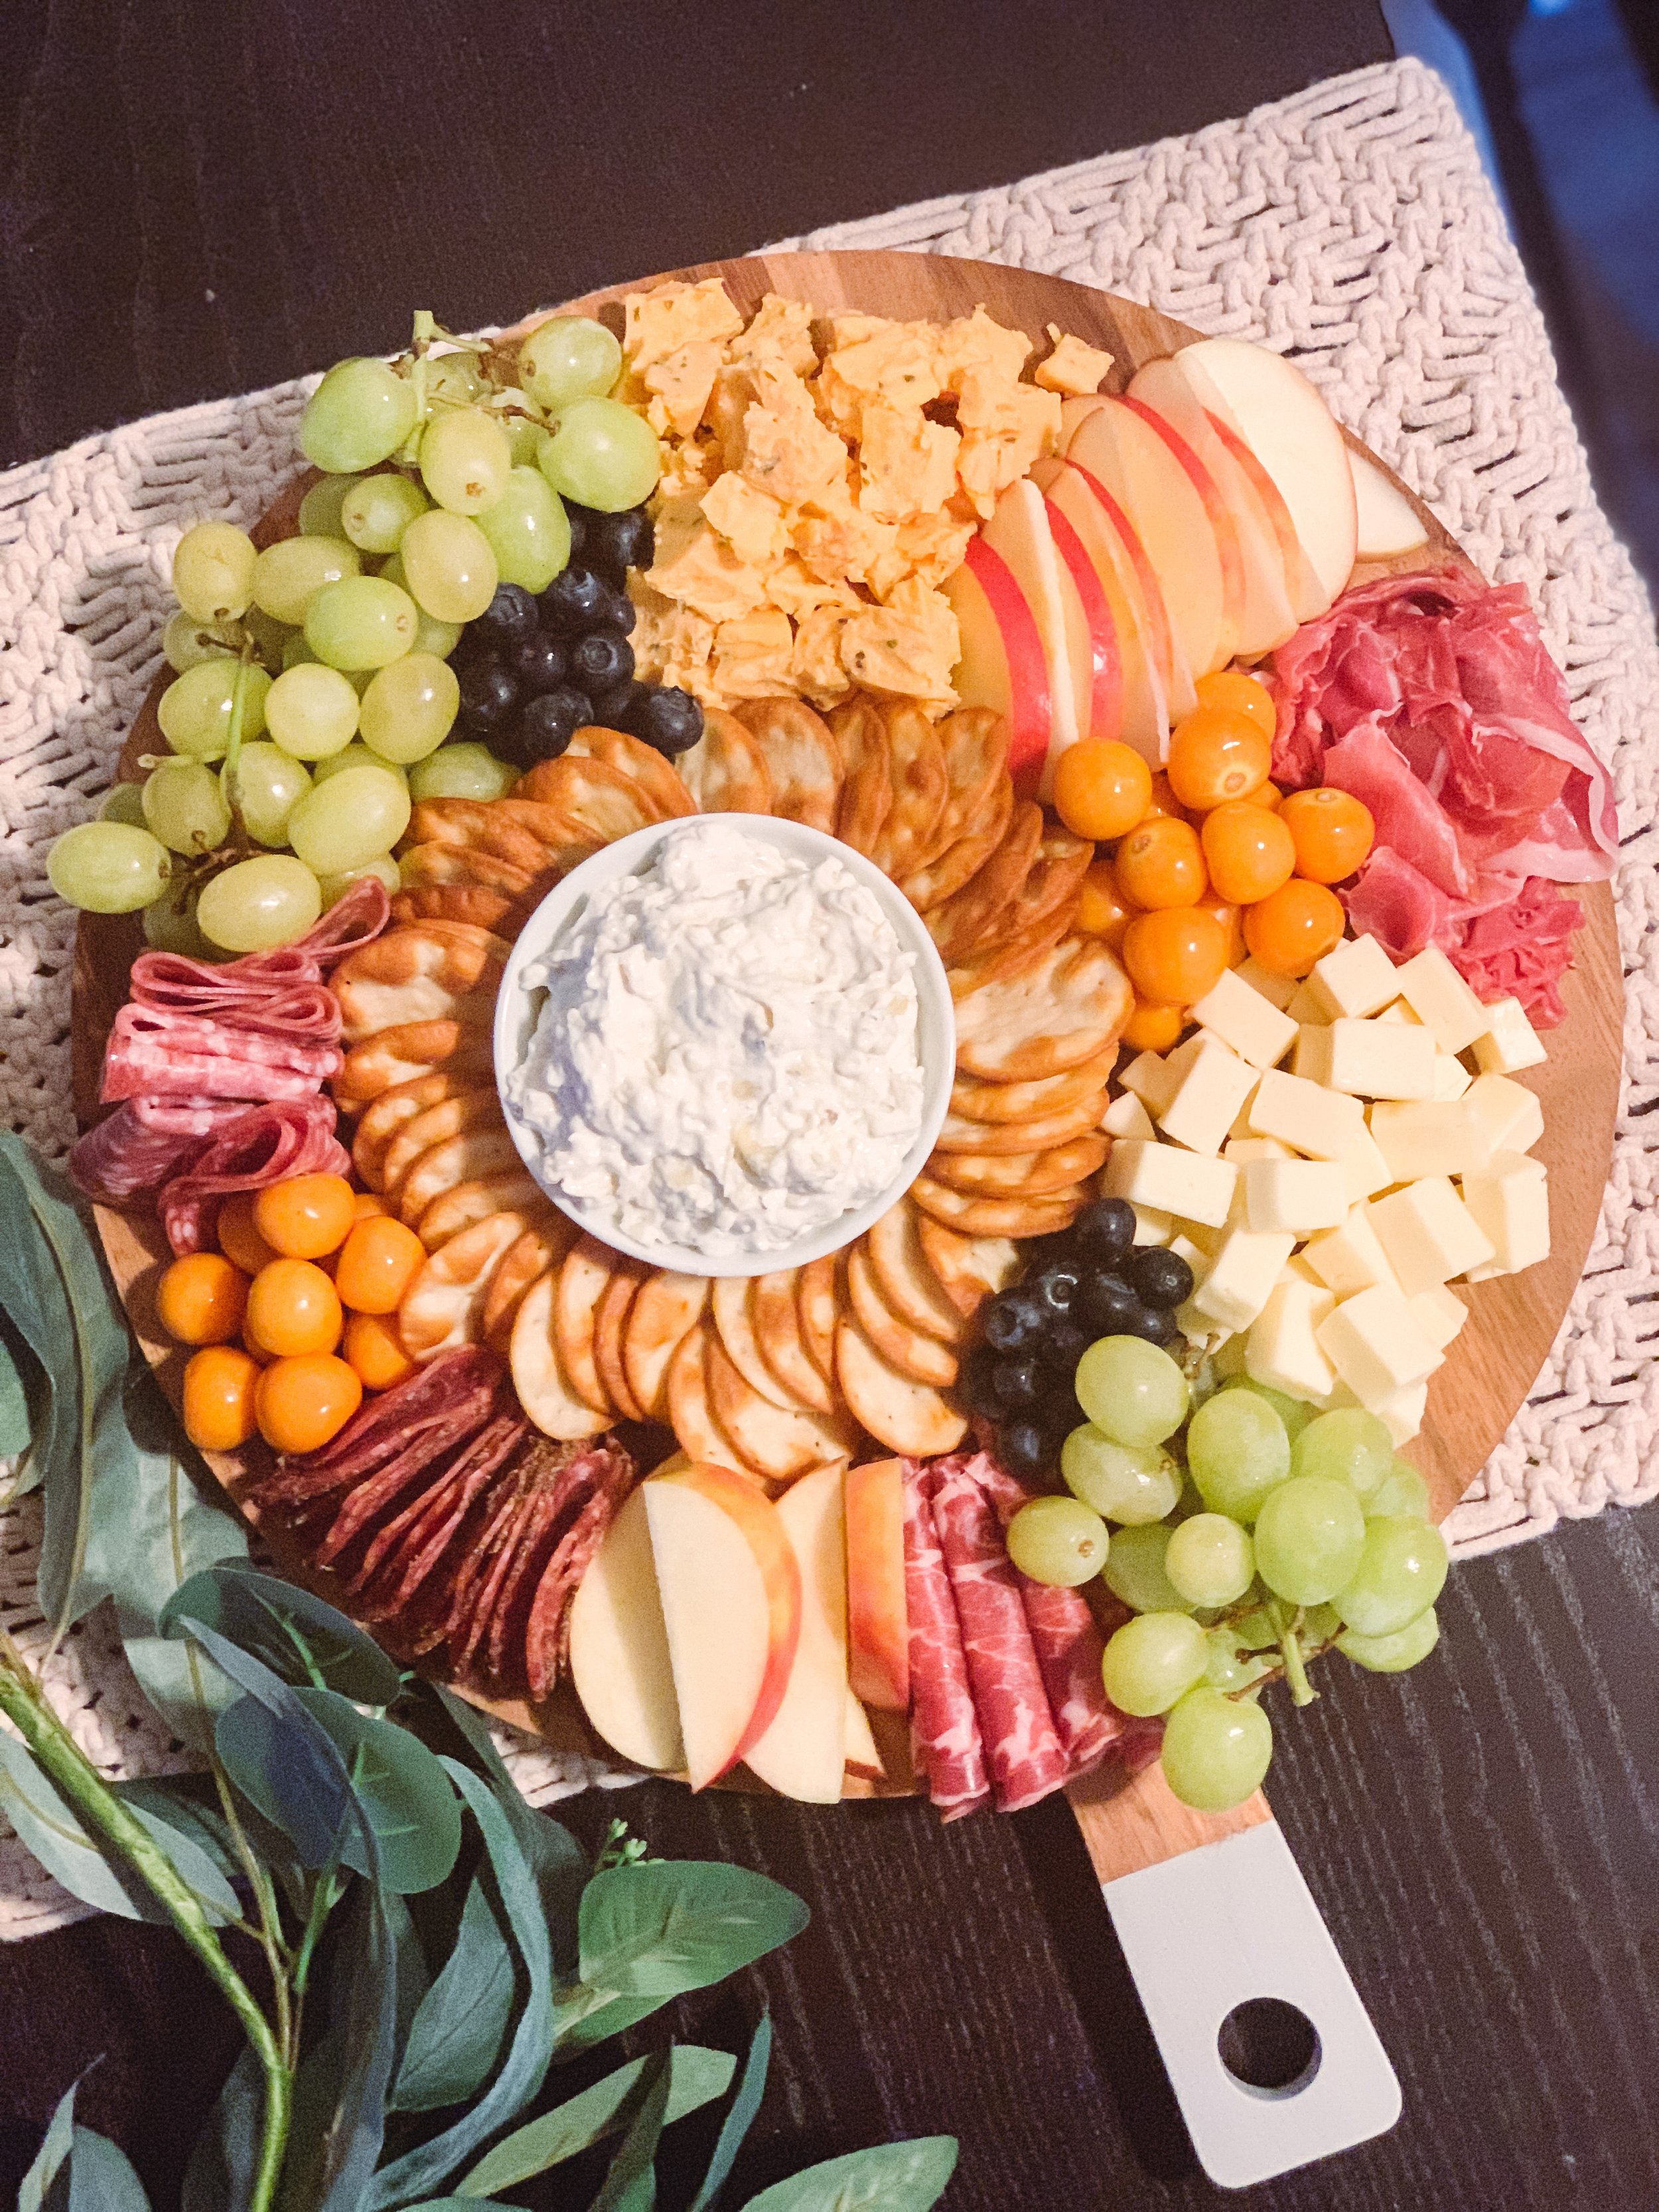
So once you’ve placed all the items, it’s time to fill it up. Pile it on. You basically don’t want to see the bottom of the board (except for a little around the edges). And that’s it! You’re done and ready to go!
I would love to see your boards! If you post them, remember to use #cerriouslyimadeit so I can follow along.
And if you’re feeling adventurous, check out How To Make the Ultimate Charcuterie and Cheese Board.
PS: If you are transporting this — crisscross two long pieces of tin foil on the table, place the board in the center and wrap up and over. This keeps the items on the edge of the board secure so they don’t try to wonder off during the car ride over.
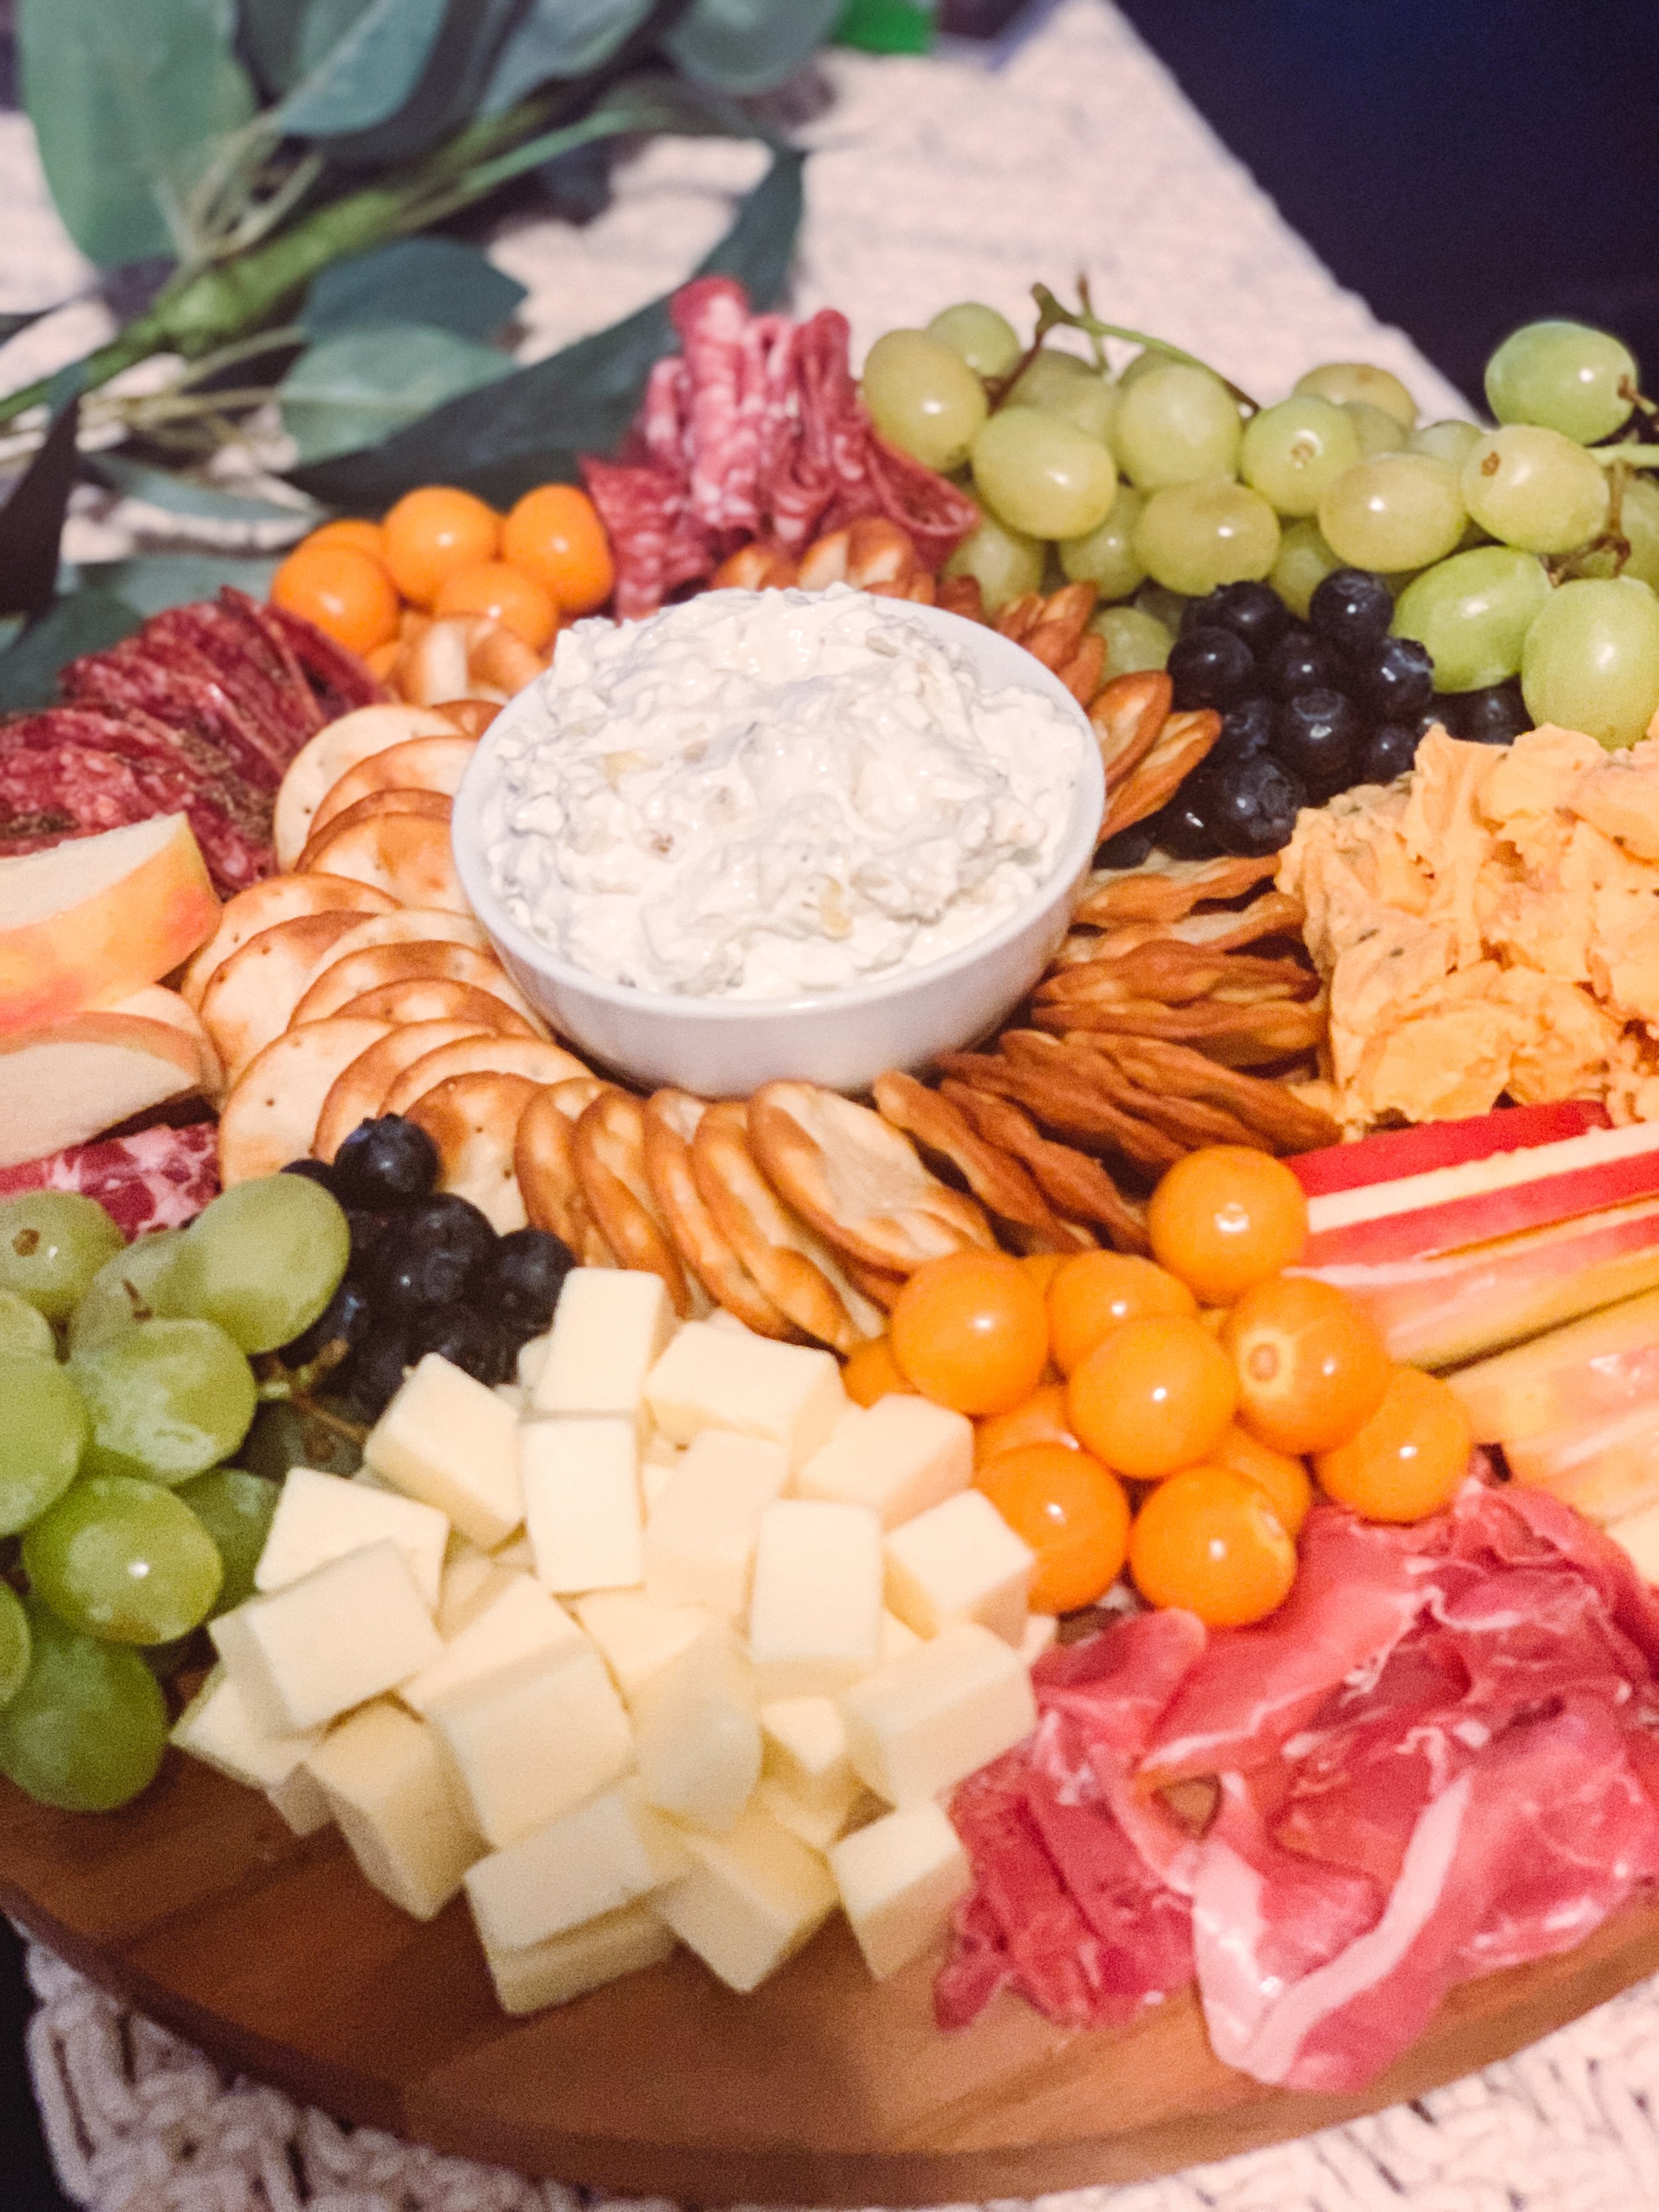
ingredients
Fruits:
Honeycrisp Apples
Blueberries
Green Grapes
Golden Berries
Other:
Chunky Artichoke & Jalapeño Dip
Pita Bite Crackers
Meats:
Peppered Salame
Calabrese Salame
Del Duca Prosciutto
Capocollo
Cheeses:
Creamy Danish Havarti
Cotswold Double Gloucester with Onion & Chive

shop this post
