how to create a halloween candy treat board
note: this post contains affiliate links and I will be compensated if you make a purchase after clicking on my links.

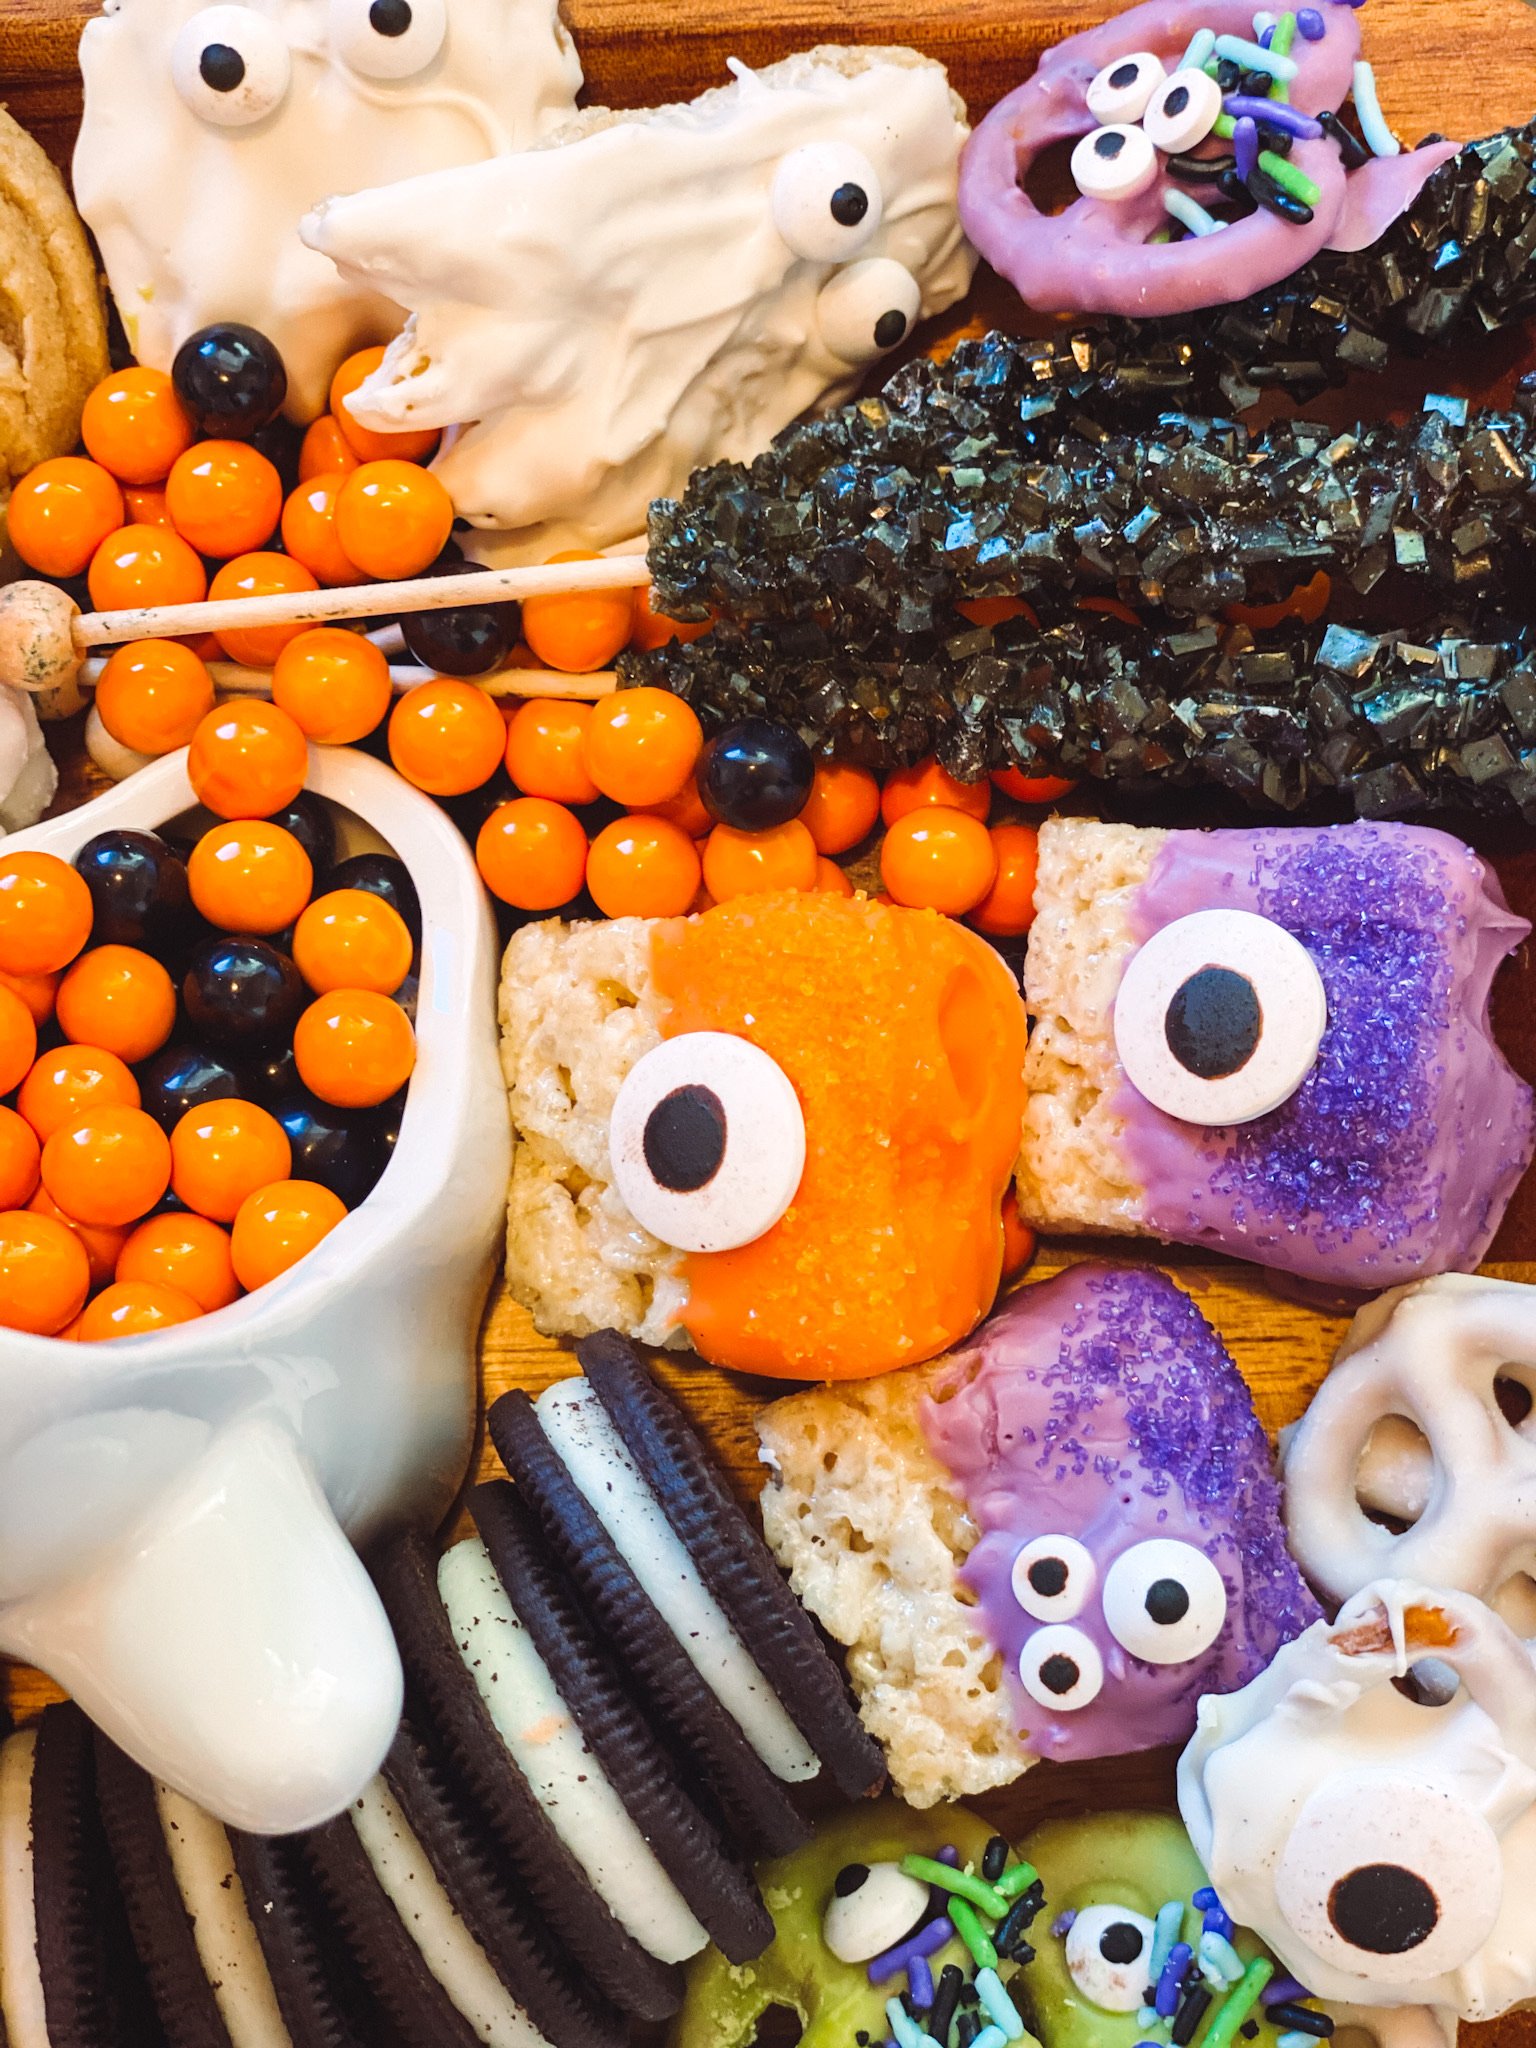
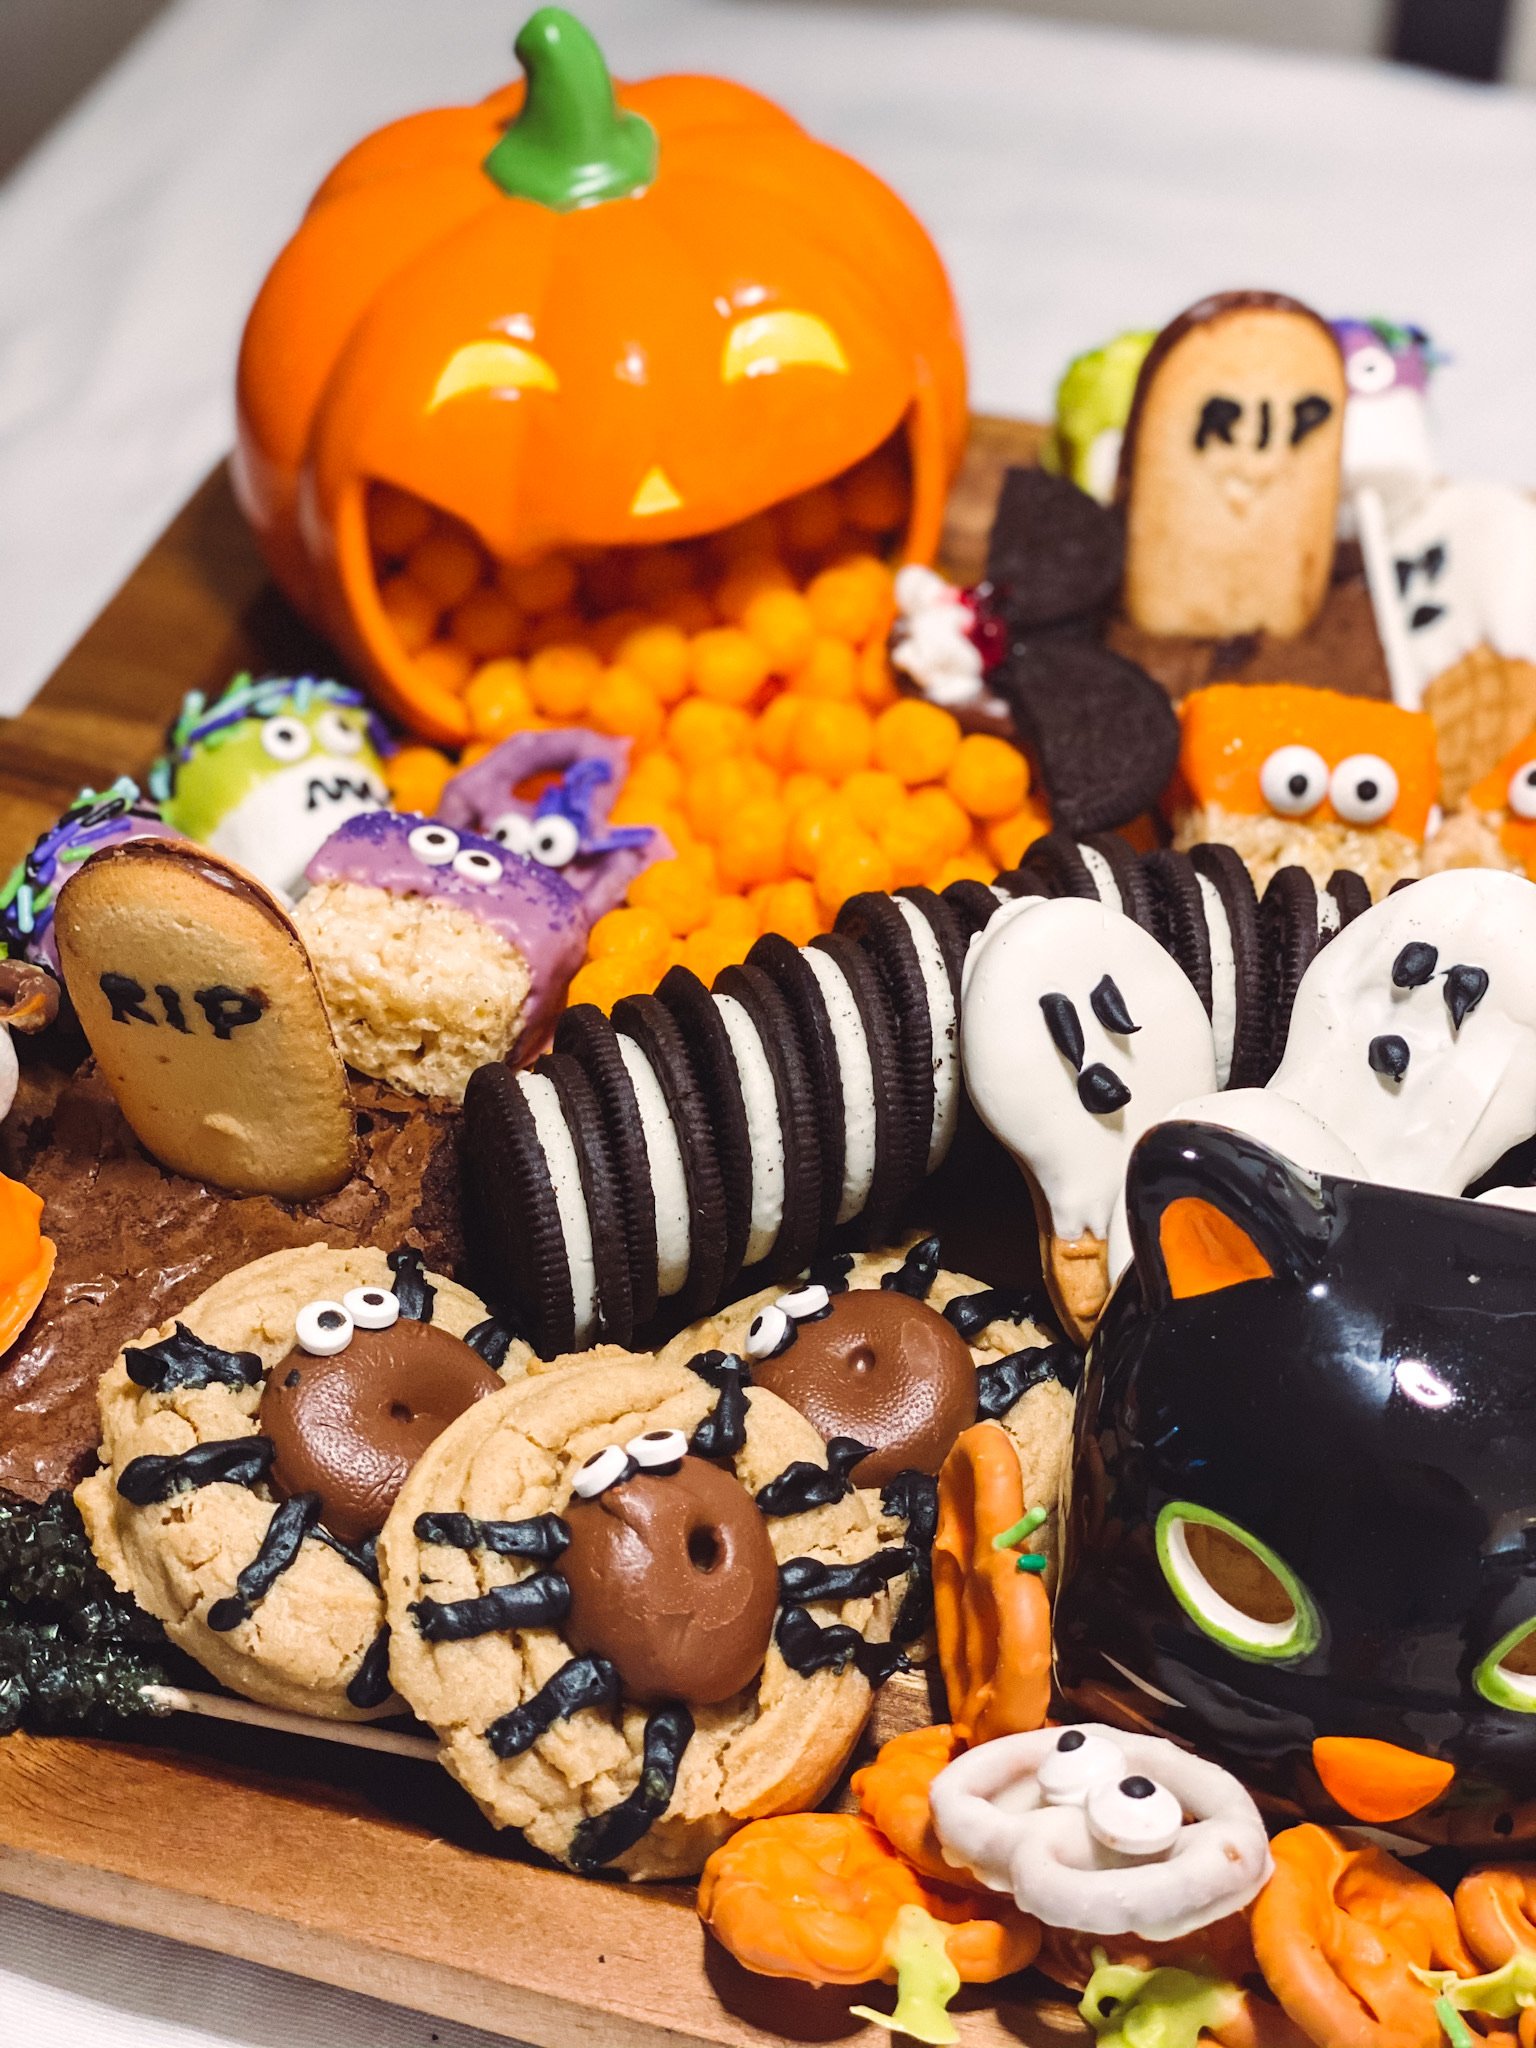
I had so much fun making last years Halloween board (and you guys loved it so much) that I had to do another one! Plus, who doesn’t love an excuse to buy a ton of candy and sweets. When Jamie and I were walking around Target last week they had a few of the open mouth candy holders that I used last year again — they are in the dollar section and I can’t find the exact ones online, so I recommend heading to your local store asap. They were like $3 and so cute. Amazon also had a few Halloween candy bowls that would also be cute for this board as well.
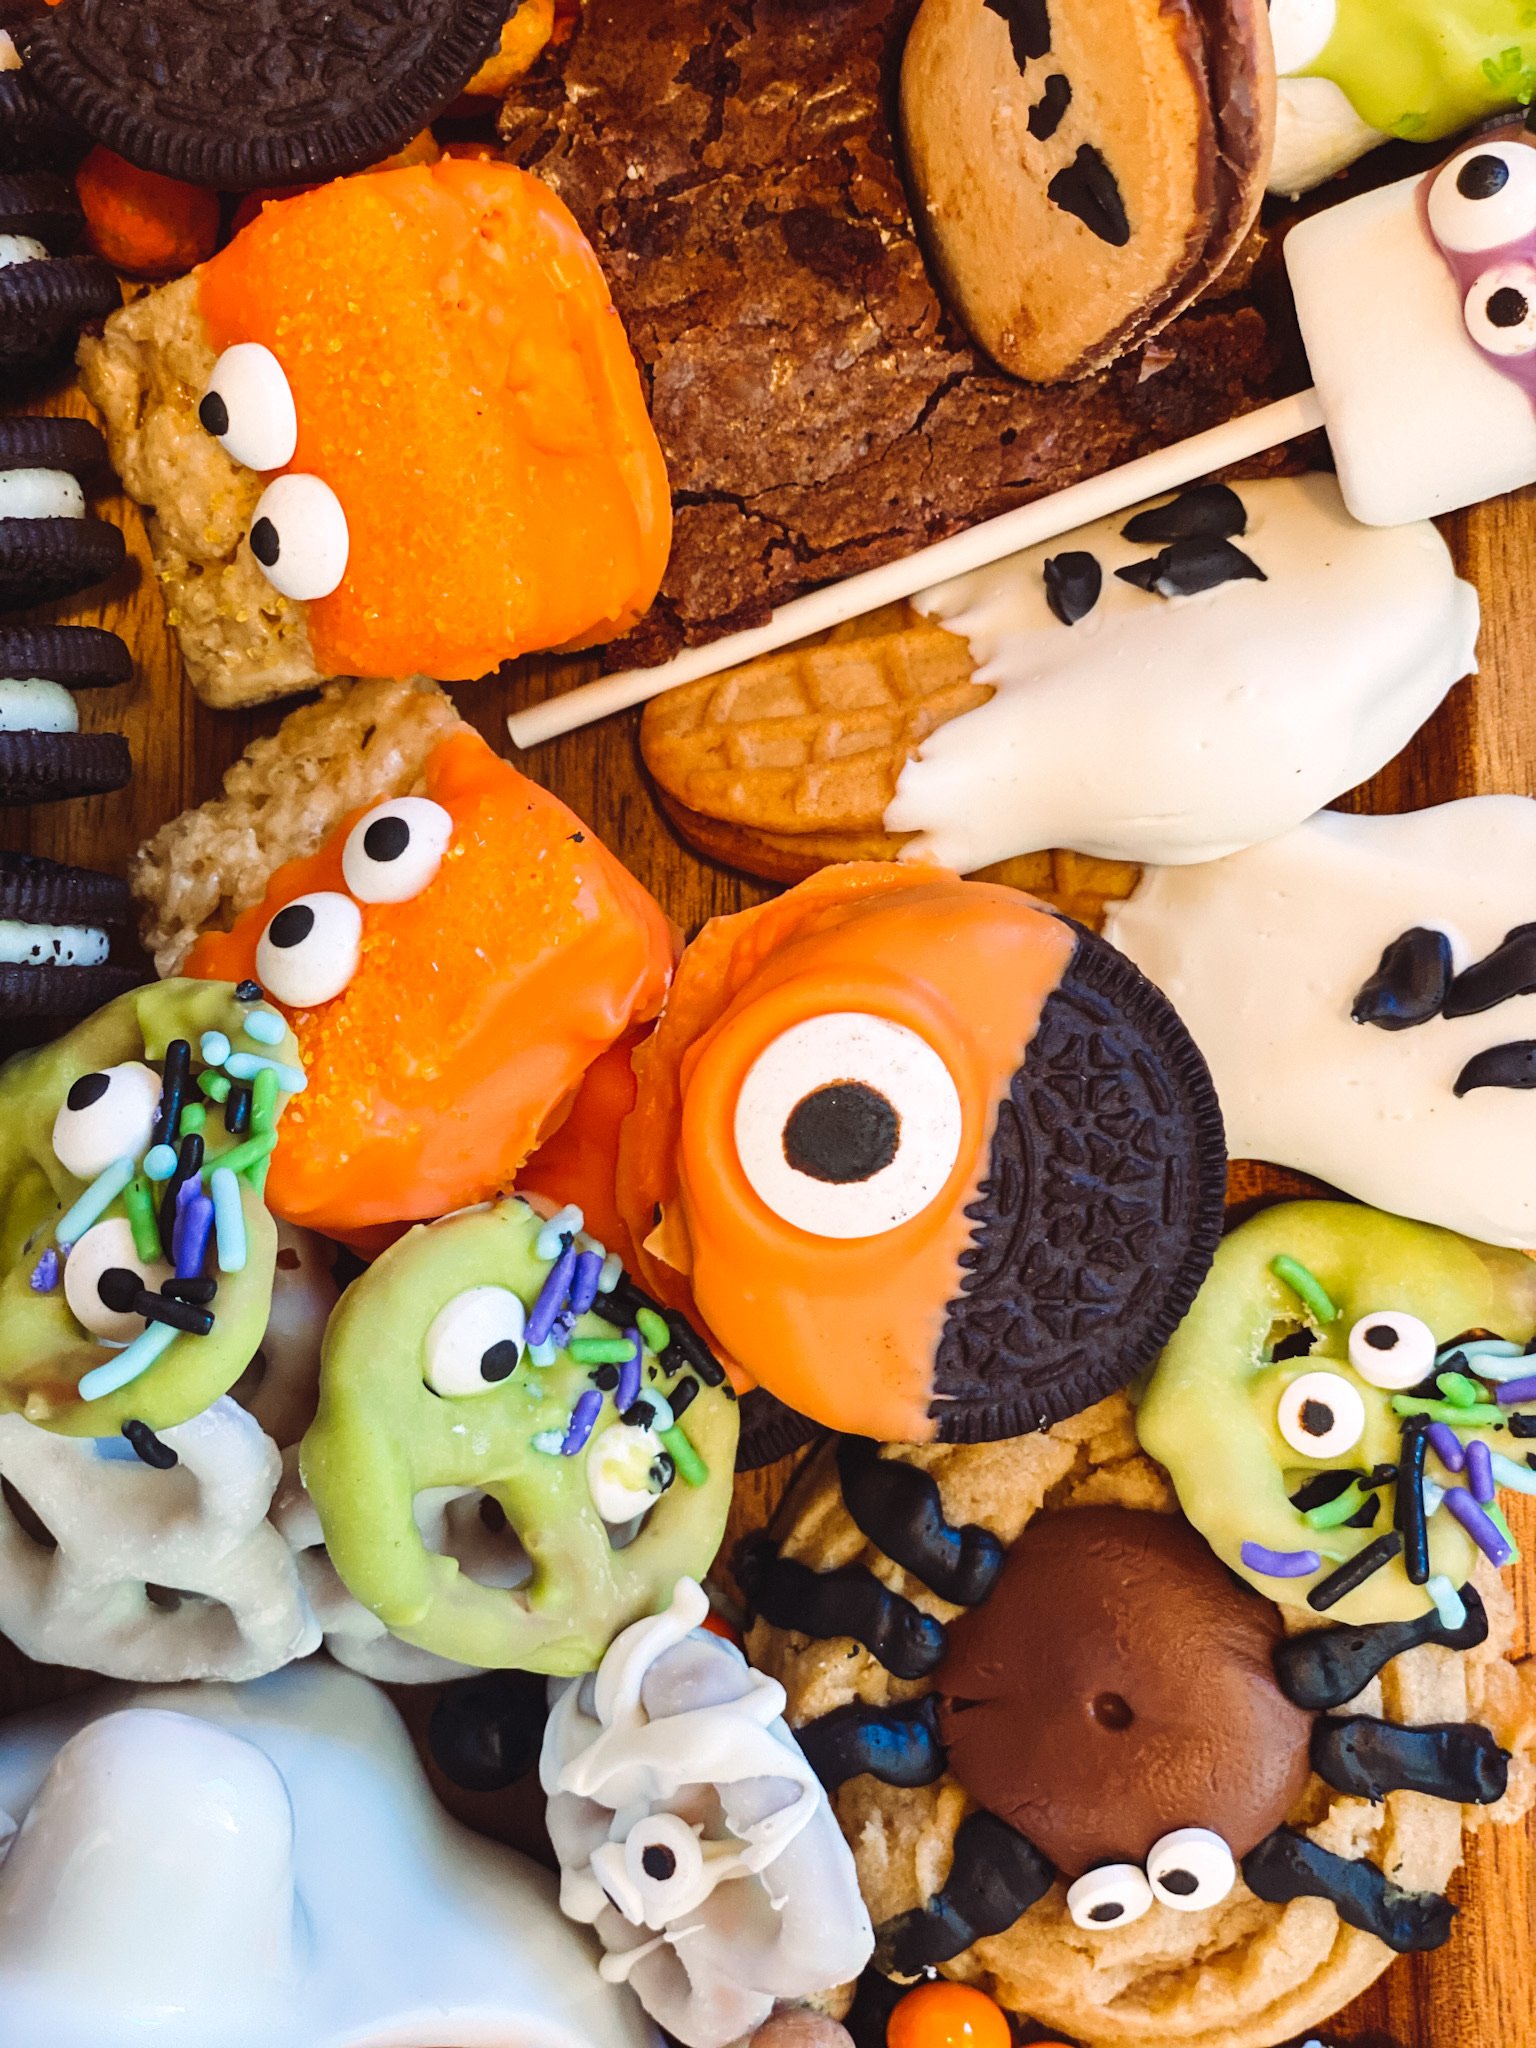
I won’t lie — this board took me two days. It was so much work that I had to split it up! The first day I created all the Halloween treats and the second day I assembled it all. I’ll admit this one was a little overboard with the eyeballs but I just couldn’t help myself; everything looks so much cuter with them!
First thing you’ll want to do is melt all the candy melts. It’s easiest in the microwave, but I also did some with a double boiler on the stove — I tried to get two going at a time to speed up the process. Just follow the directions on the bag, but make sure you add in coconut oil (you can substitute olive oil or vegetable oil too) to get a thinner consistency. I start with about a tablespoon at a time and just keep adding until it starts to thin out.
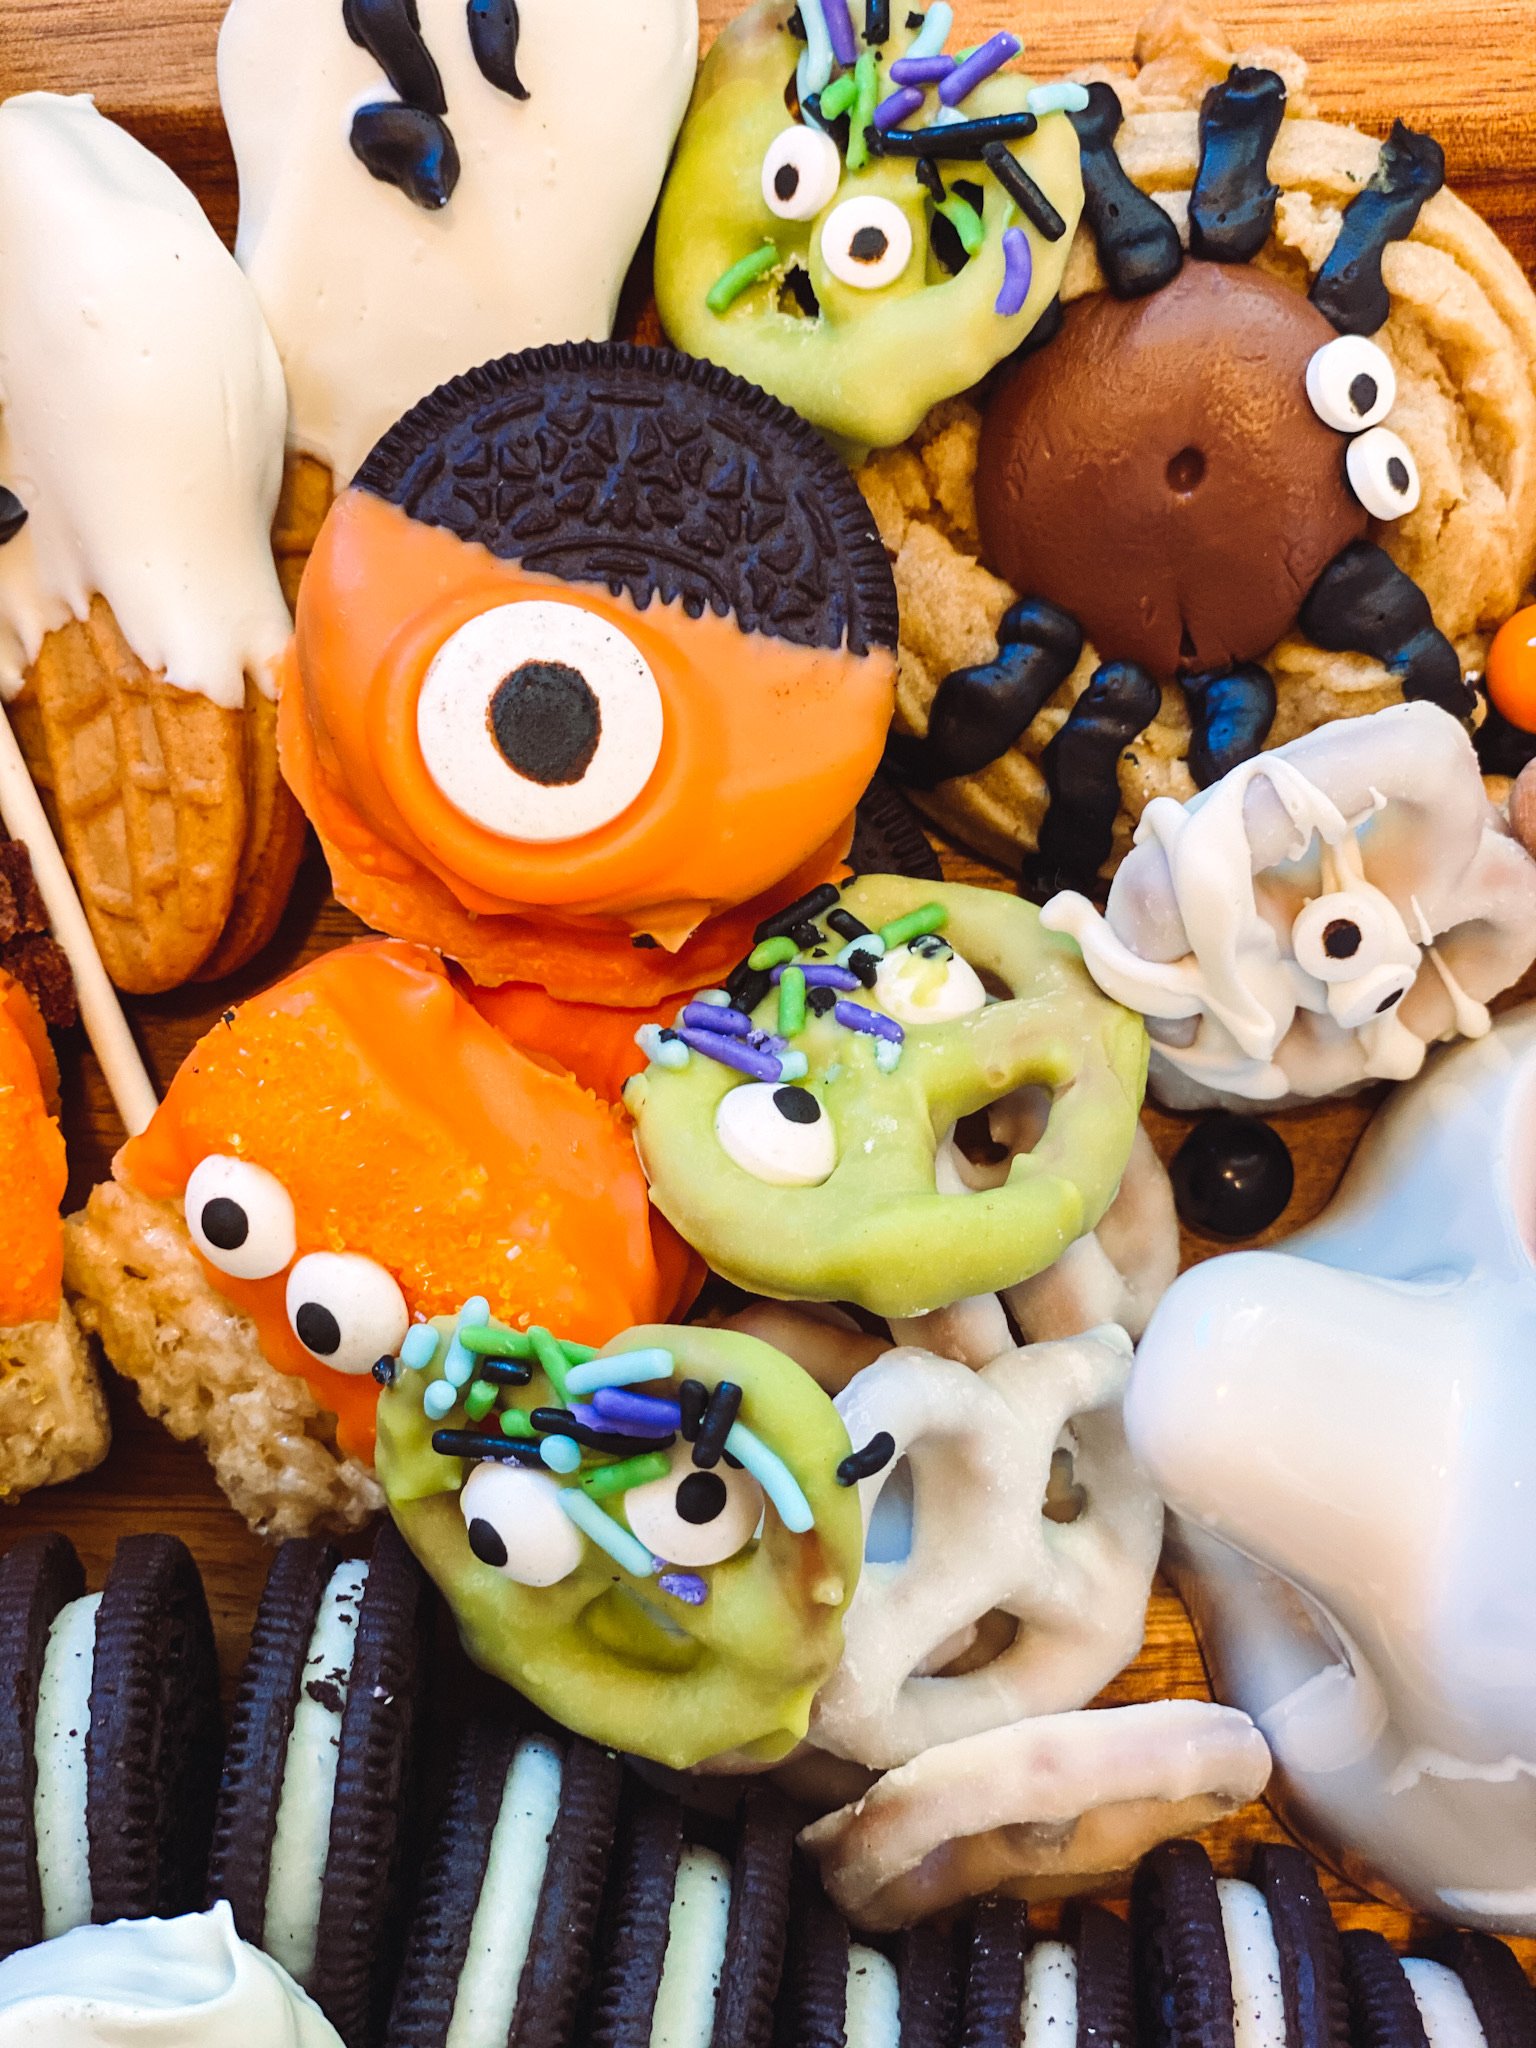
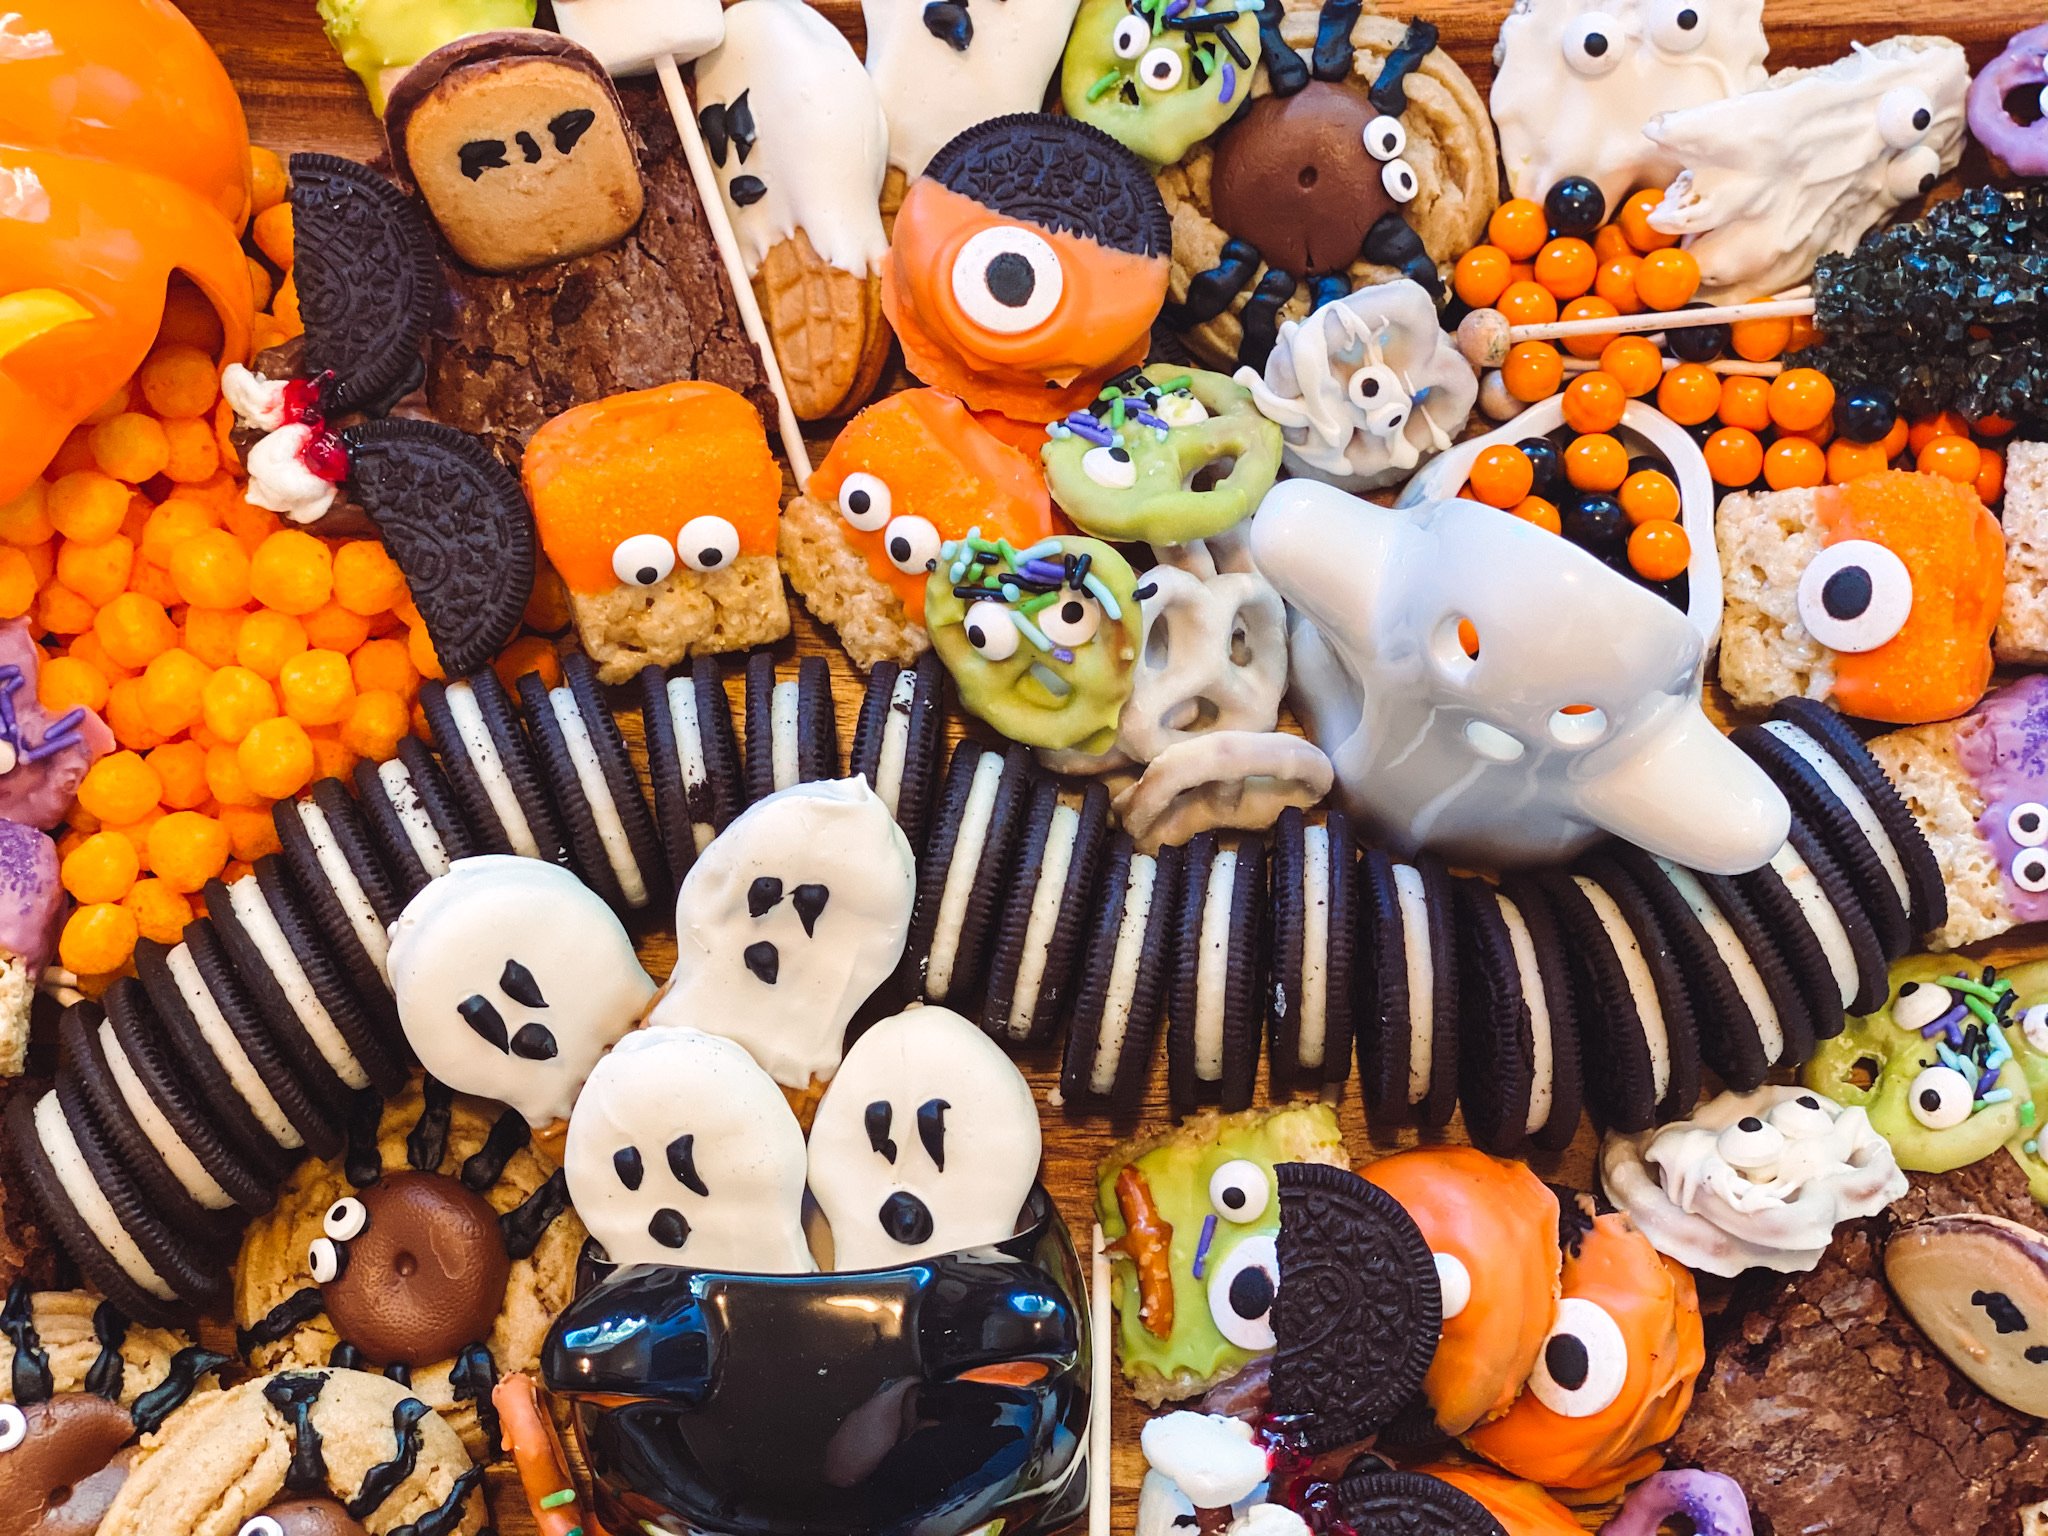
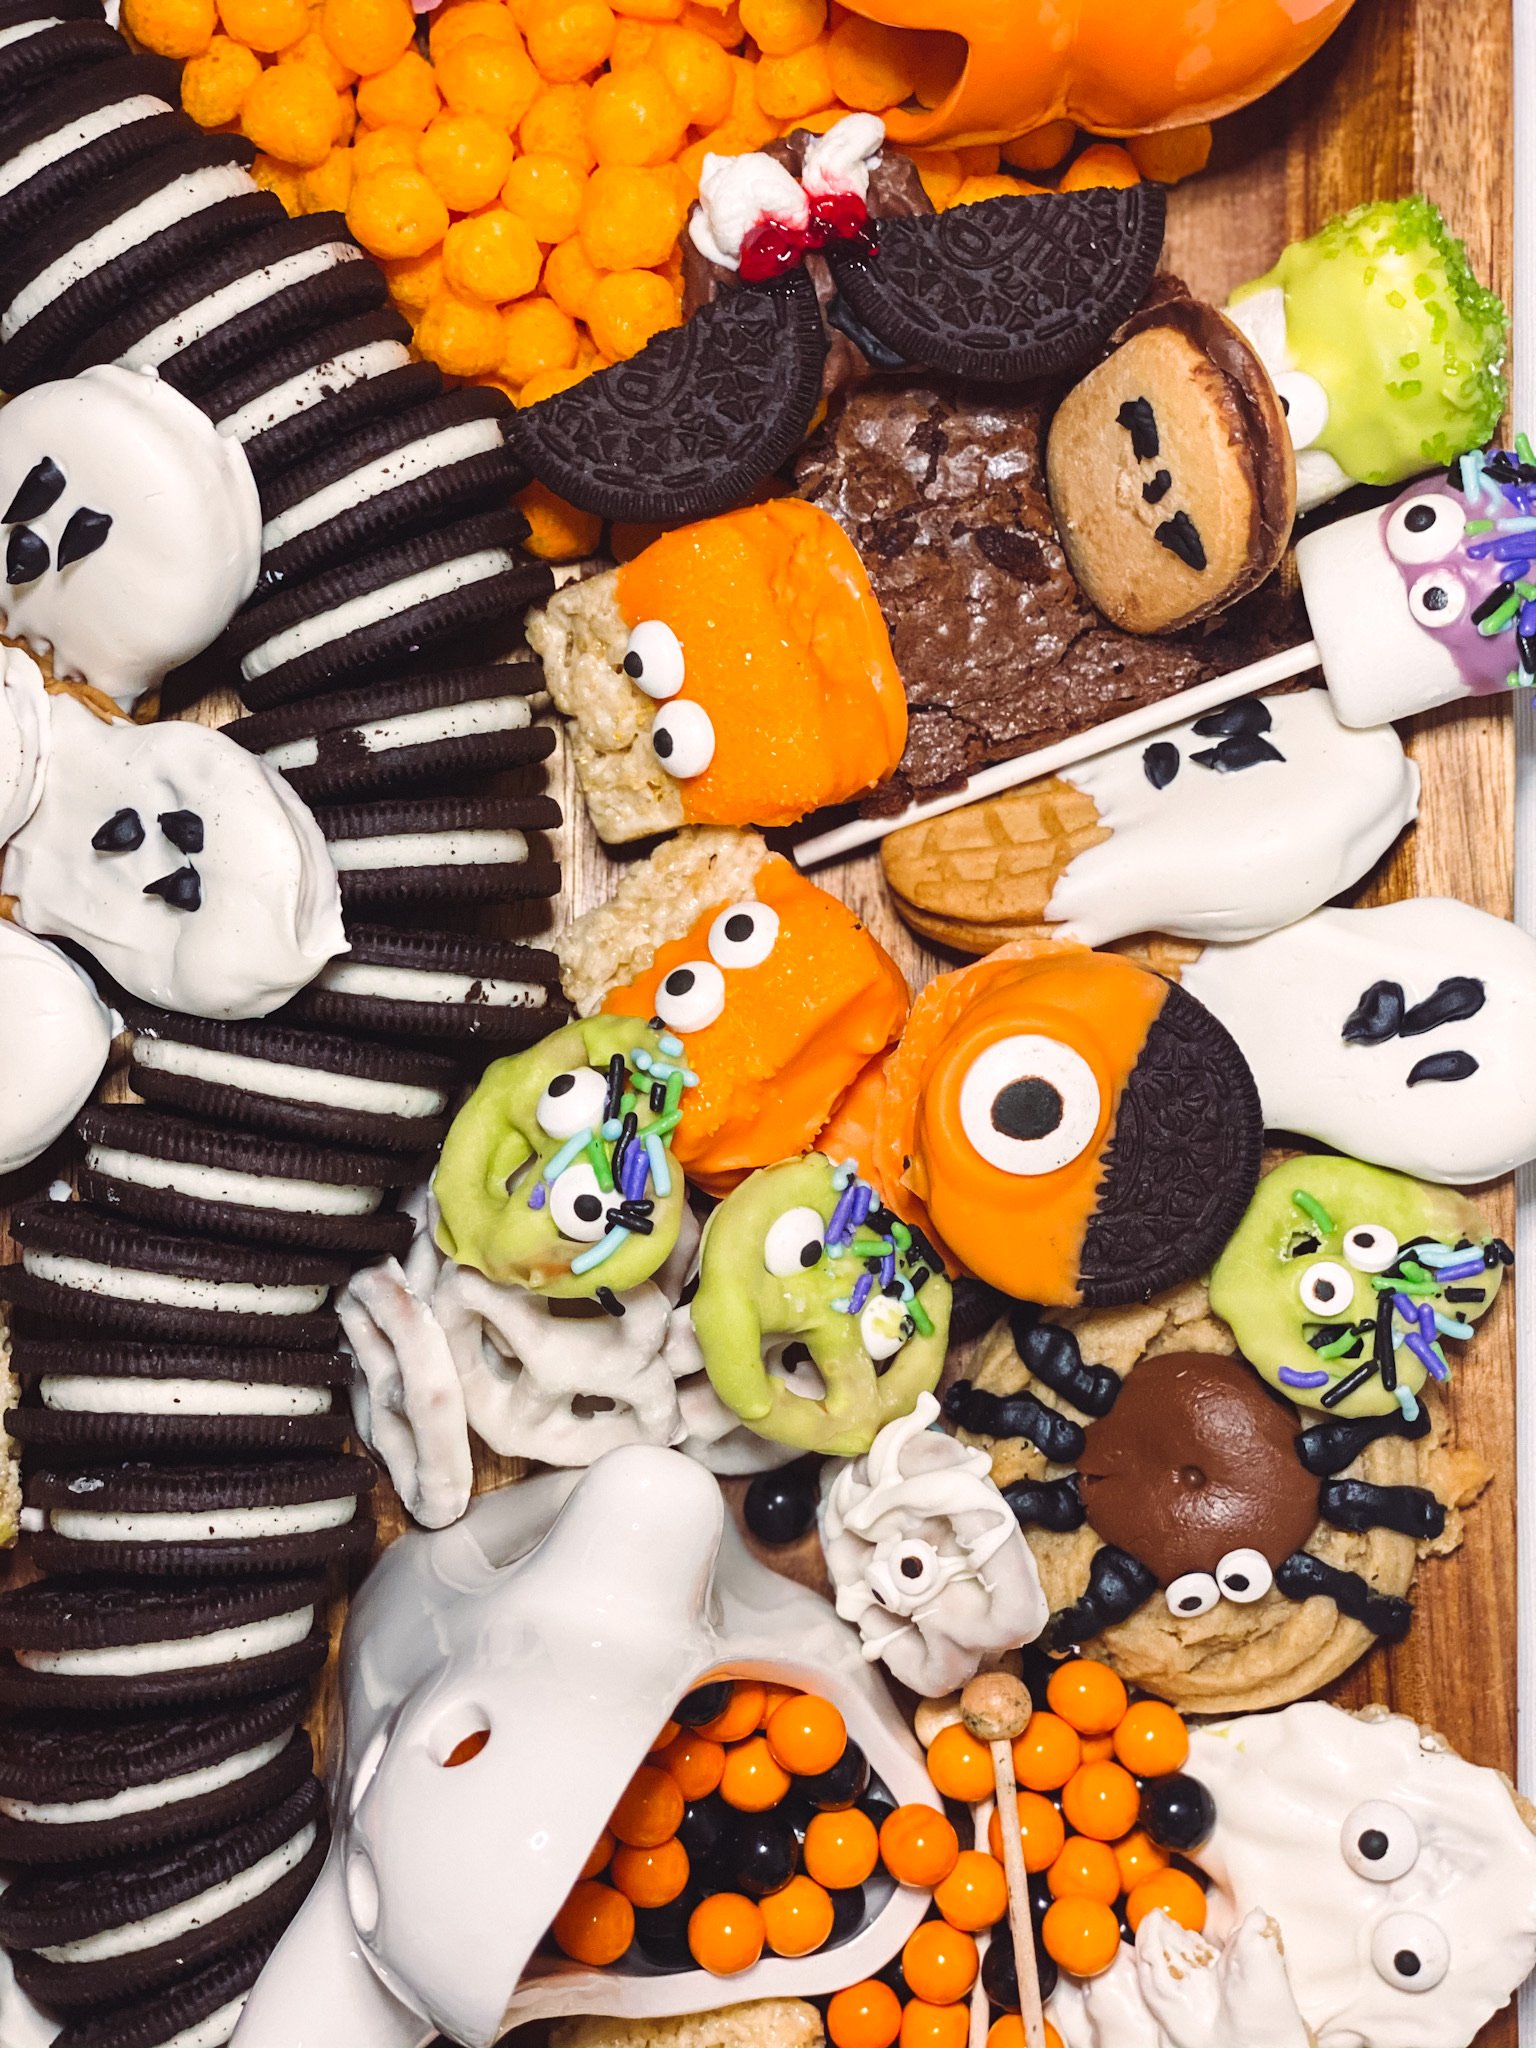
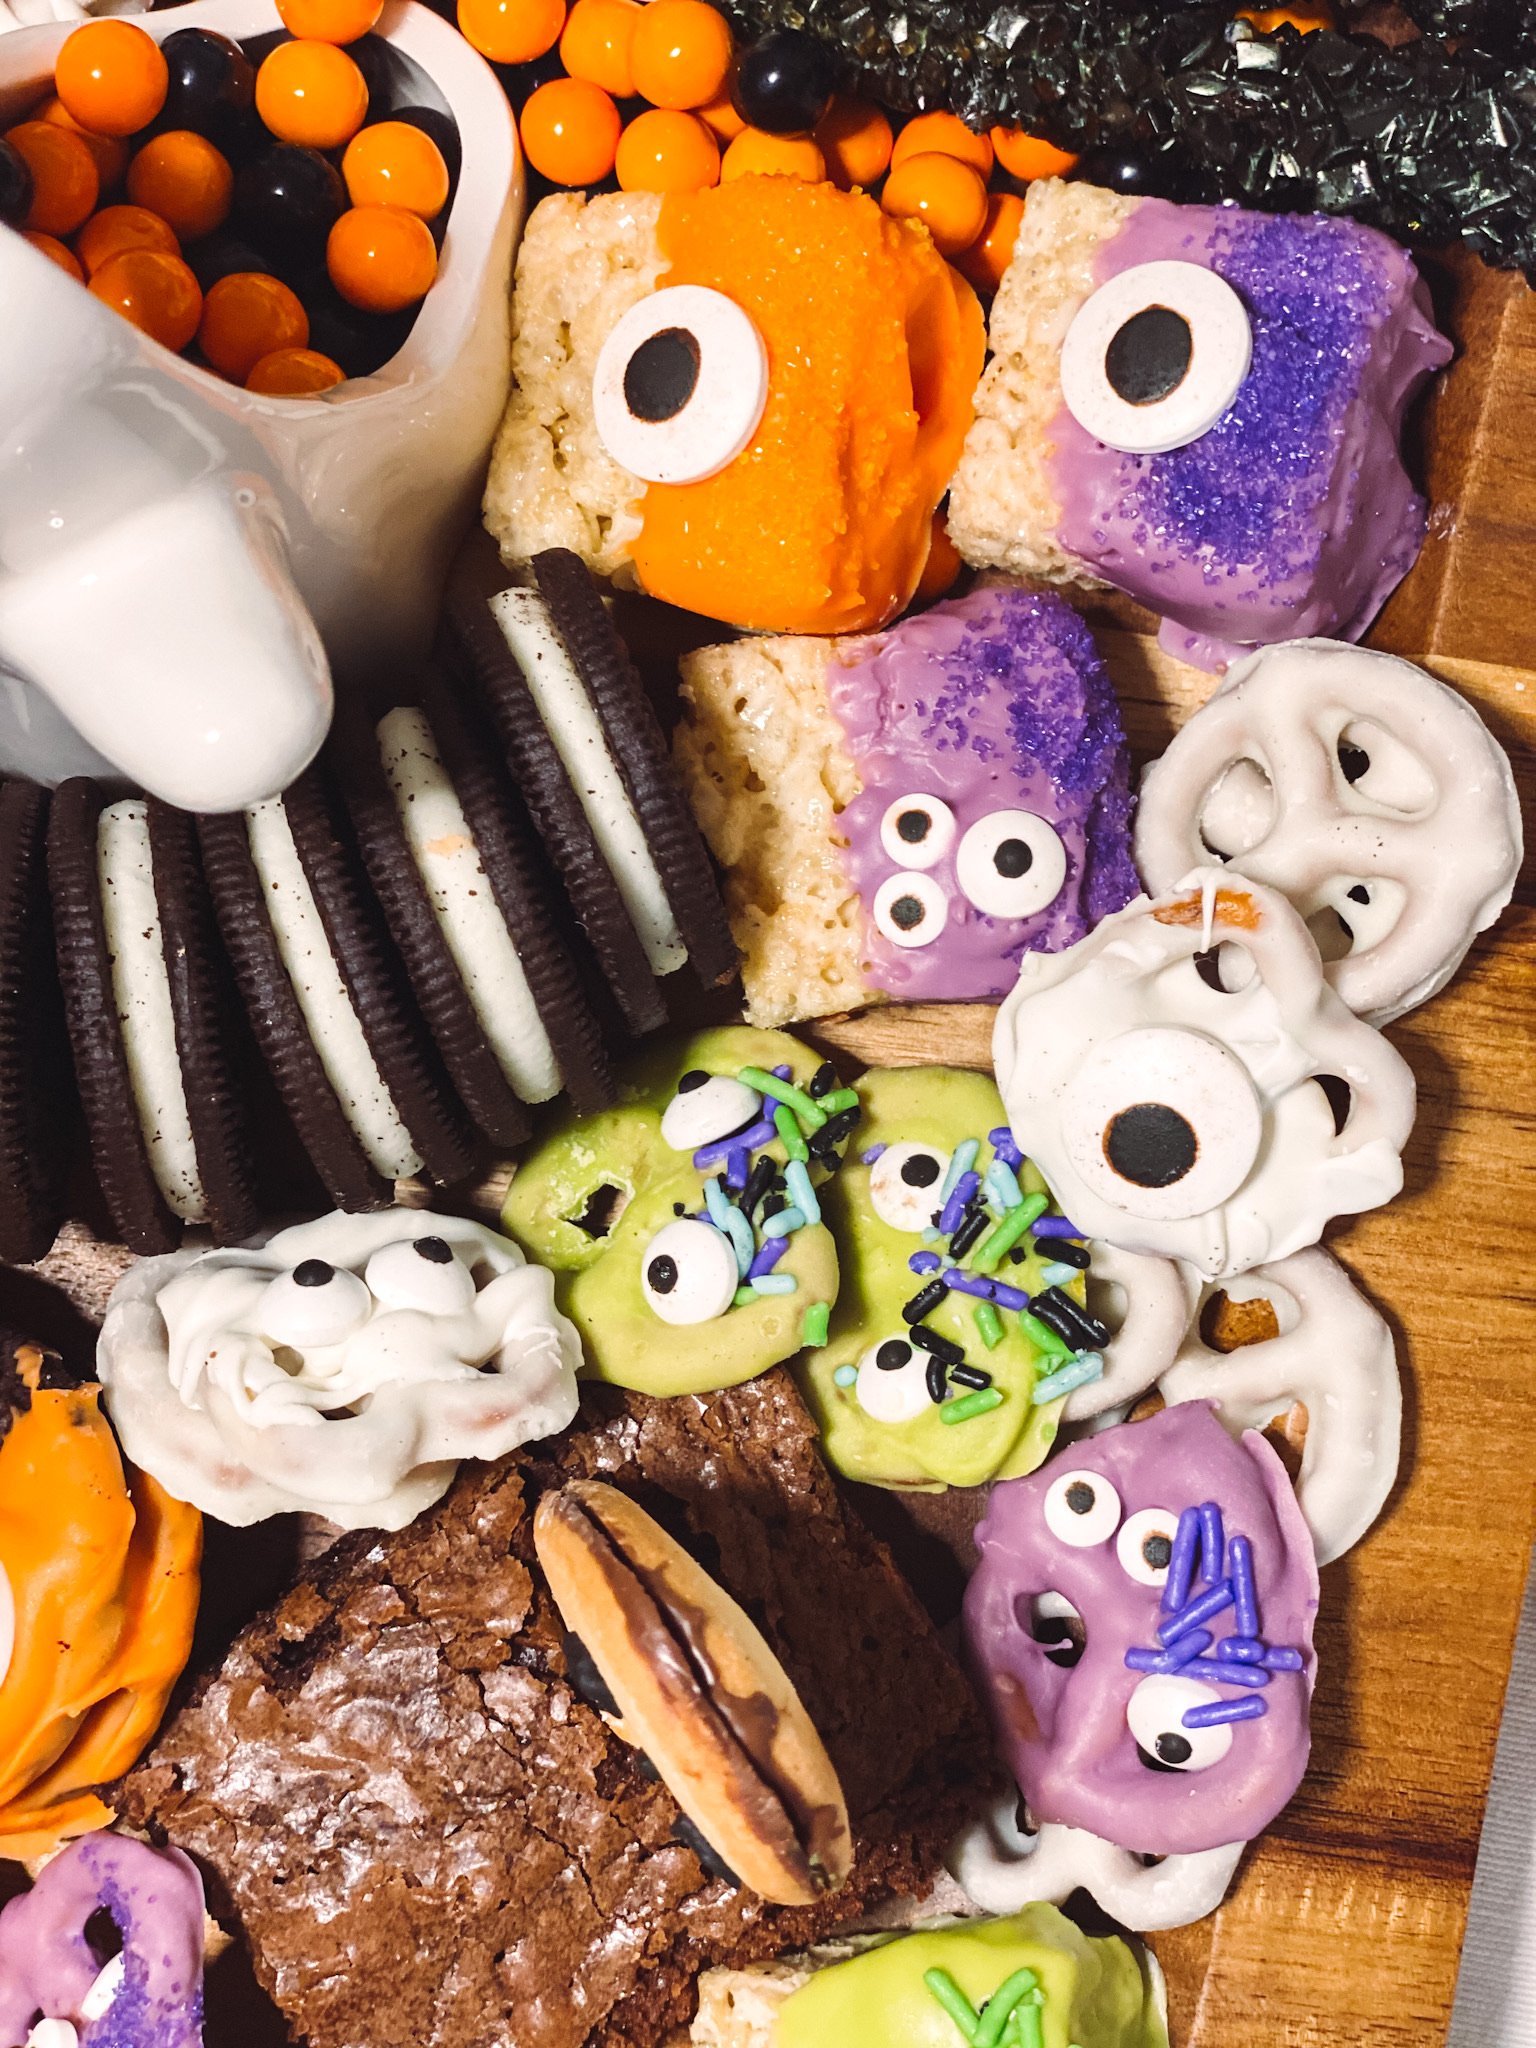
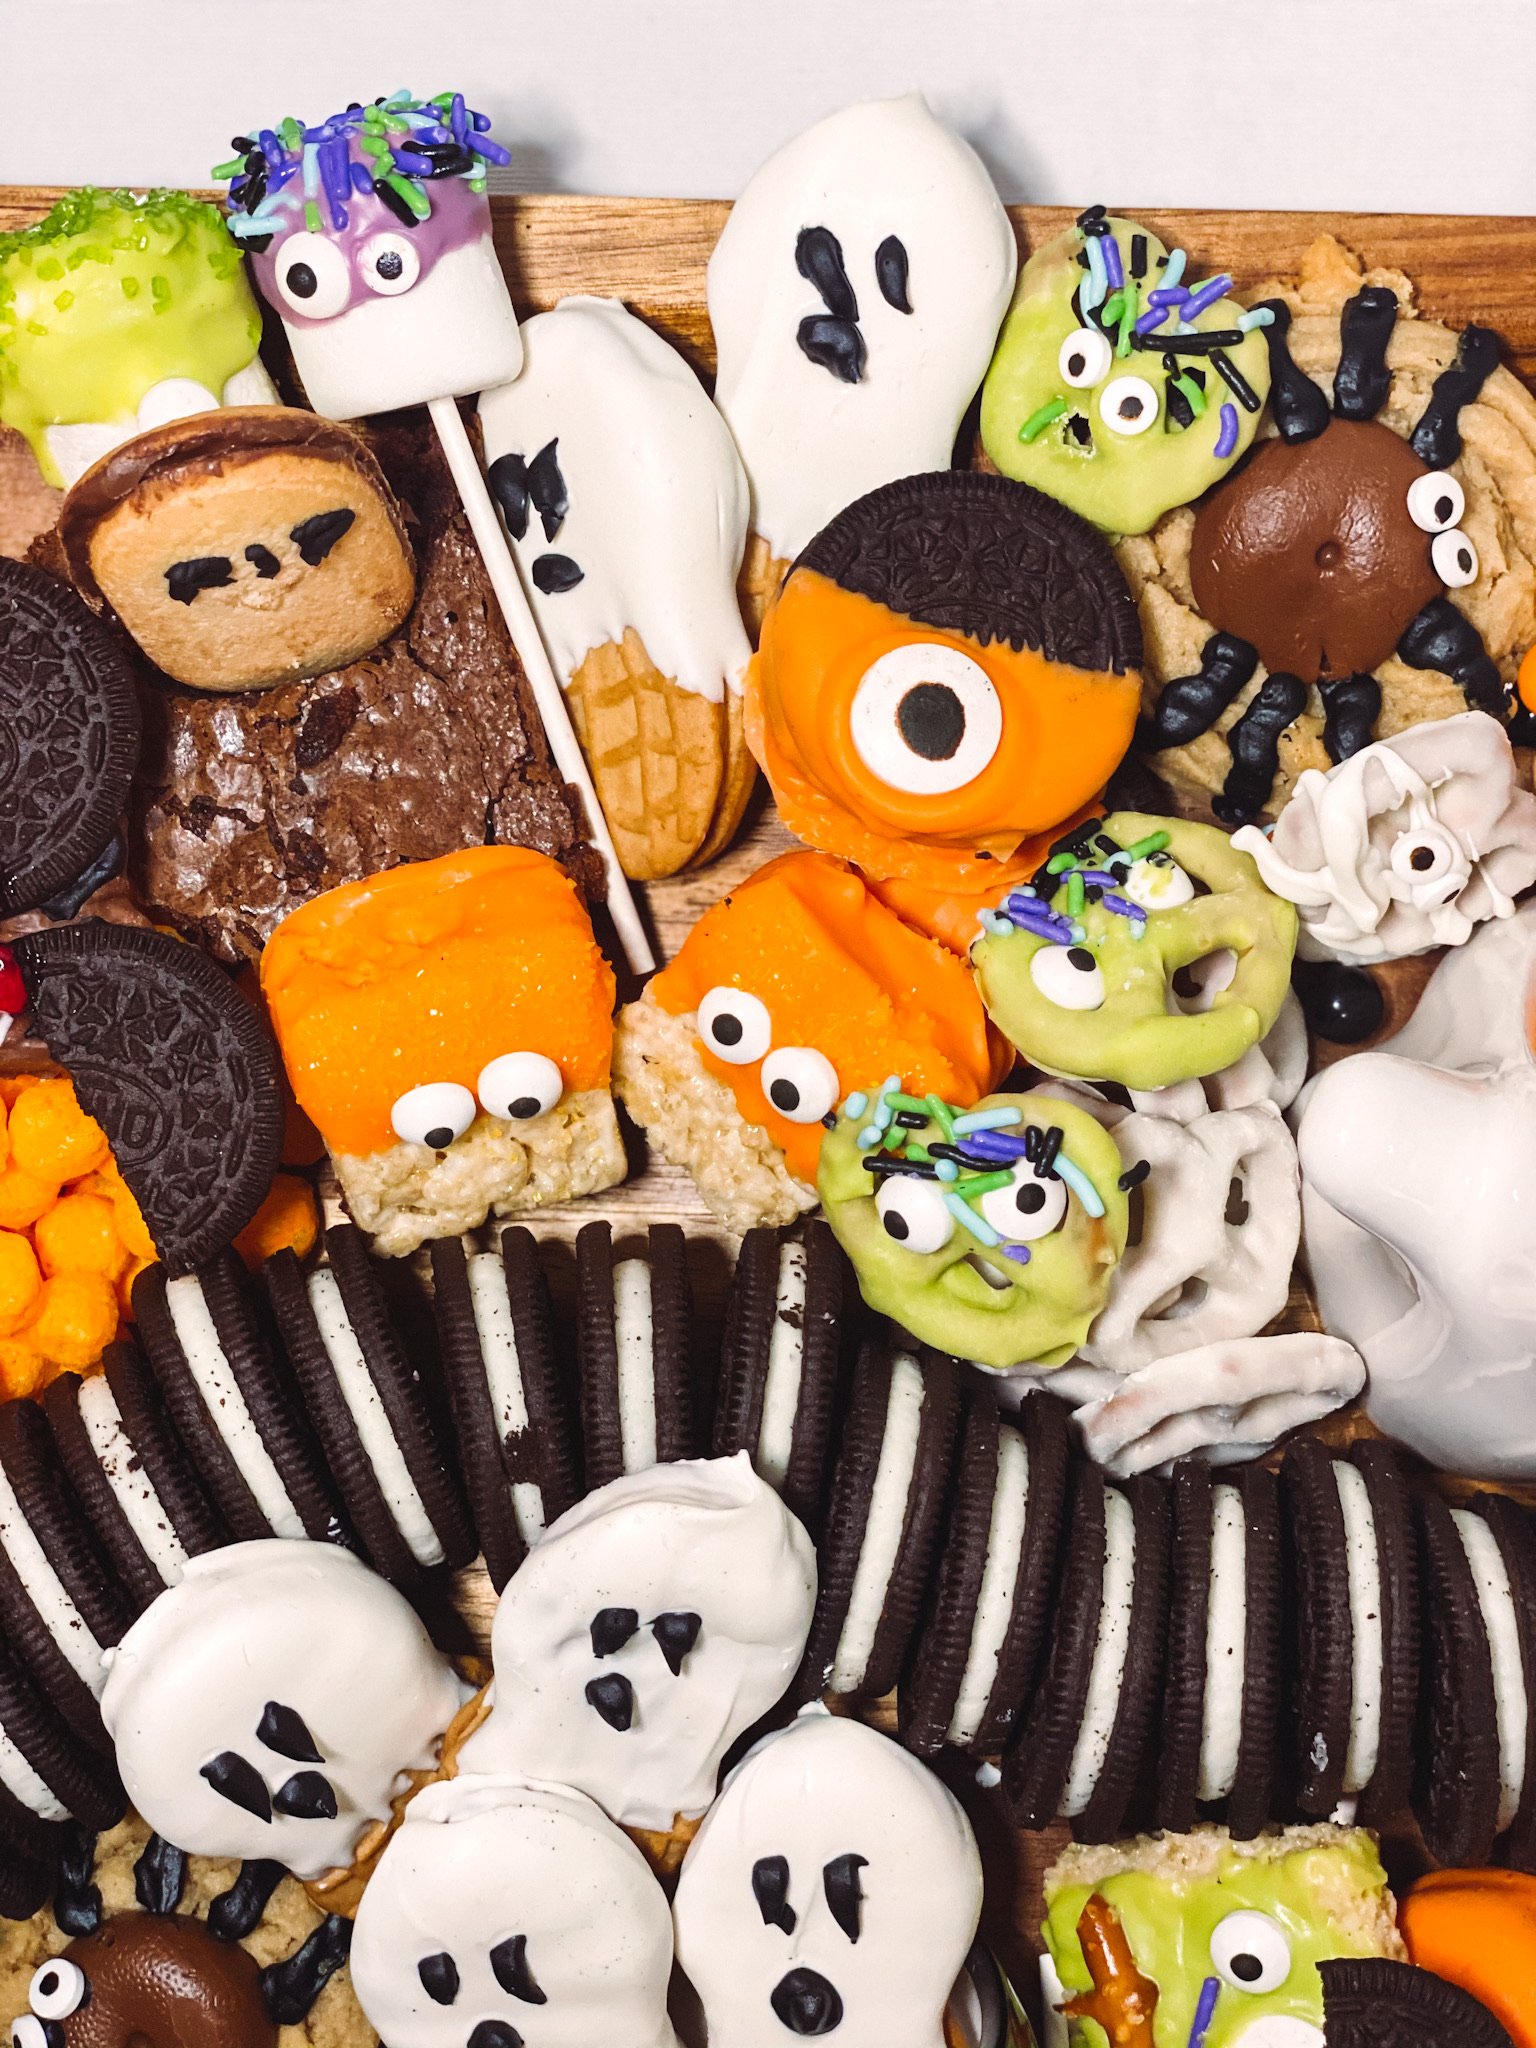
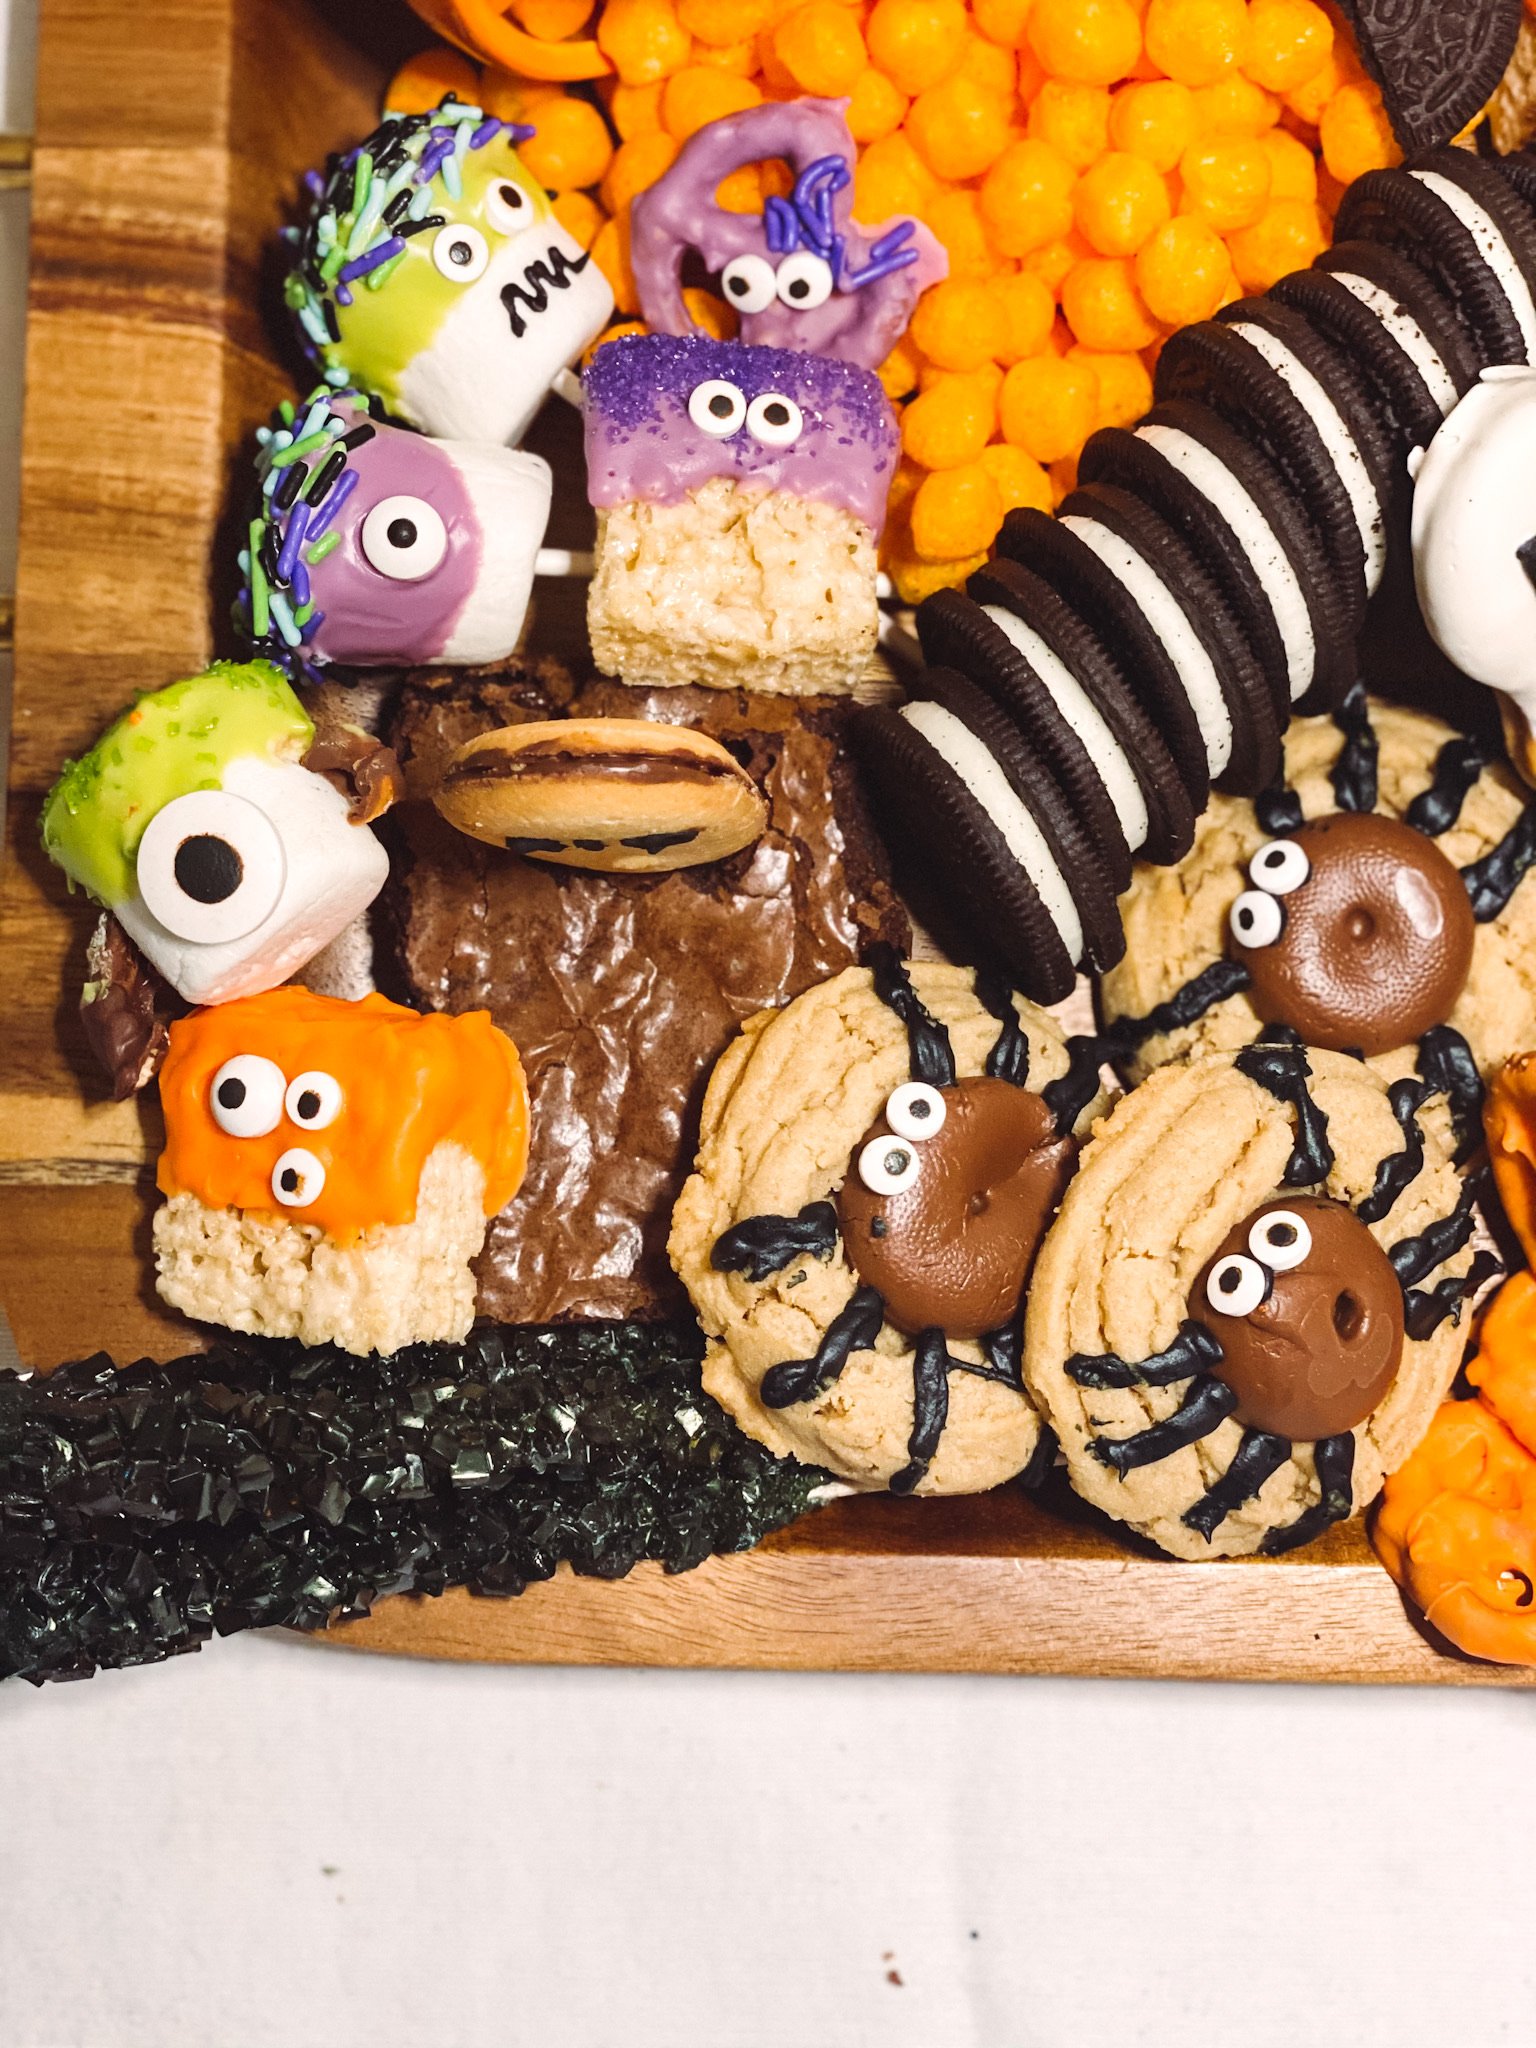
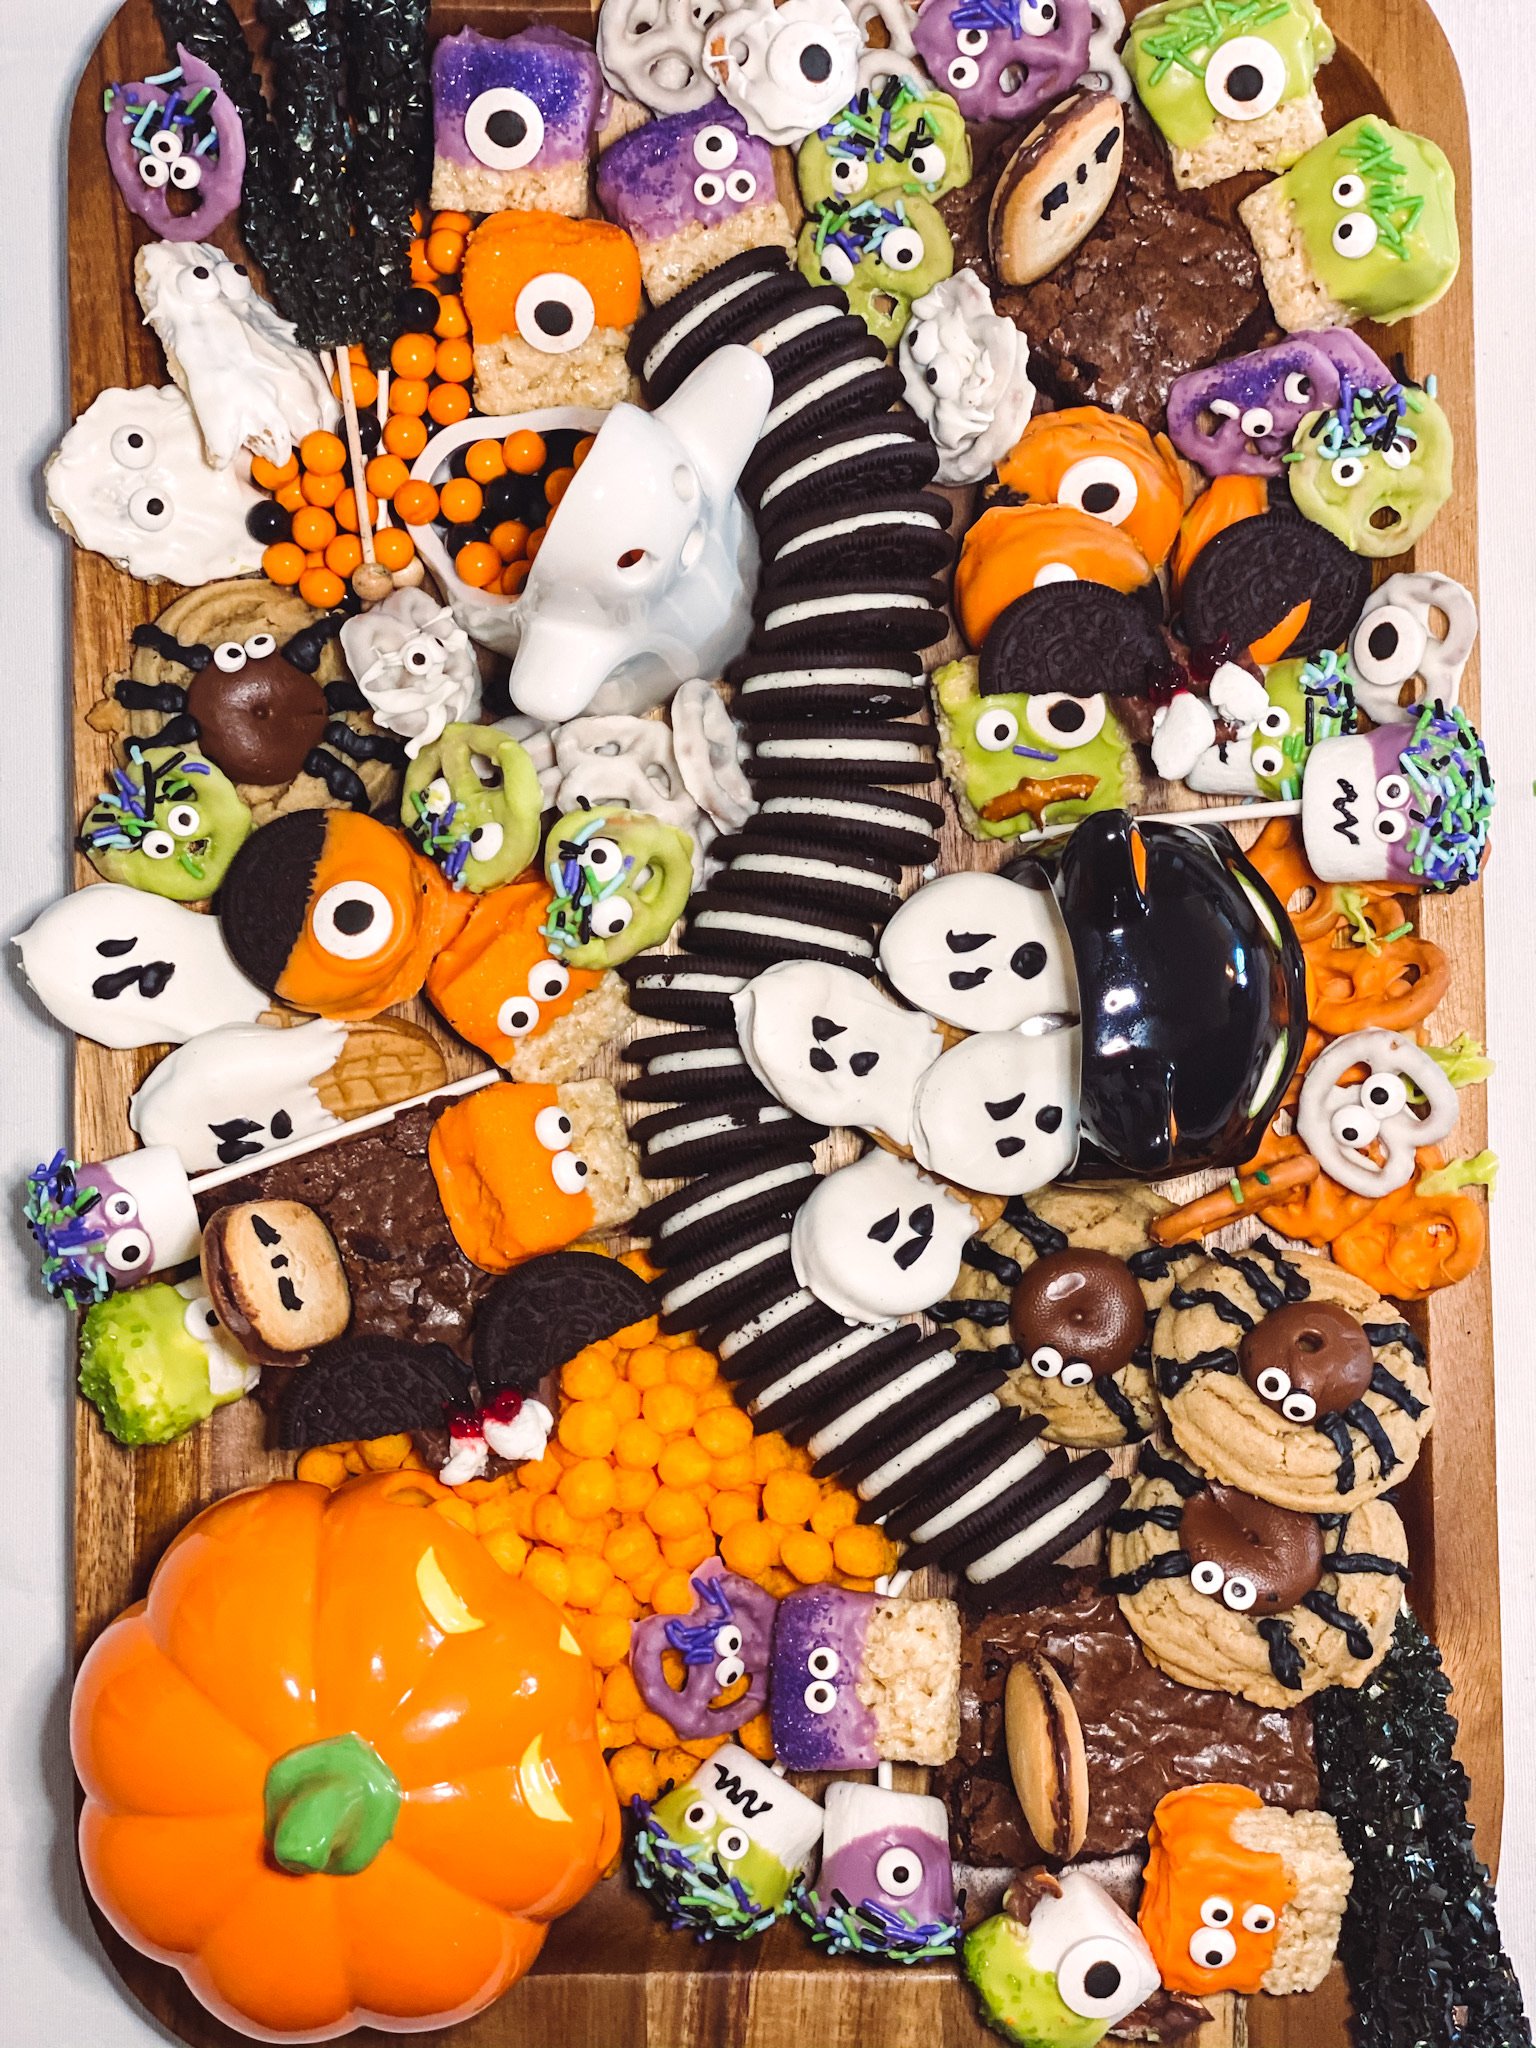
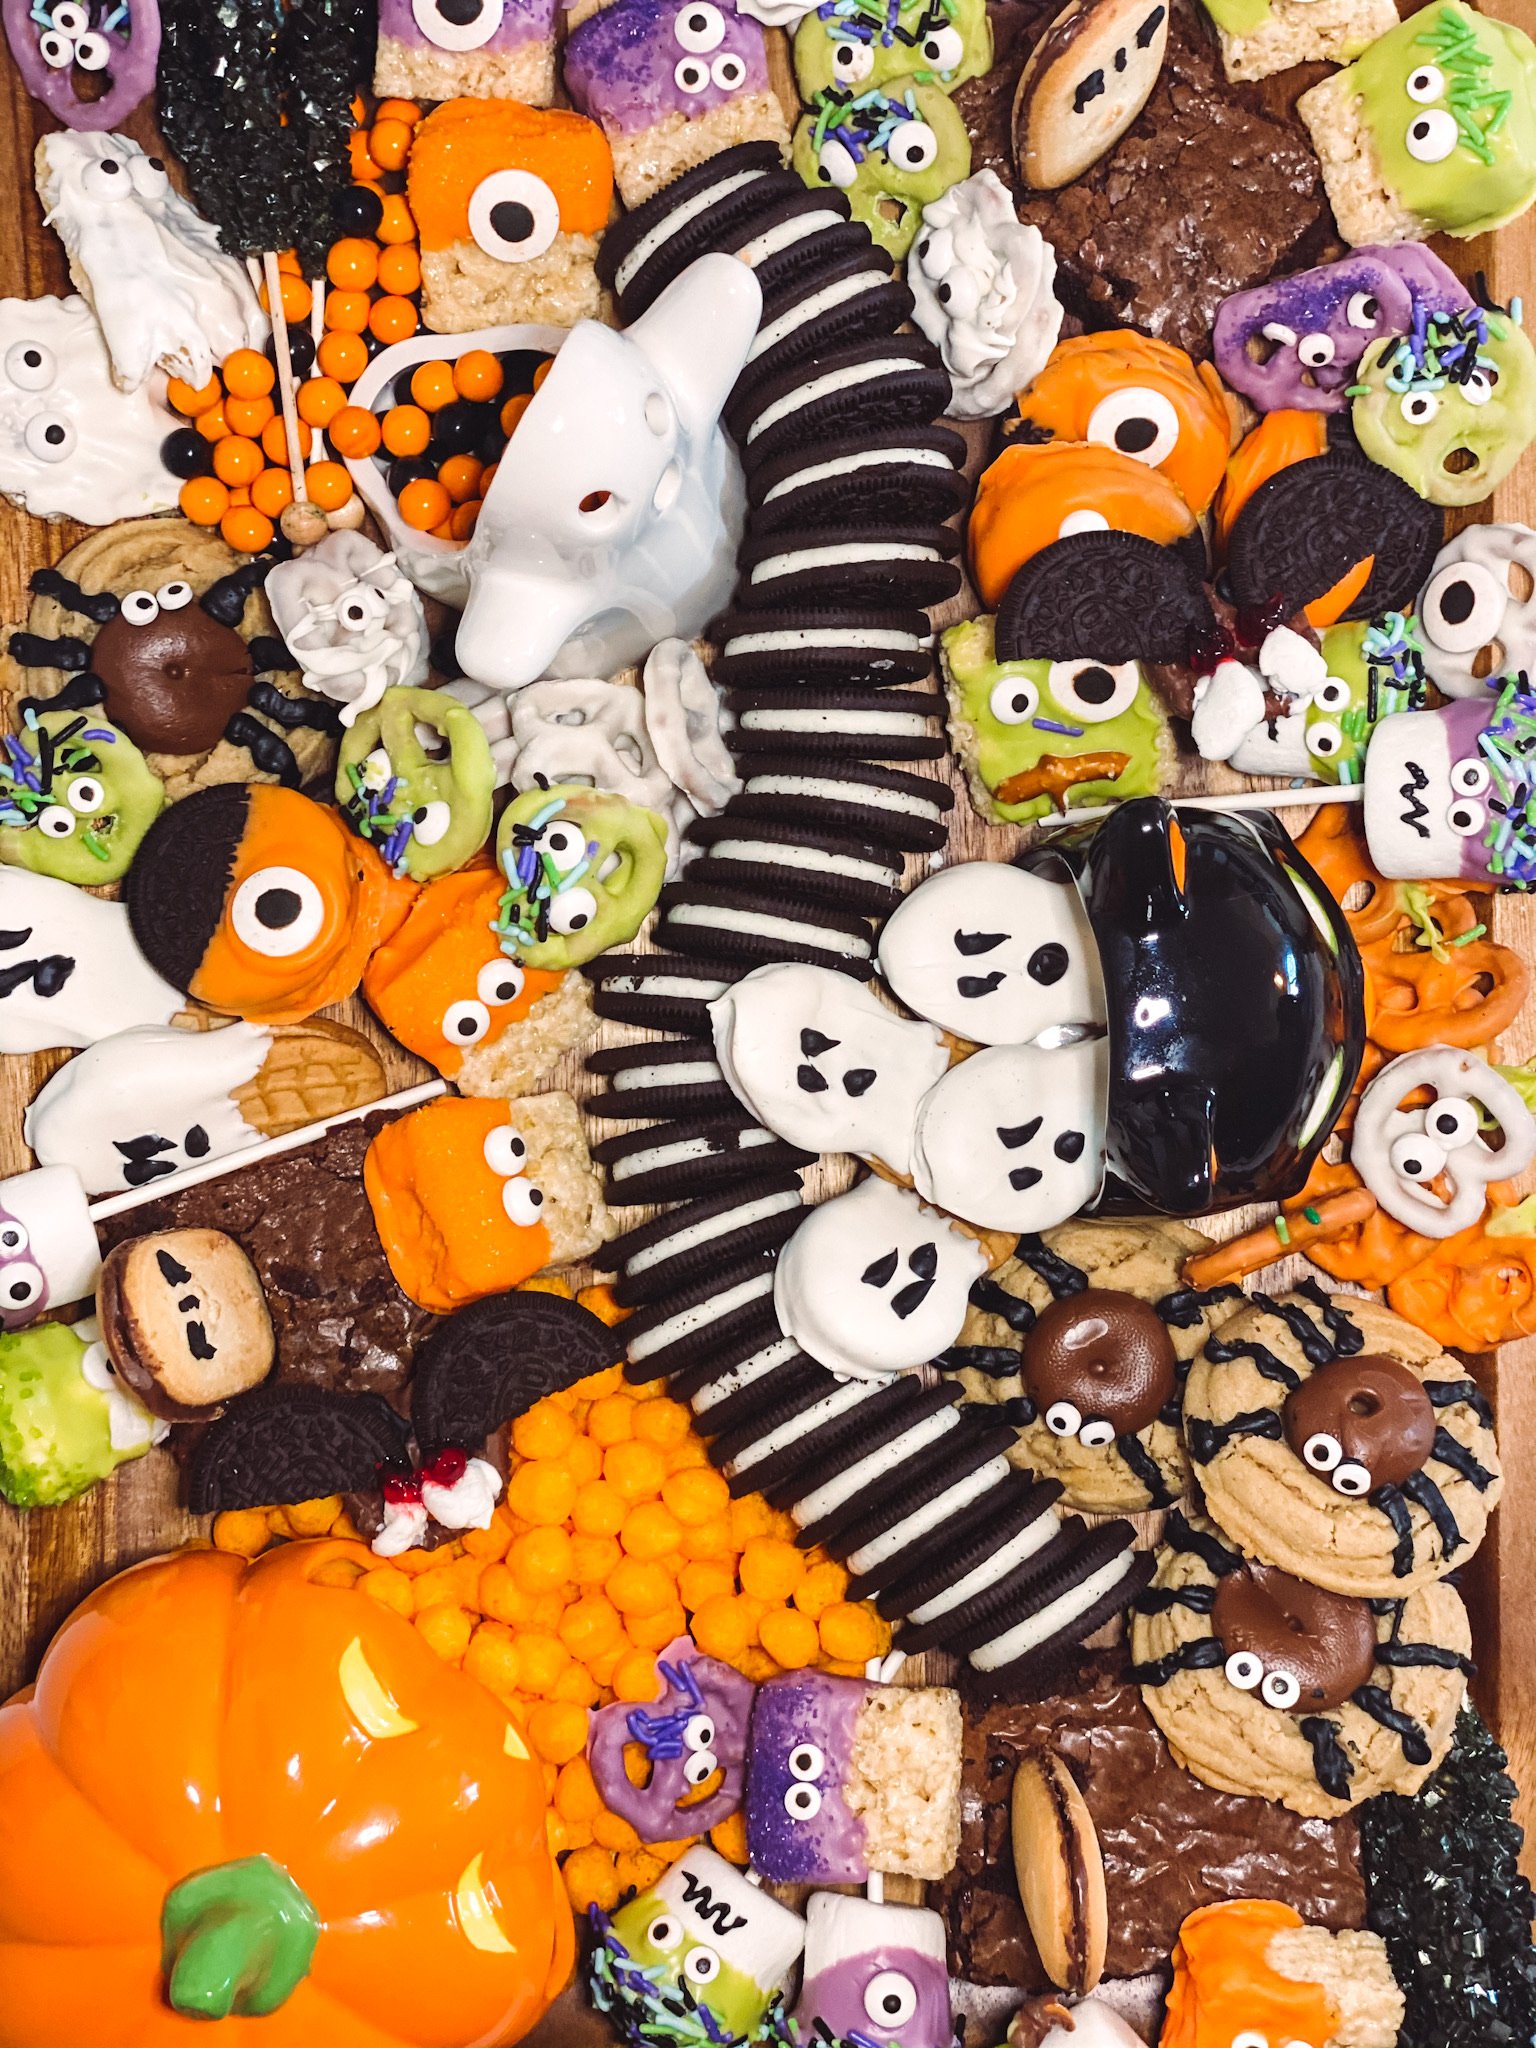
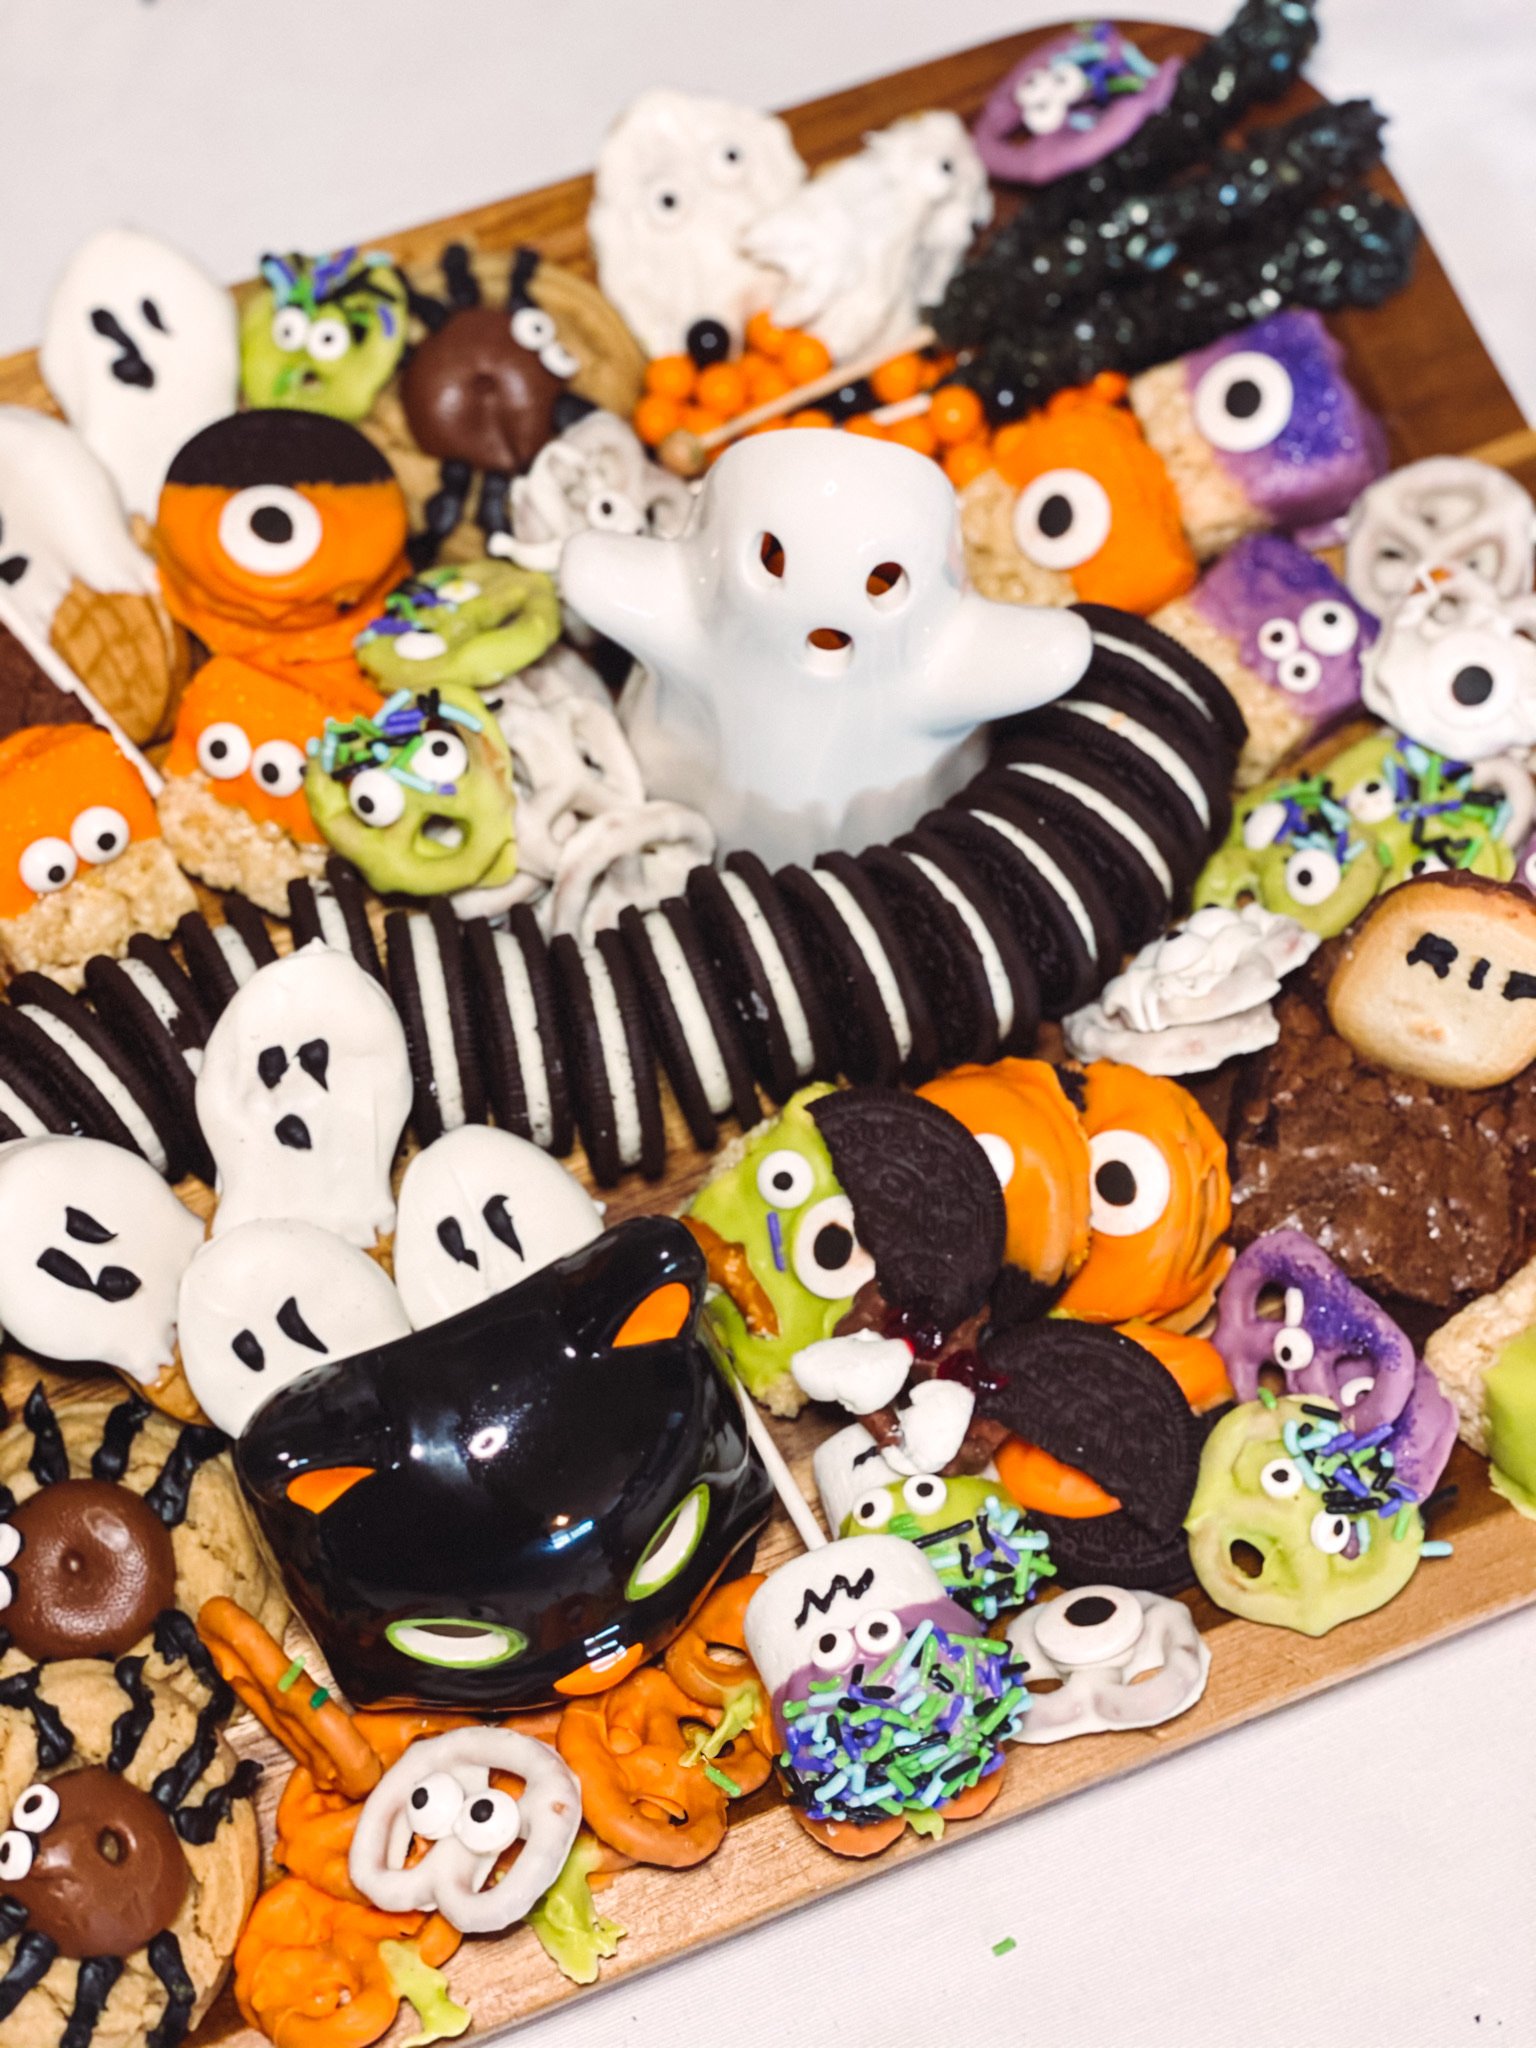
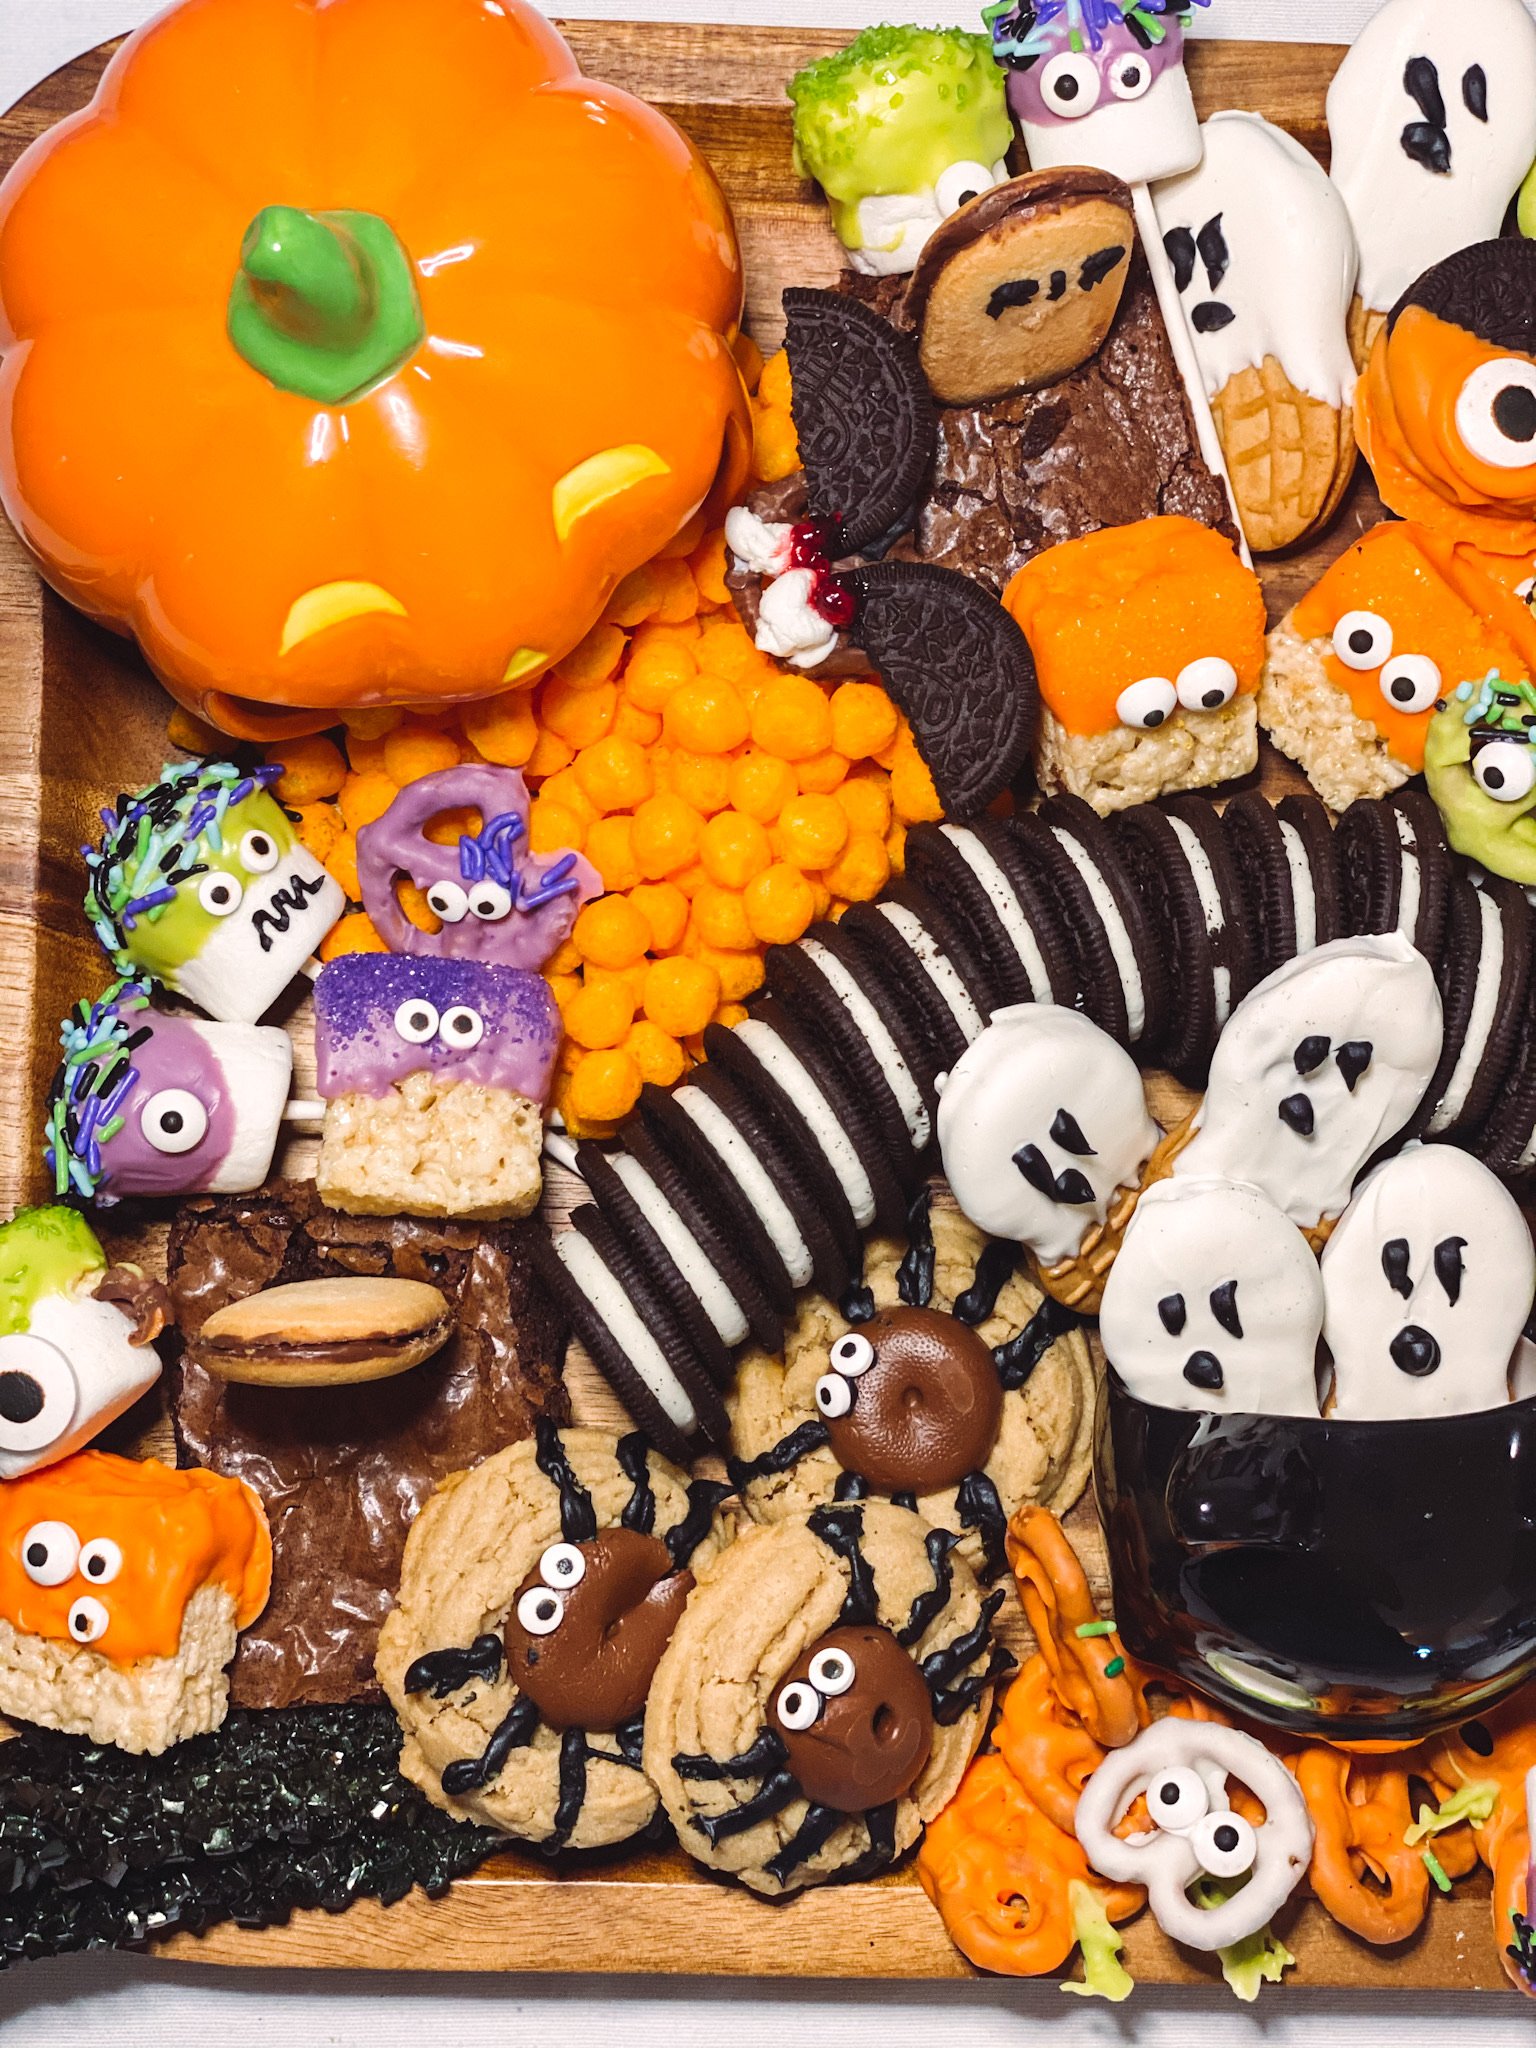
The easiest things are the Nutter Butter ghosts, Oreo and marshmallow monsters and the rice crispy treat monsters; and you assemble them all the same. First, set a tray with silicon baking mat to the side. Take your first treat and dunk it half (or three quarters) of the way into the candy melt color of choice. If you’re adding sprinkles, I suggest doing that next — you can either sprinkle right on or you can dunk the treat in a sprinkle filled bowl. Lastly, add the eye ball(s). I tried to do a few different styles for each one just so they all didn’t look the same. Then, place them on the prepared tray to harden. The facial expressions on the marshmallows were made with black frosting — and make sure you have a small pointed icing tip.
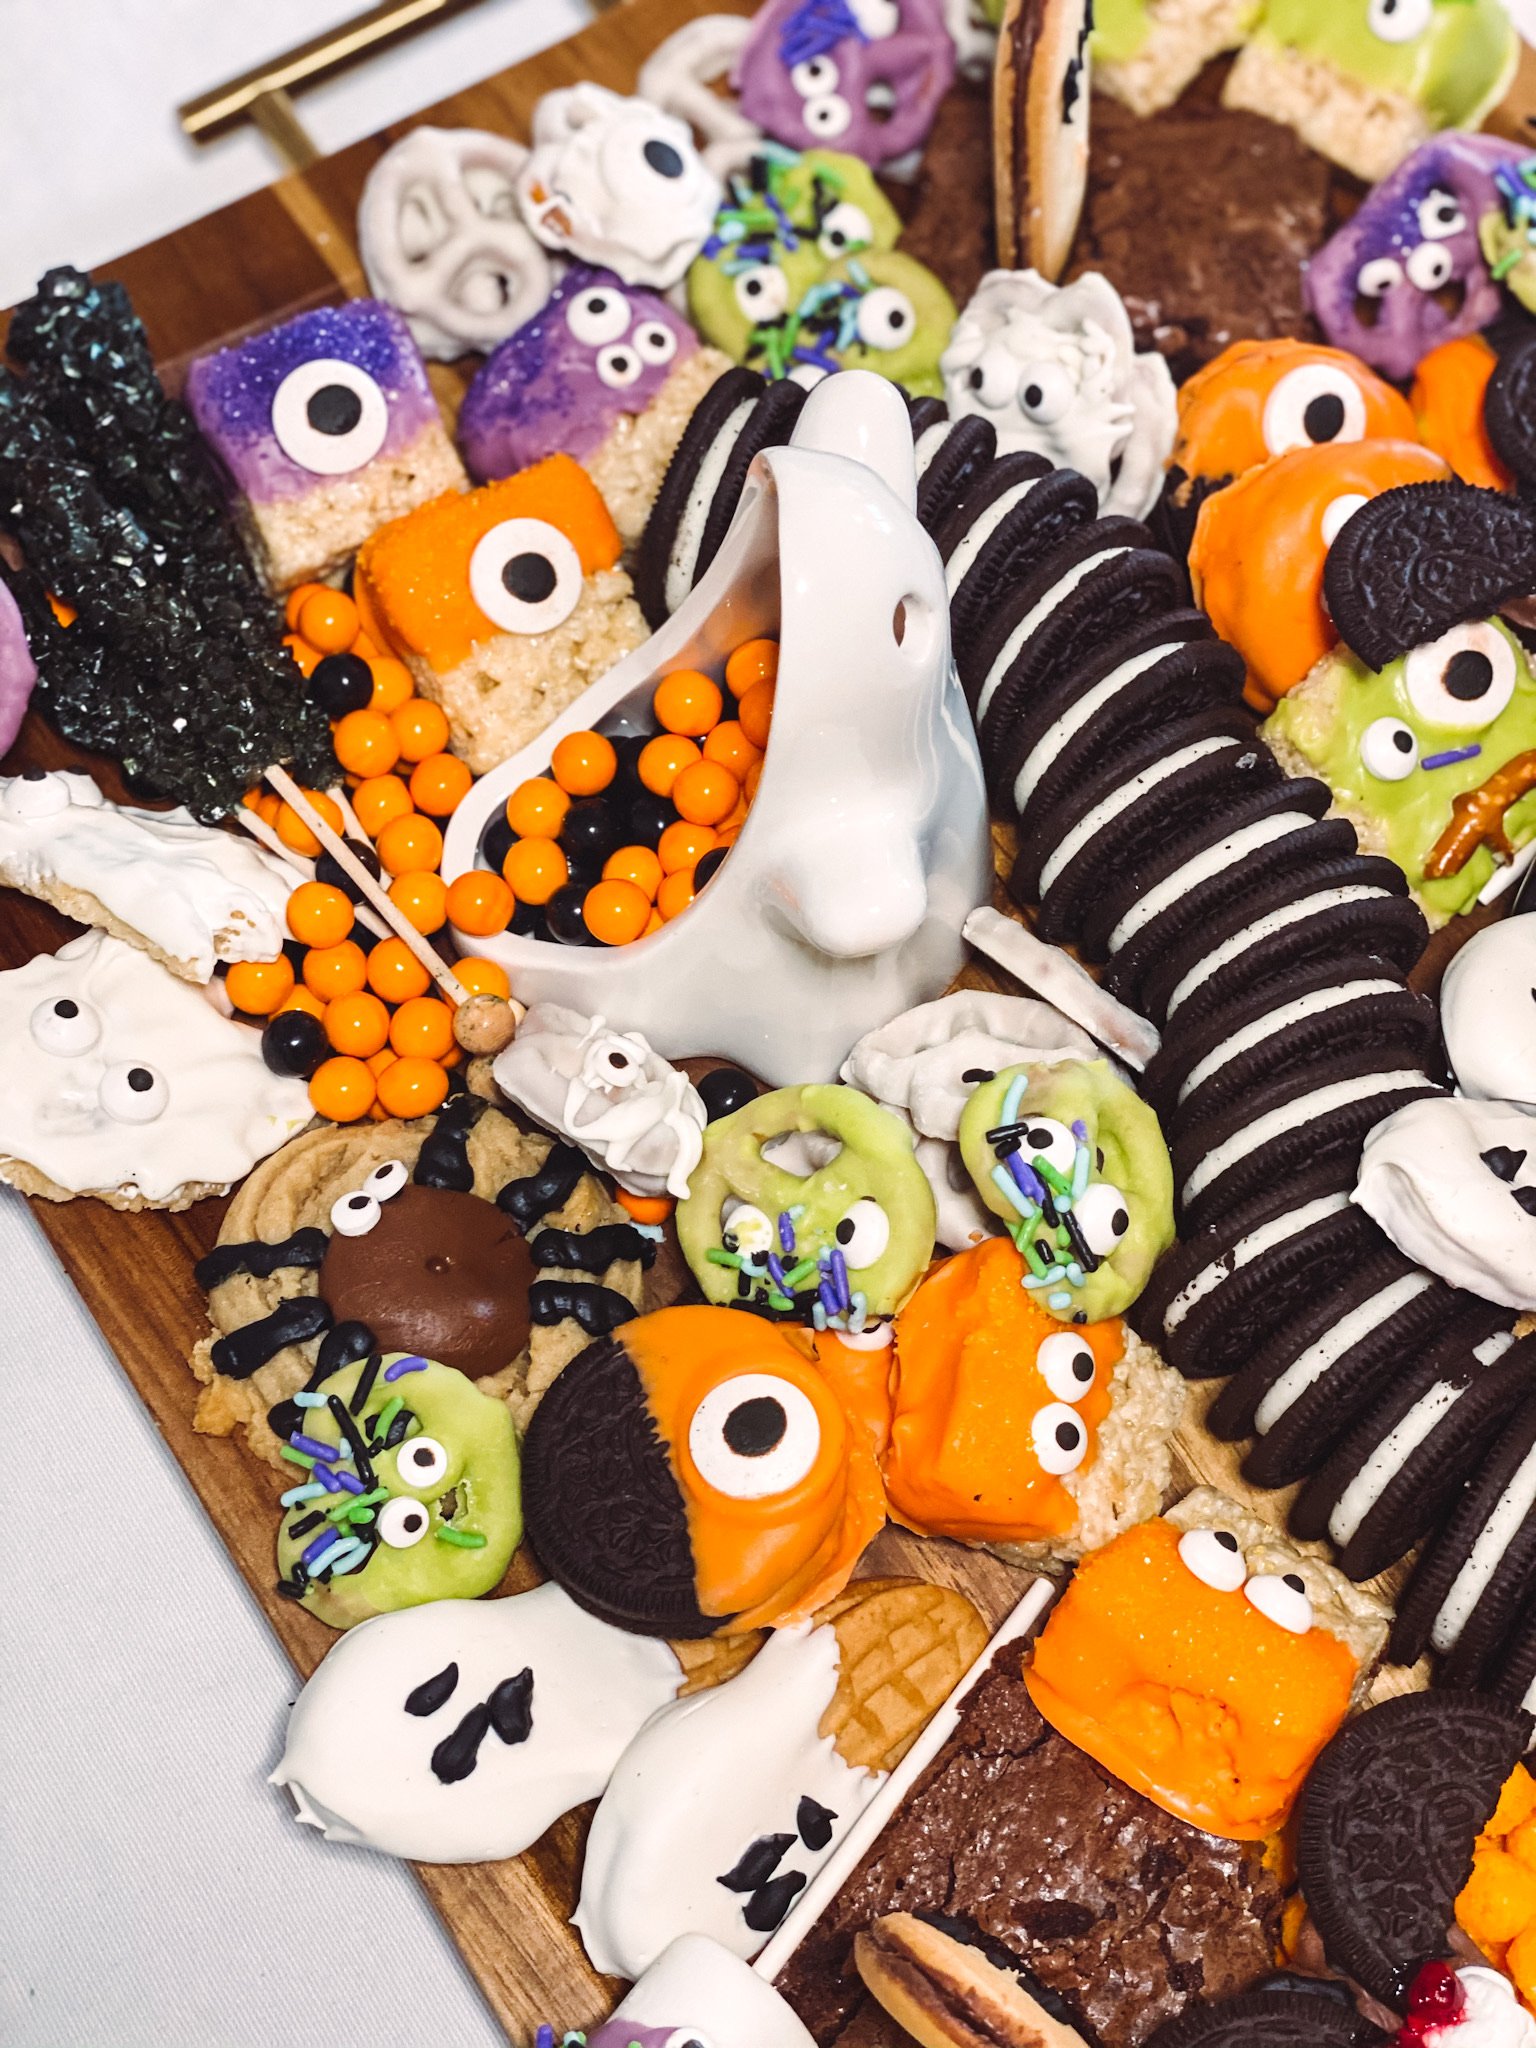
For the pretzel creatures, I made four different kinds. The white ghosts were just the regular white fudge covered pretzels and I added the eye balls with the white candy melt left over from the ghosts. The purple and green monster pretzels I made the same way as the treats before (dunk them in candy melt, add sprinkles and eyes, and set to harden). The pretzel bats were the hardest — I couldn’t get the marshmallow fangs to cooperate so I only made a few. For those, take half of an Oreo cookie, and cut it in half. Add frosting (or candy melt) to the pretzel and place the Oreo halves on top to set. I put another pretzel under each cookie while it was drying to make sure it stayed upright. The red eyes were made with icing, but you can also use a mini M&M. And like I mentioned, the fangs are marshmallow pieces. Another alternative, and an easier one I might add, would be to use mini Reeses cups instead of pretzels and the candy eye balls.
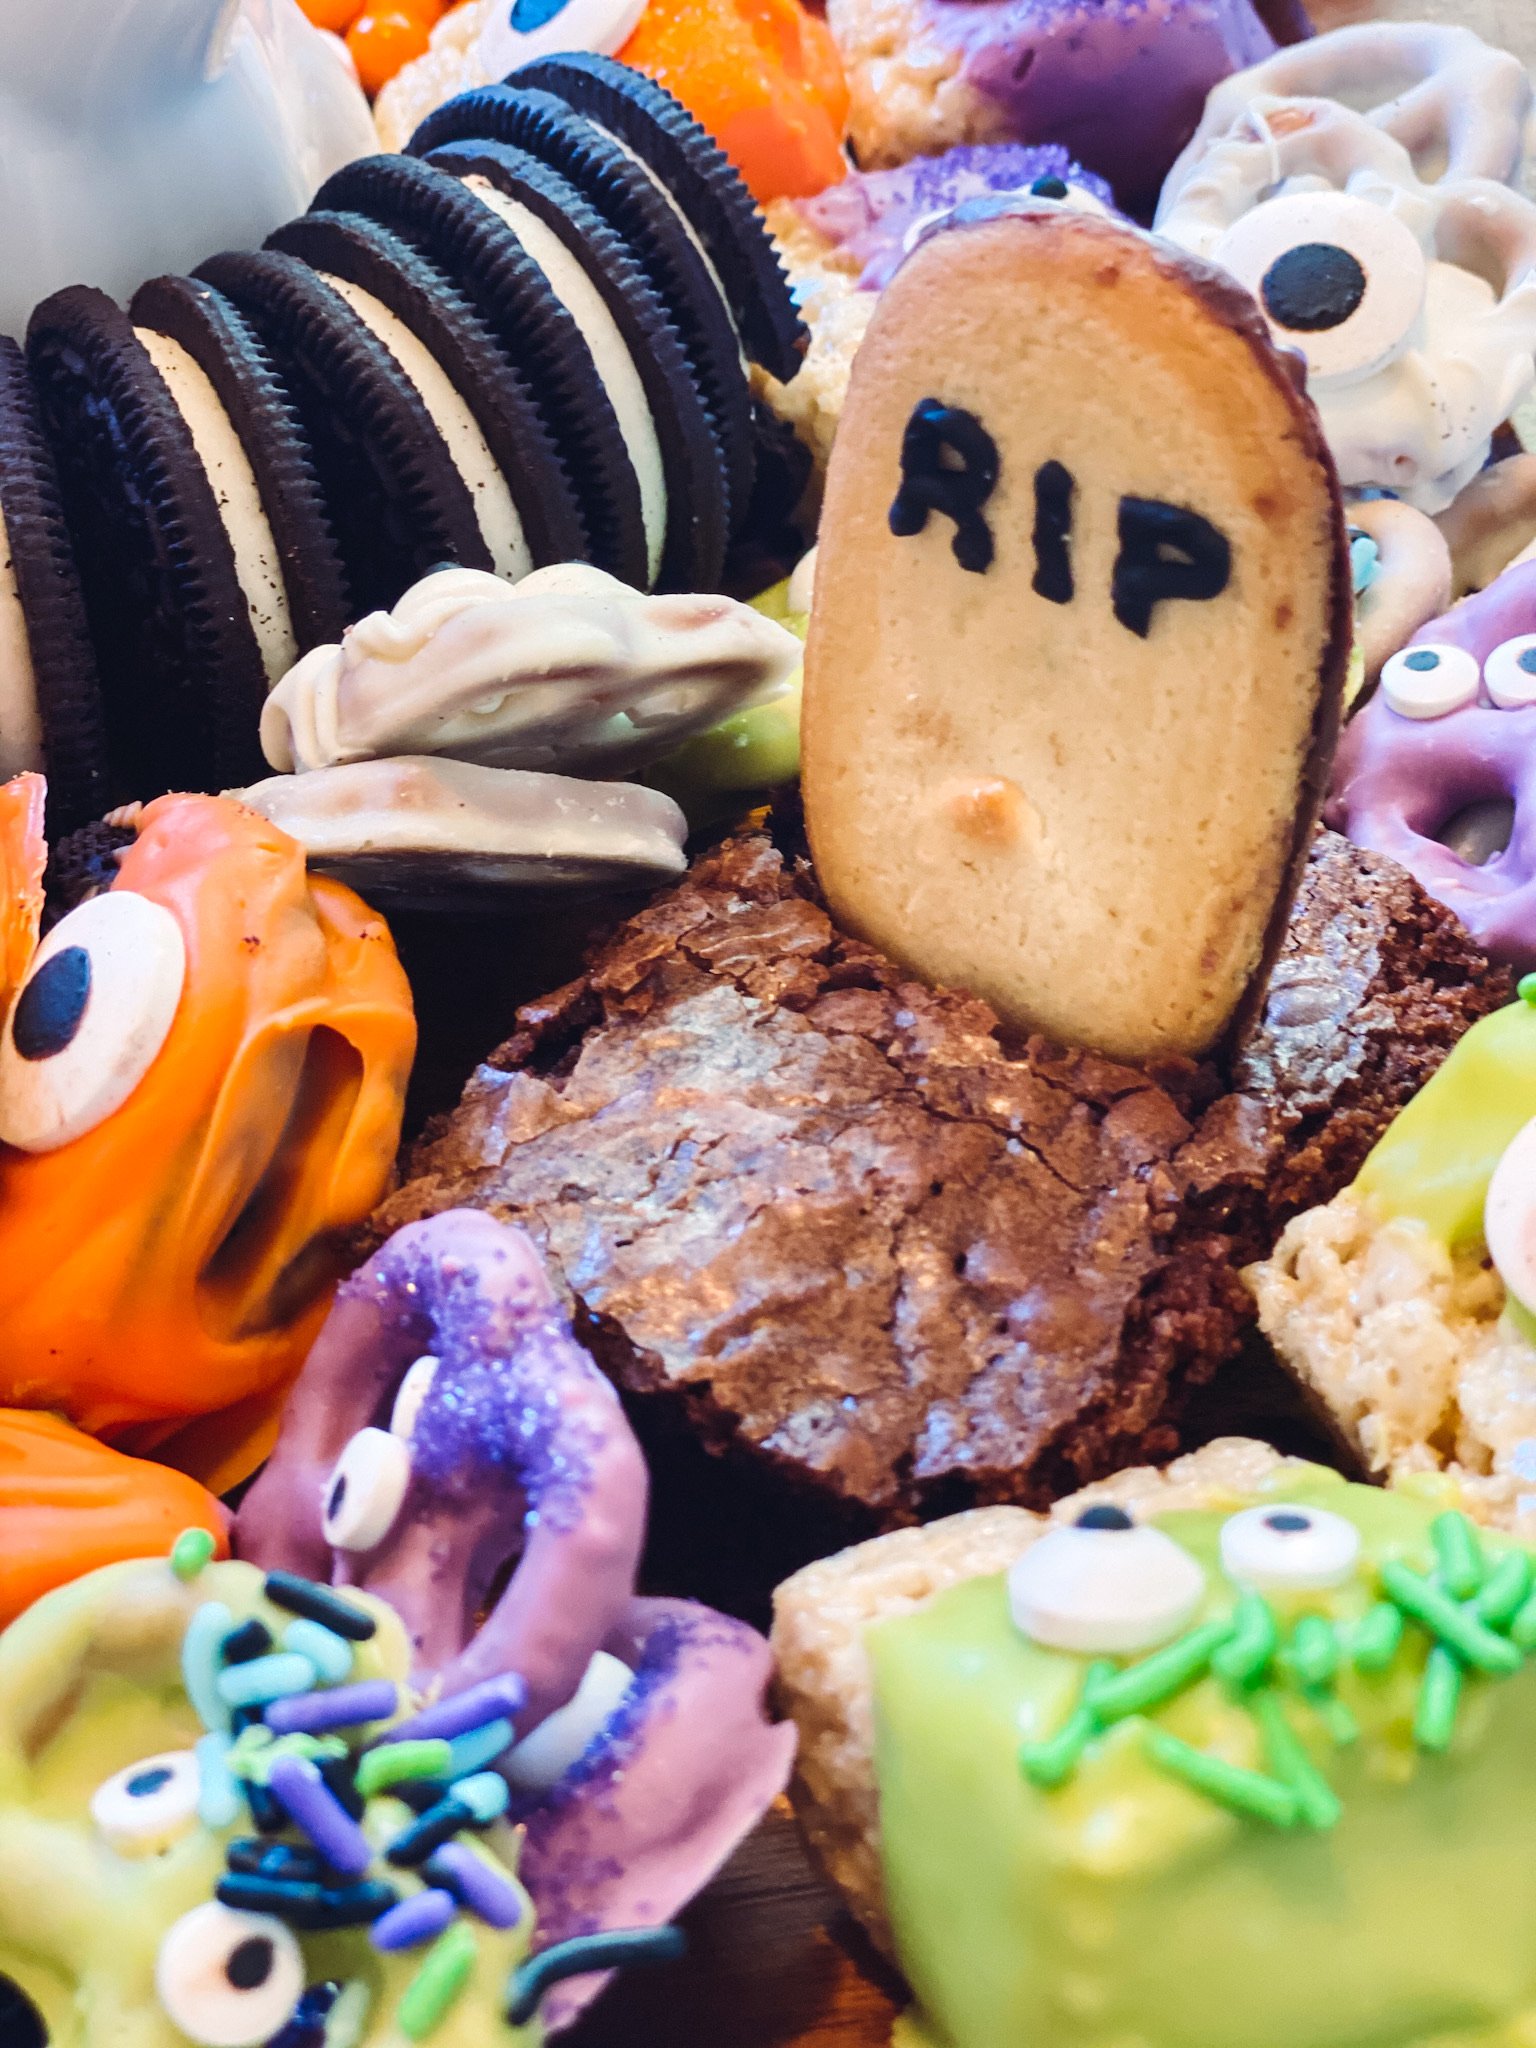
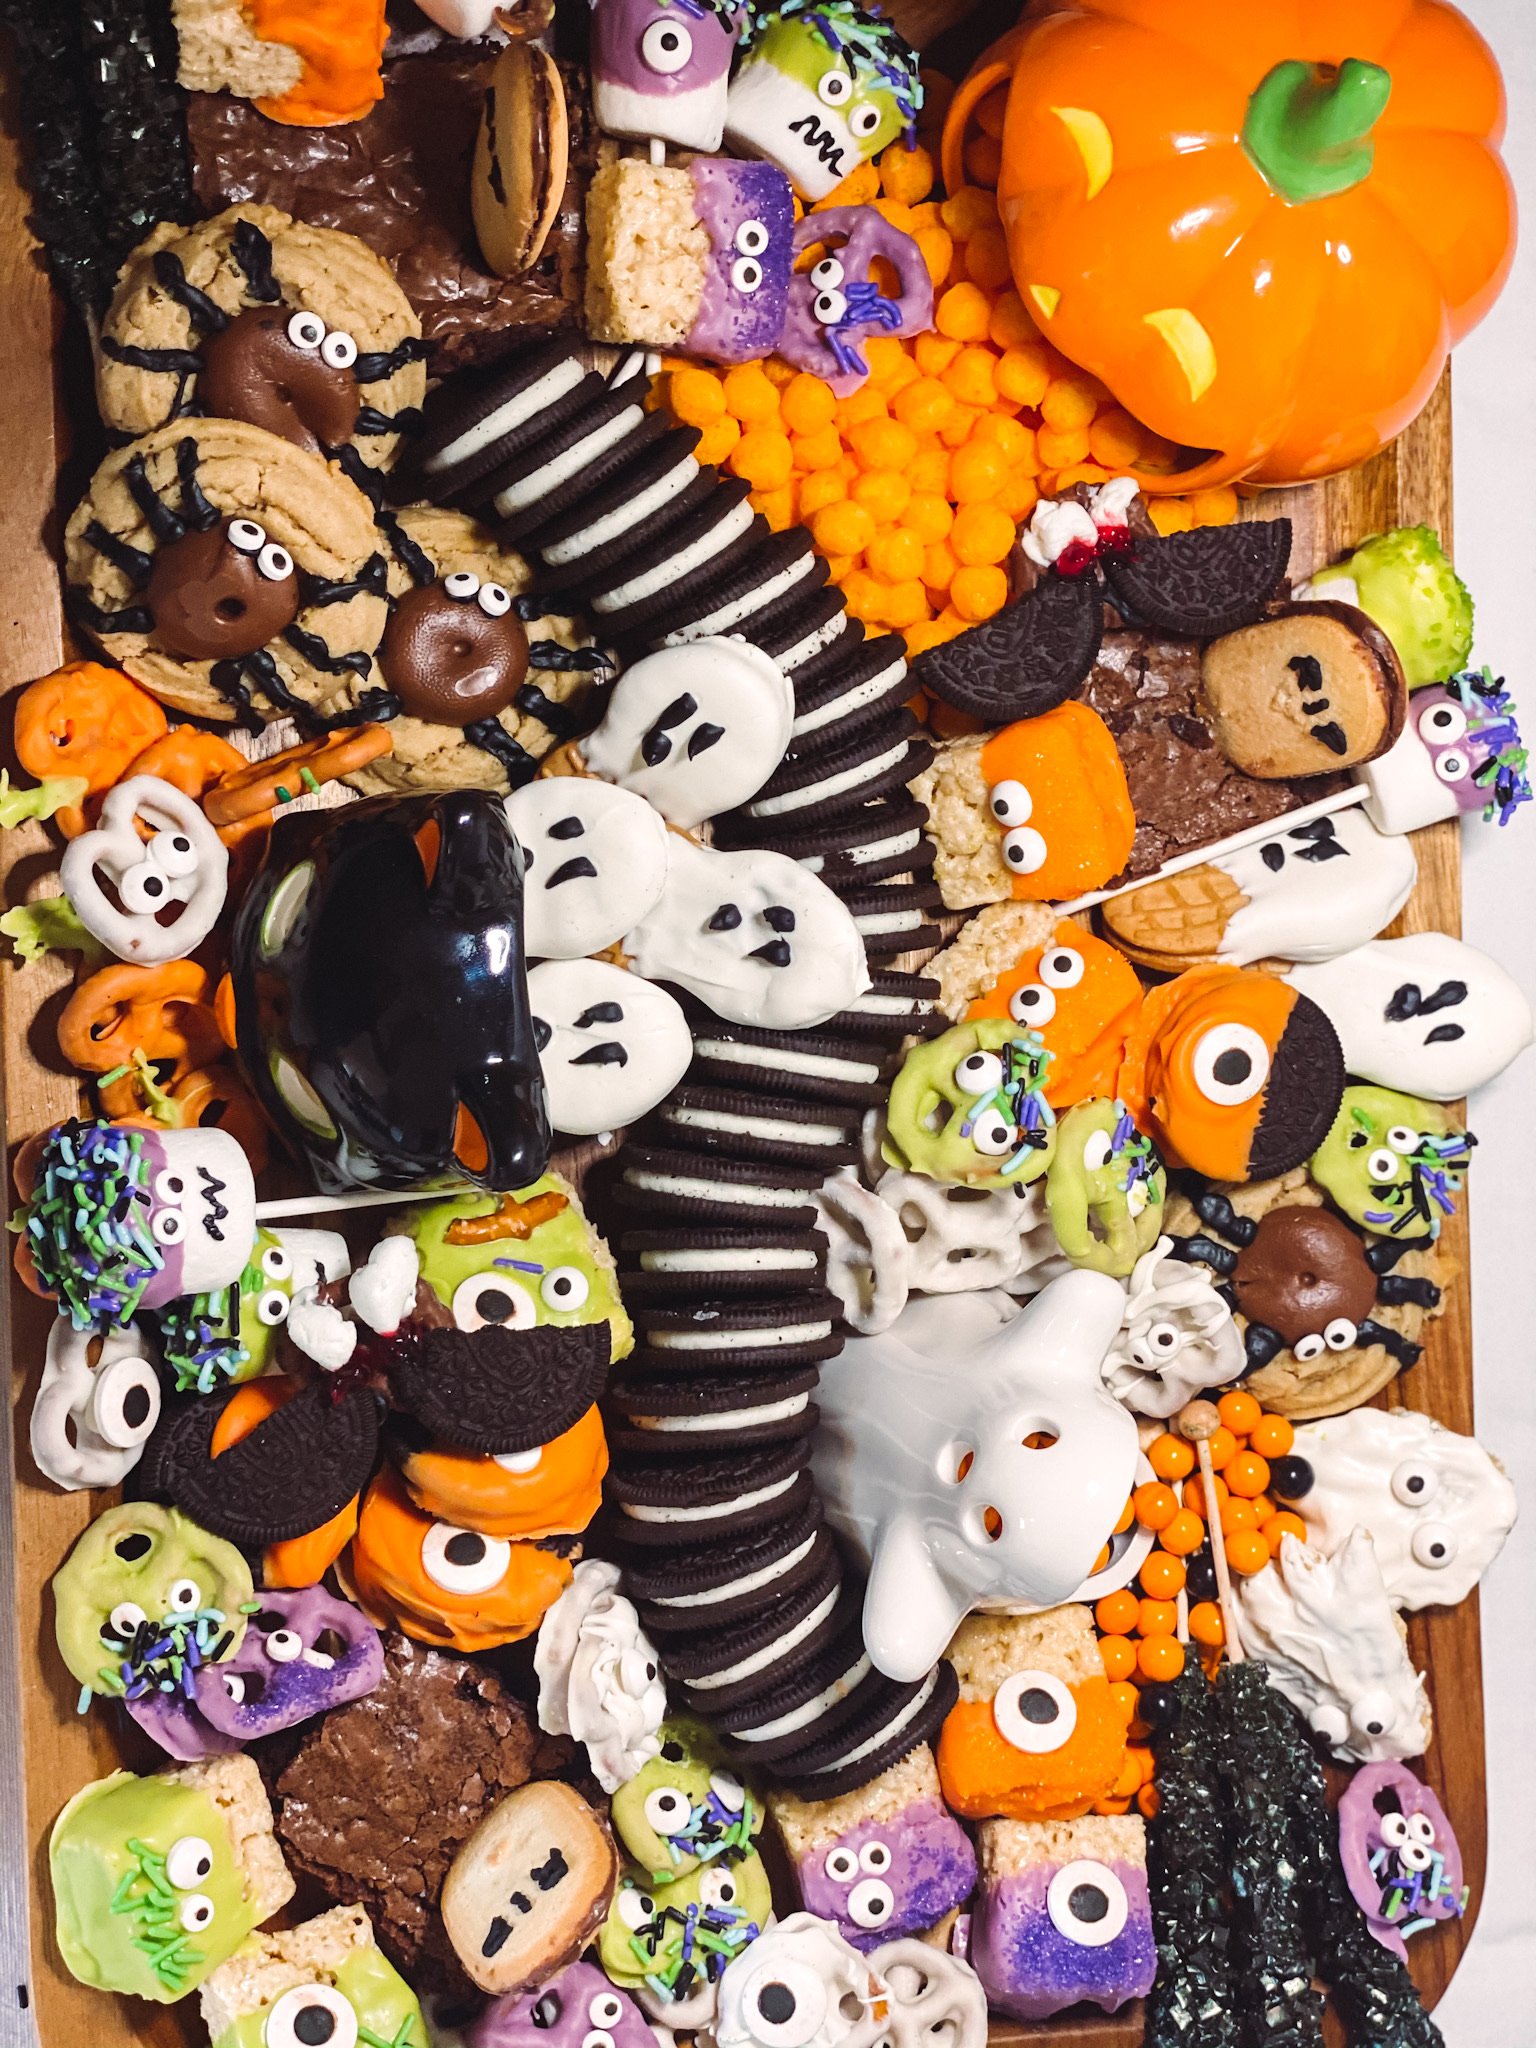
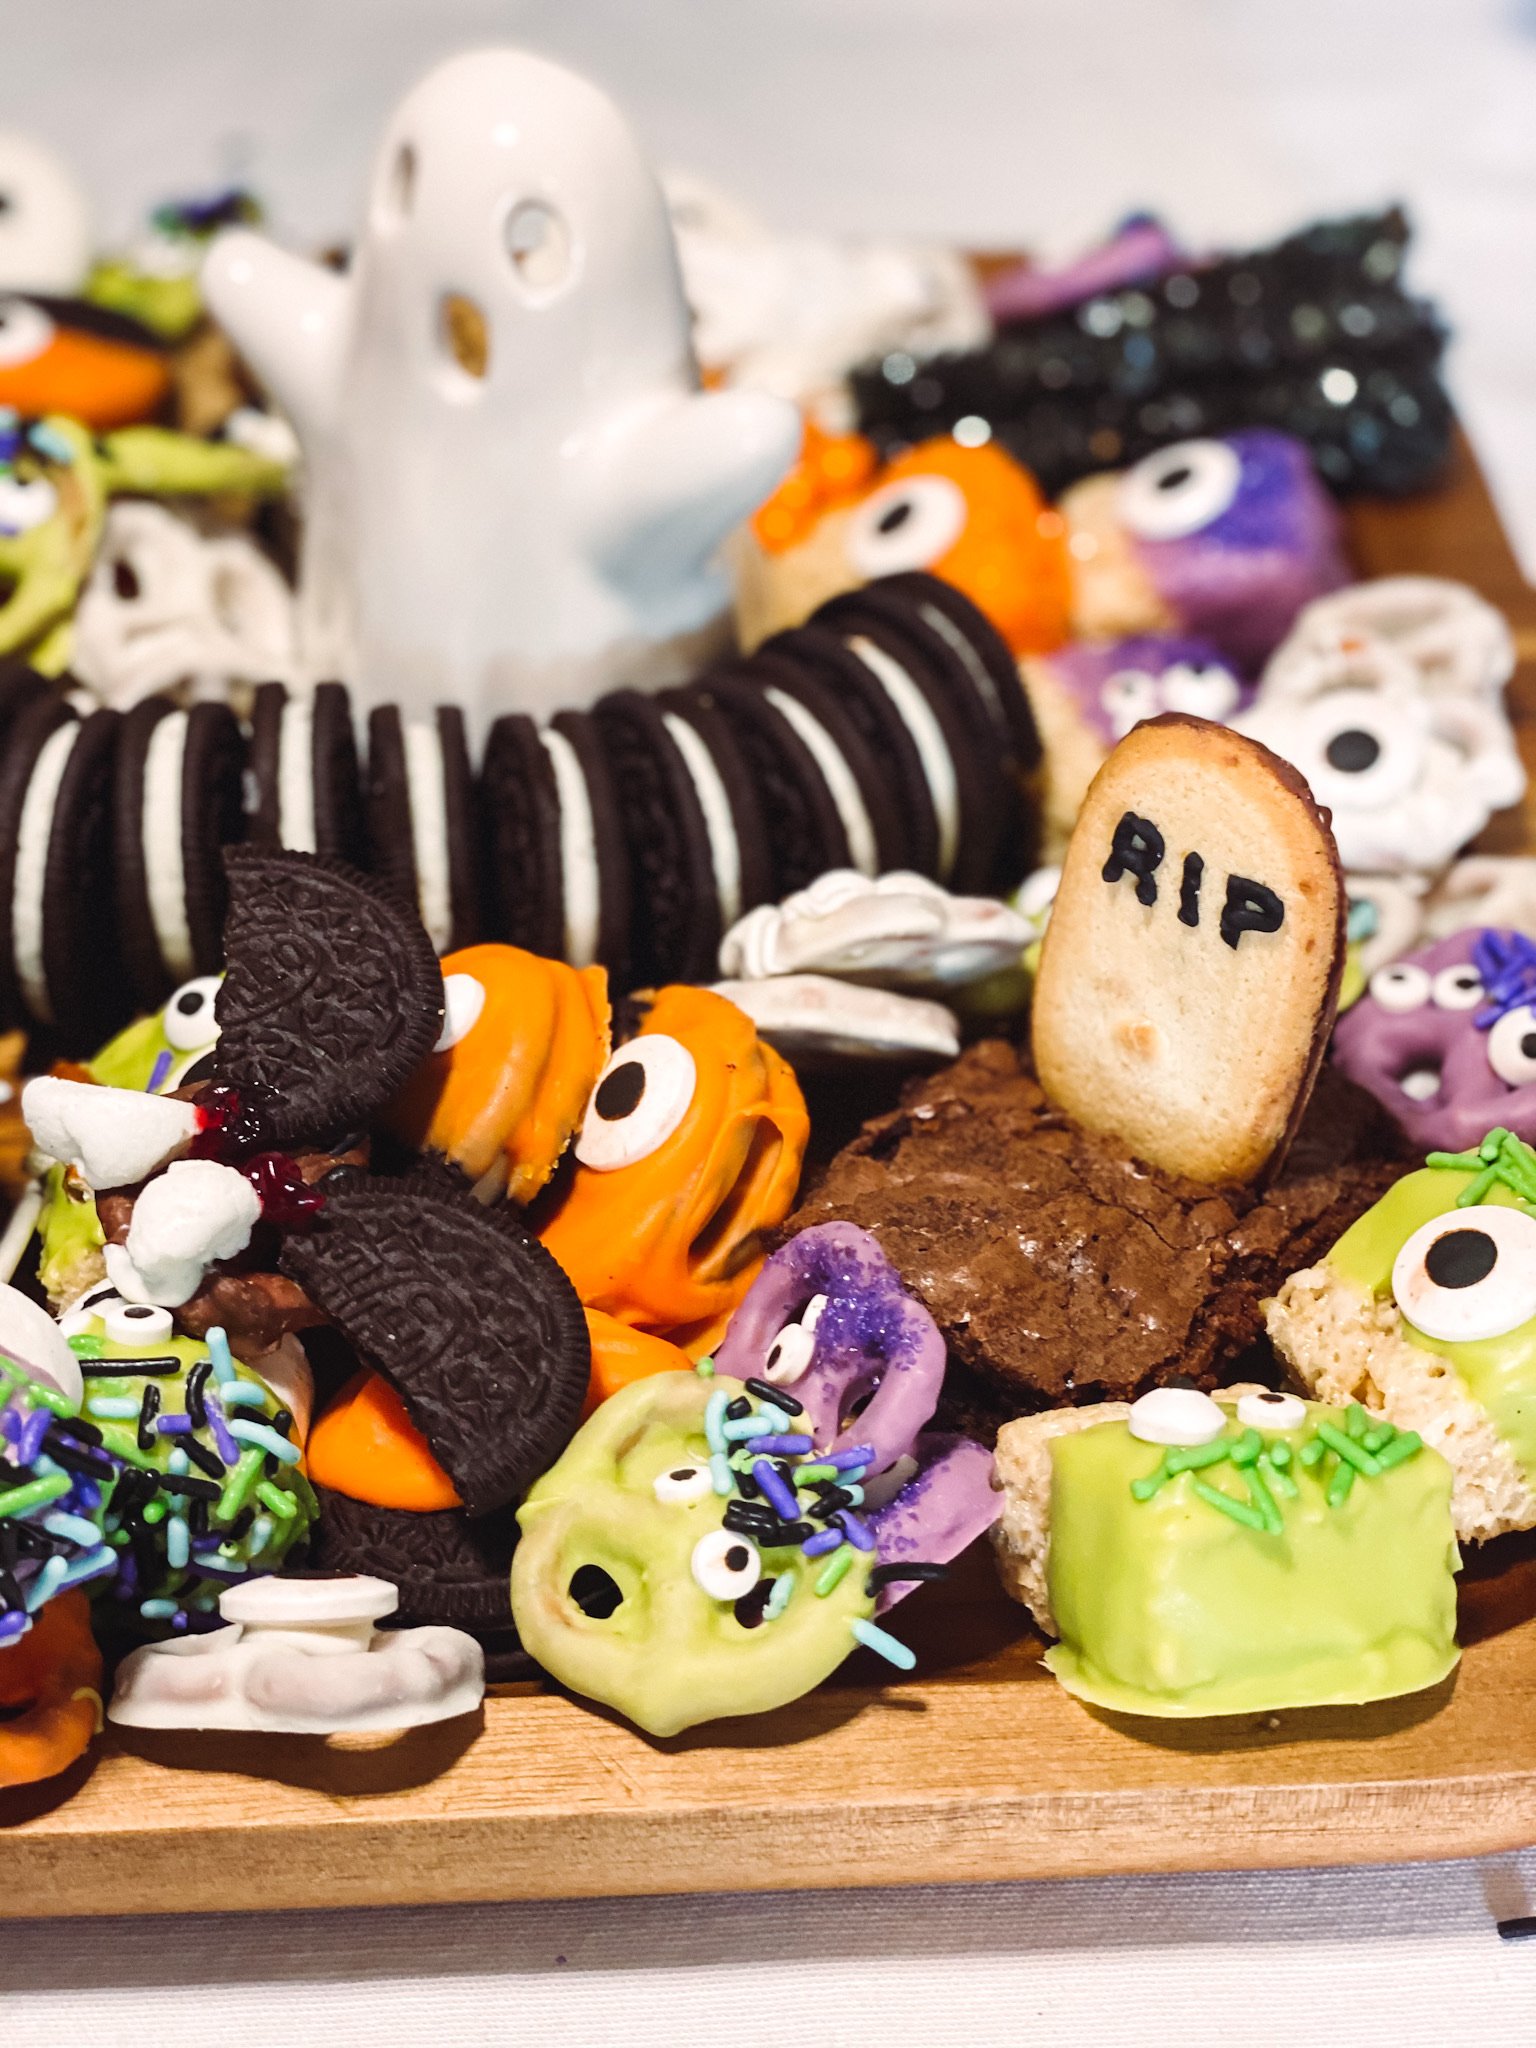
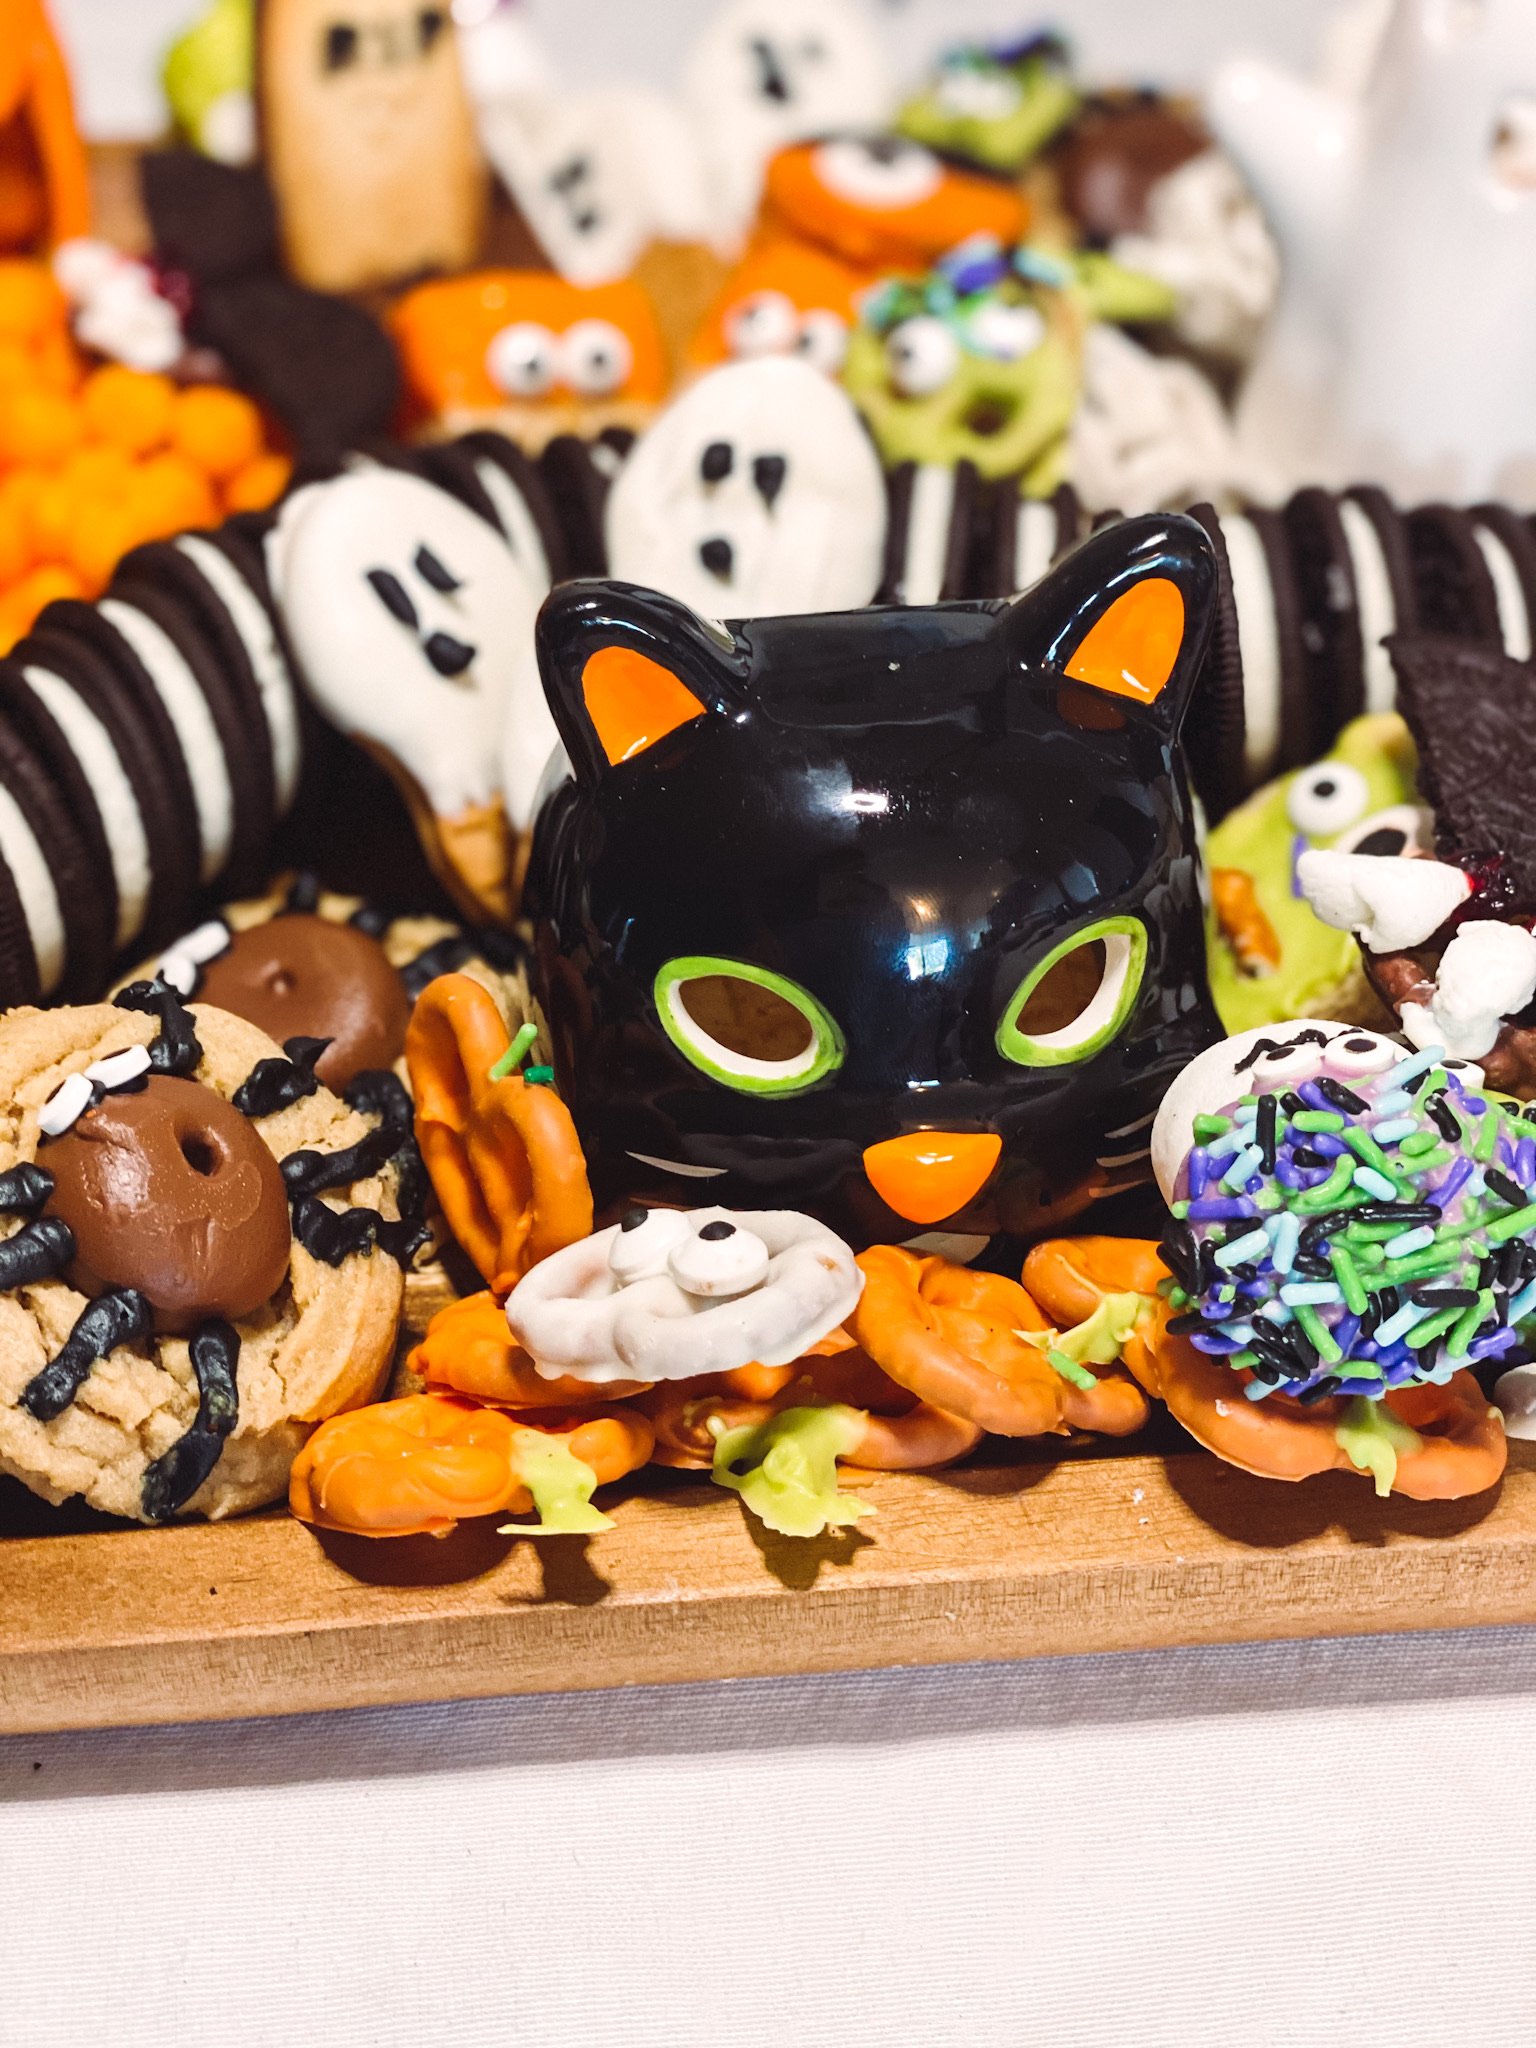
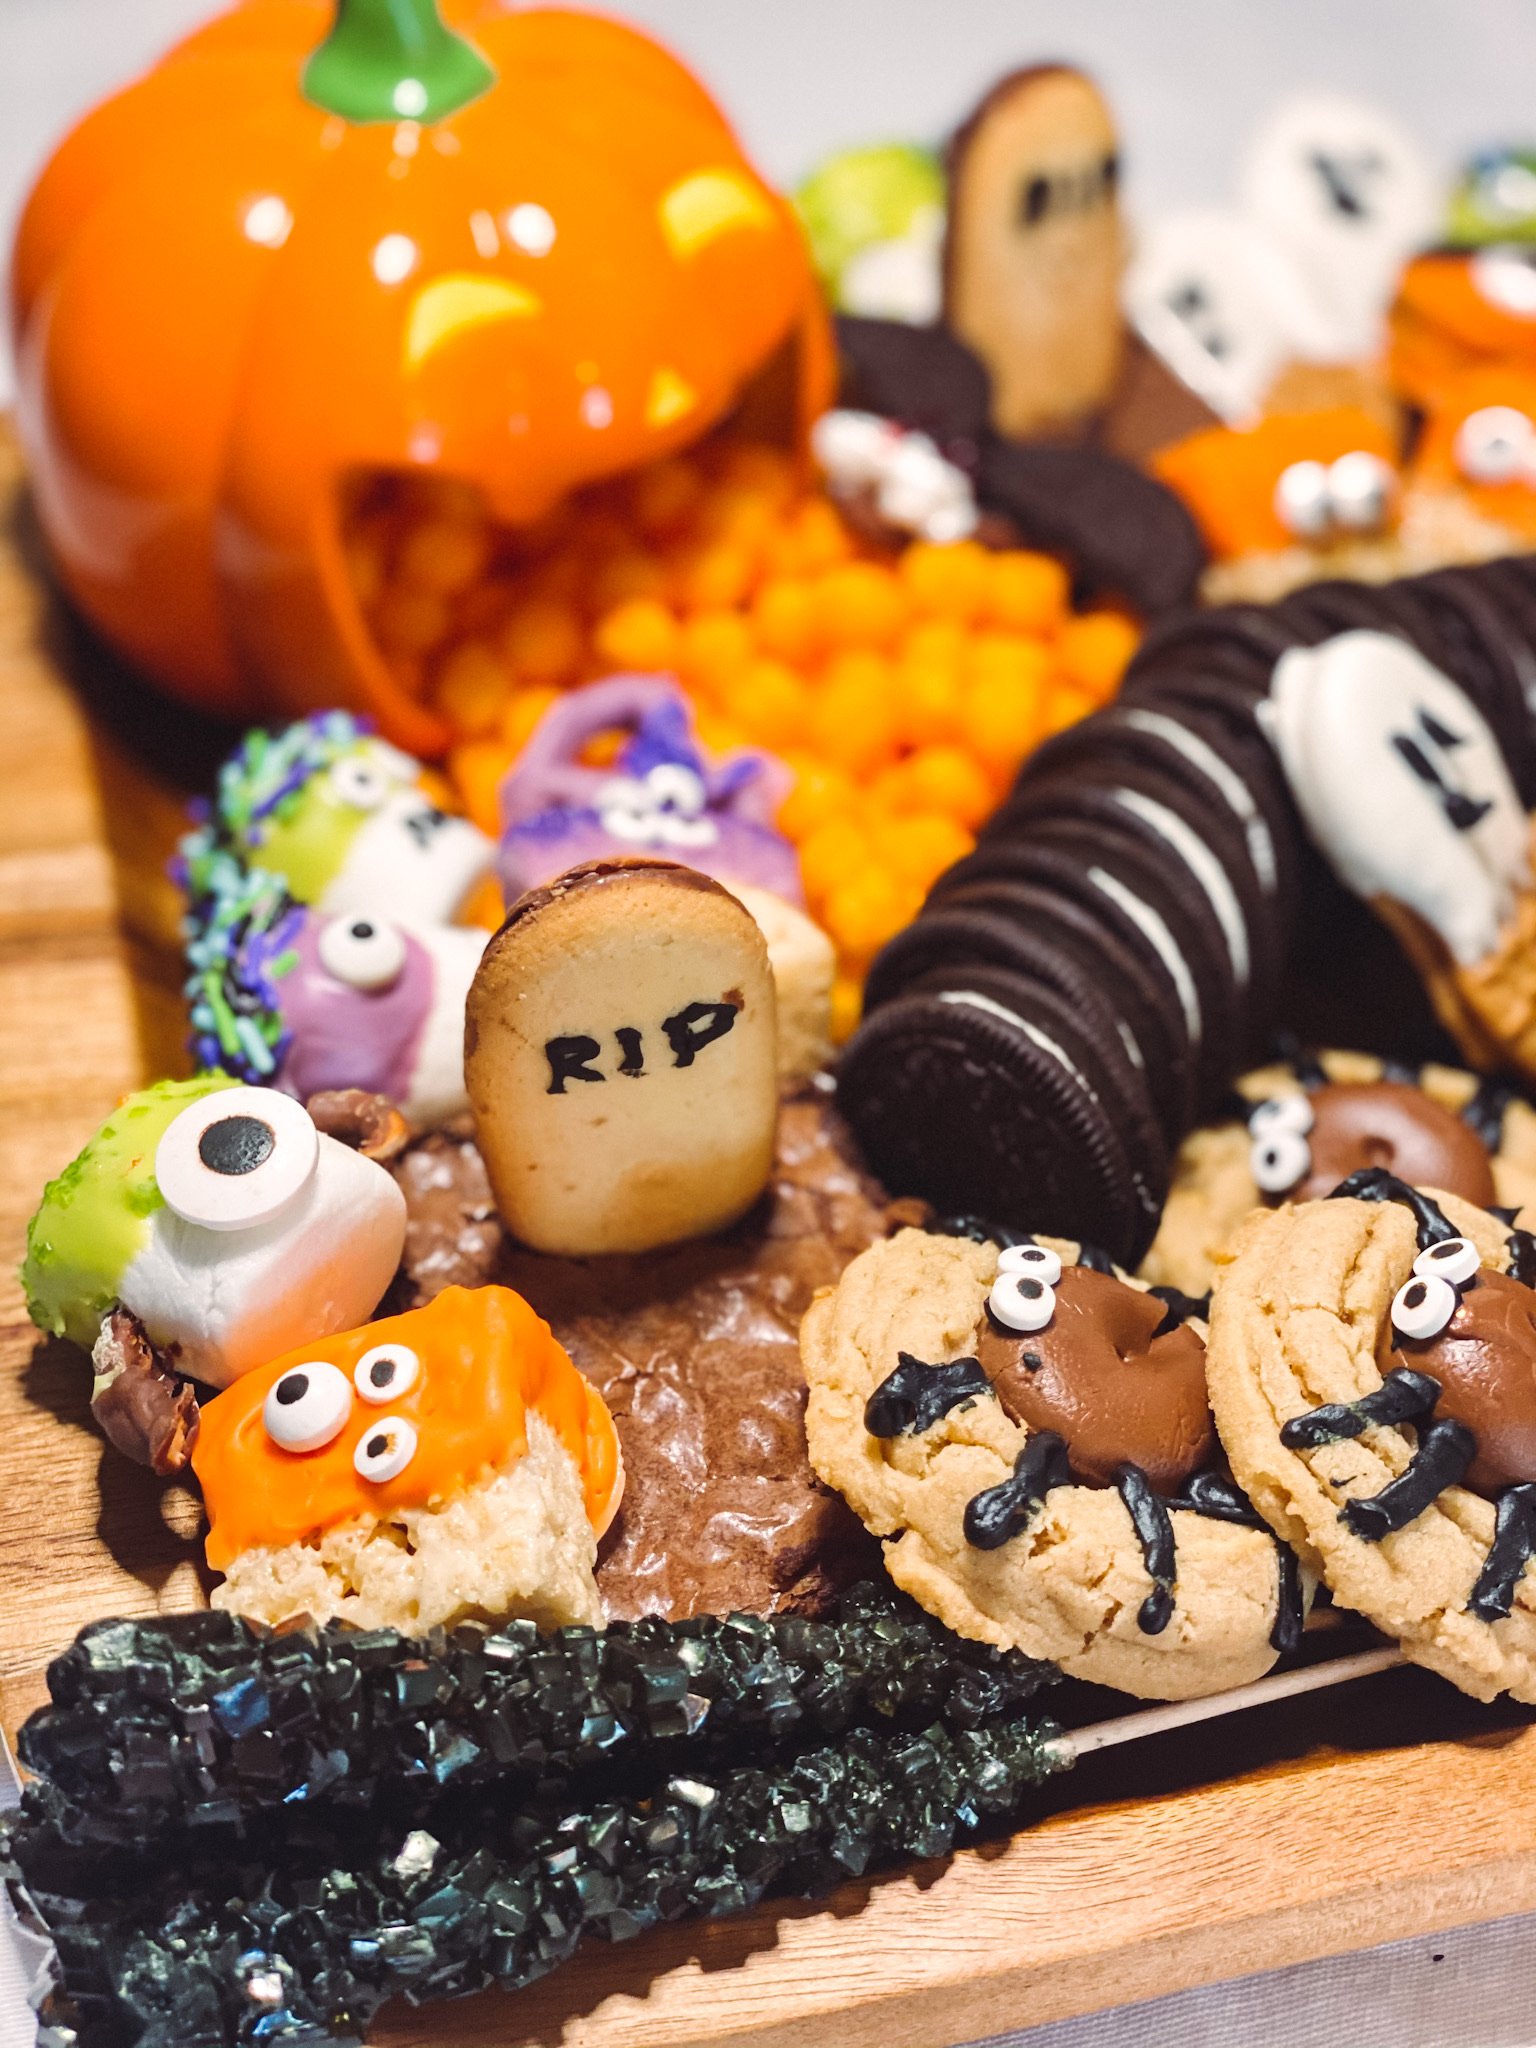
The brownies and cookies are fairly straight forward and I used a boxed brownie mix because I was so over baking. Just follow the directions on the box, then cut out squares and add a Milano cookie at the ends. I suggest adding the cookies before the brownies get too hard otherwise it’s tough to push them in. Or you can cut out a little spot for them too if that’s easier. The RIP is also black icing. The spider cookies are peanut butter cookies with a caramel filled chocolate ball on top. The legs are black icing and the eye balls were too cute to resist.
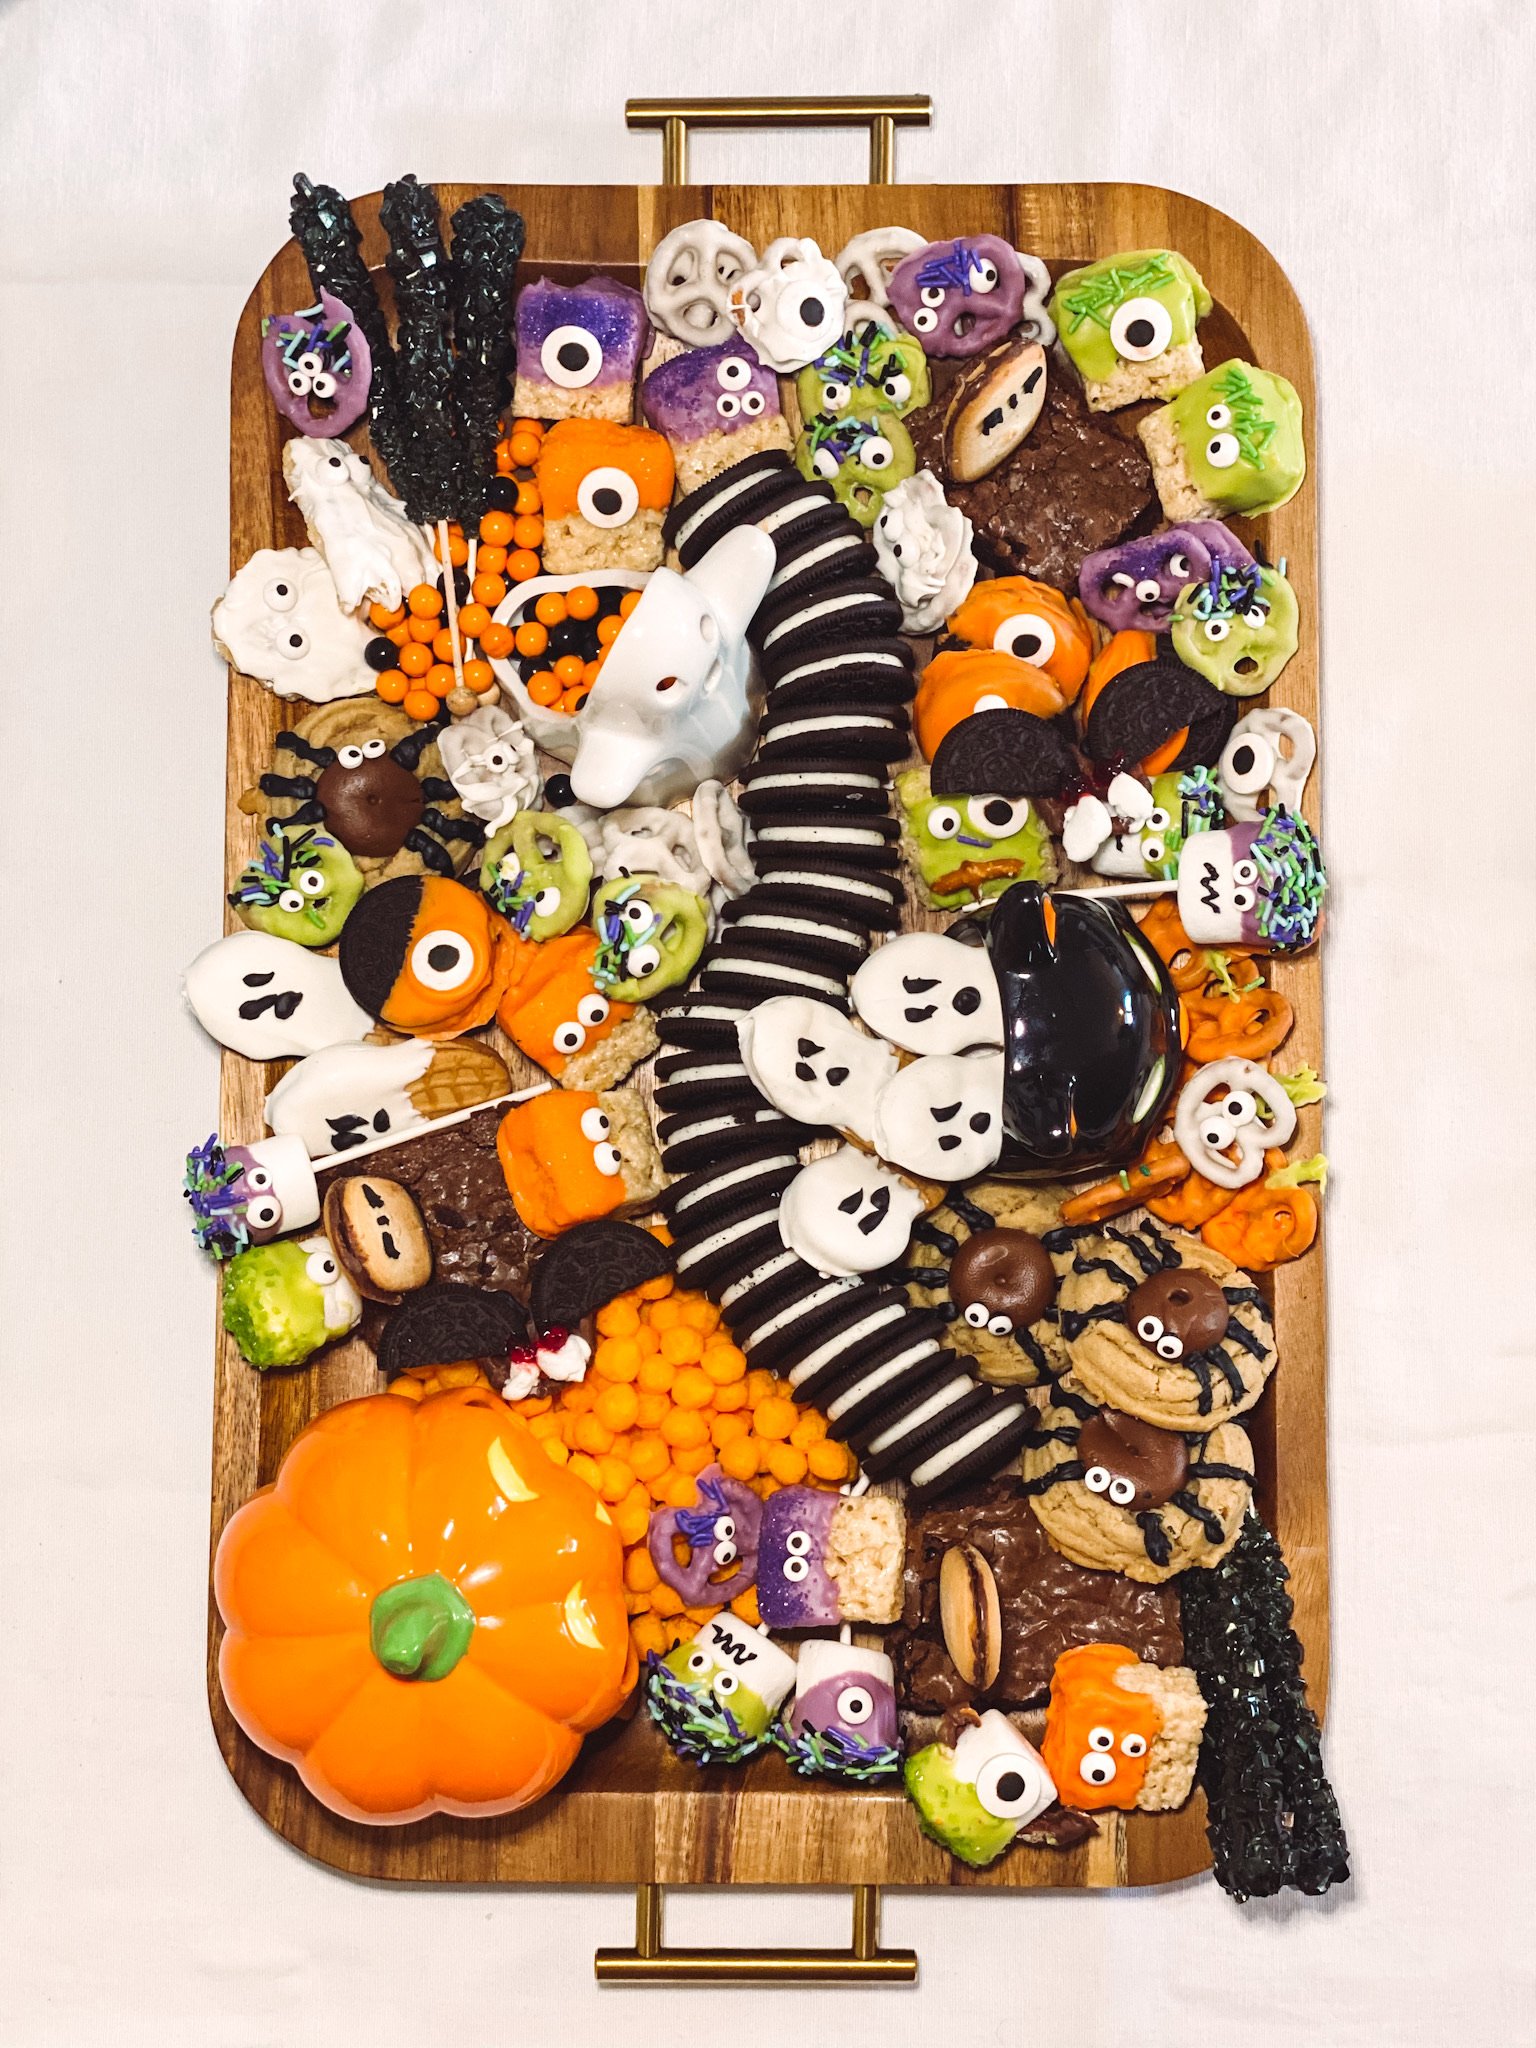
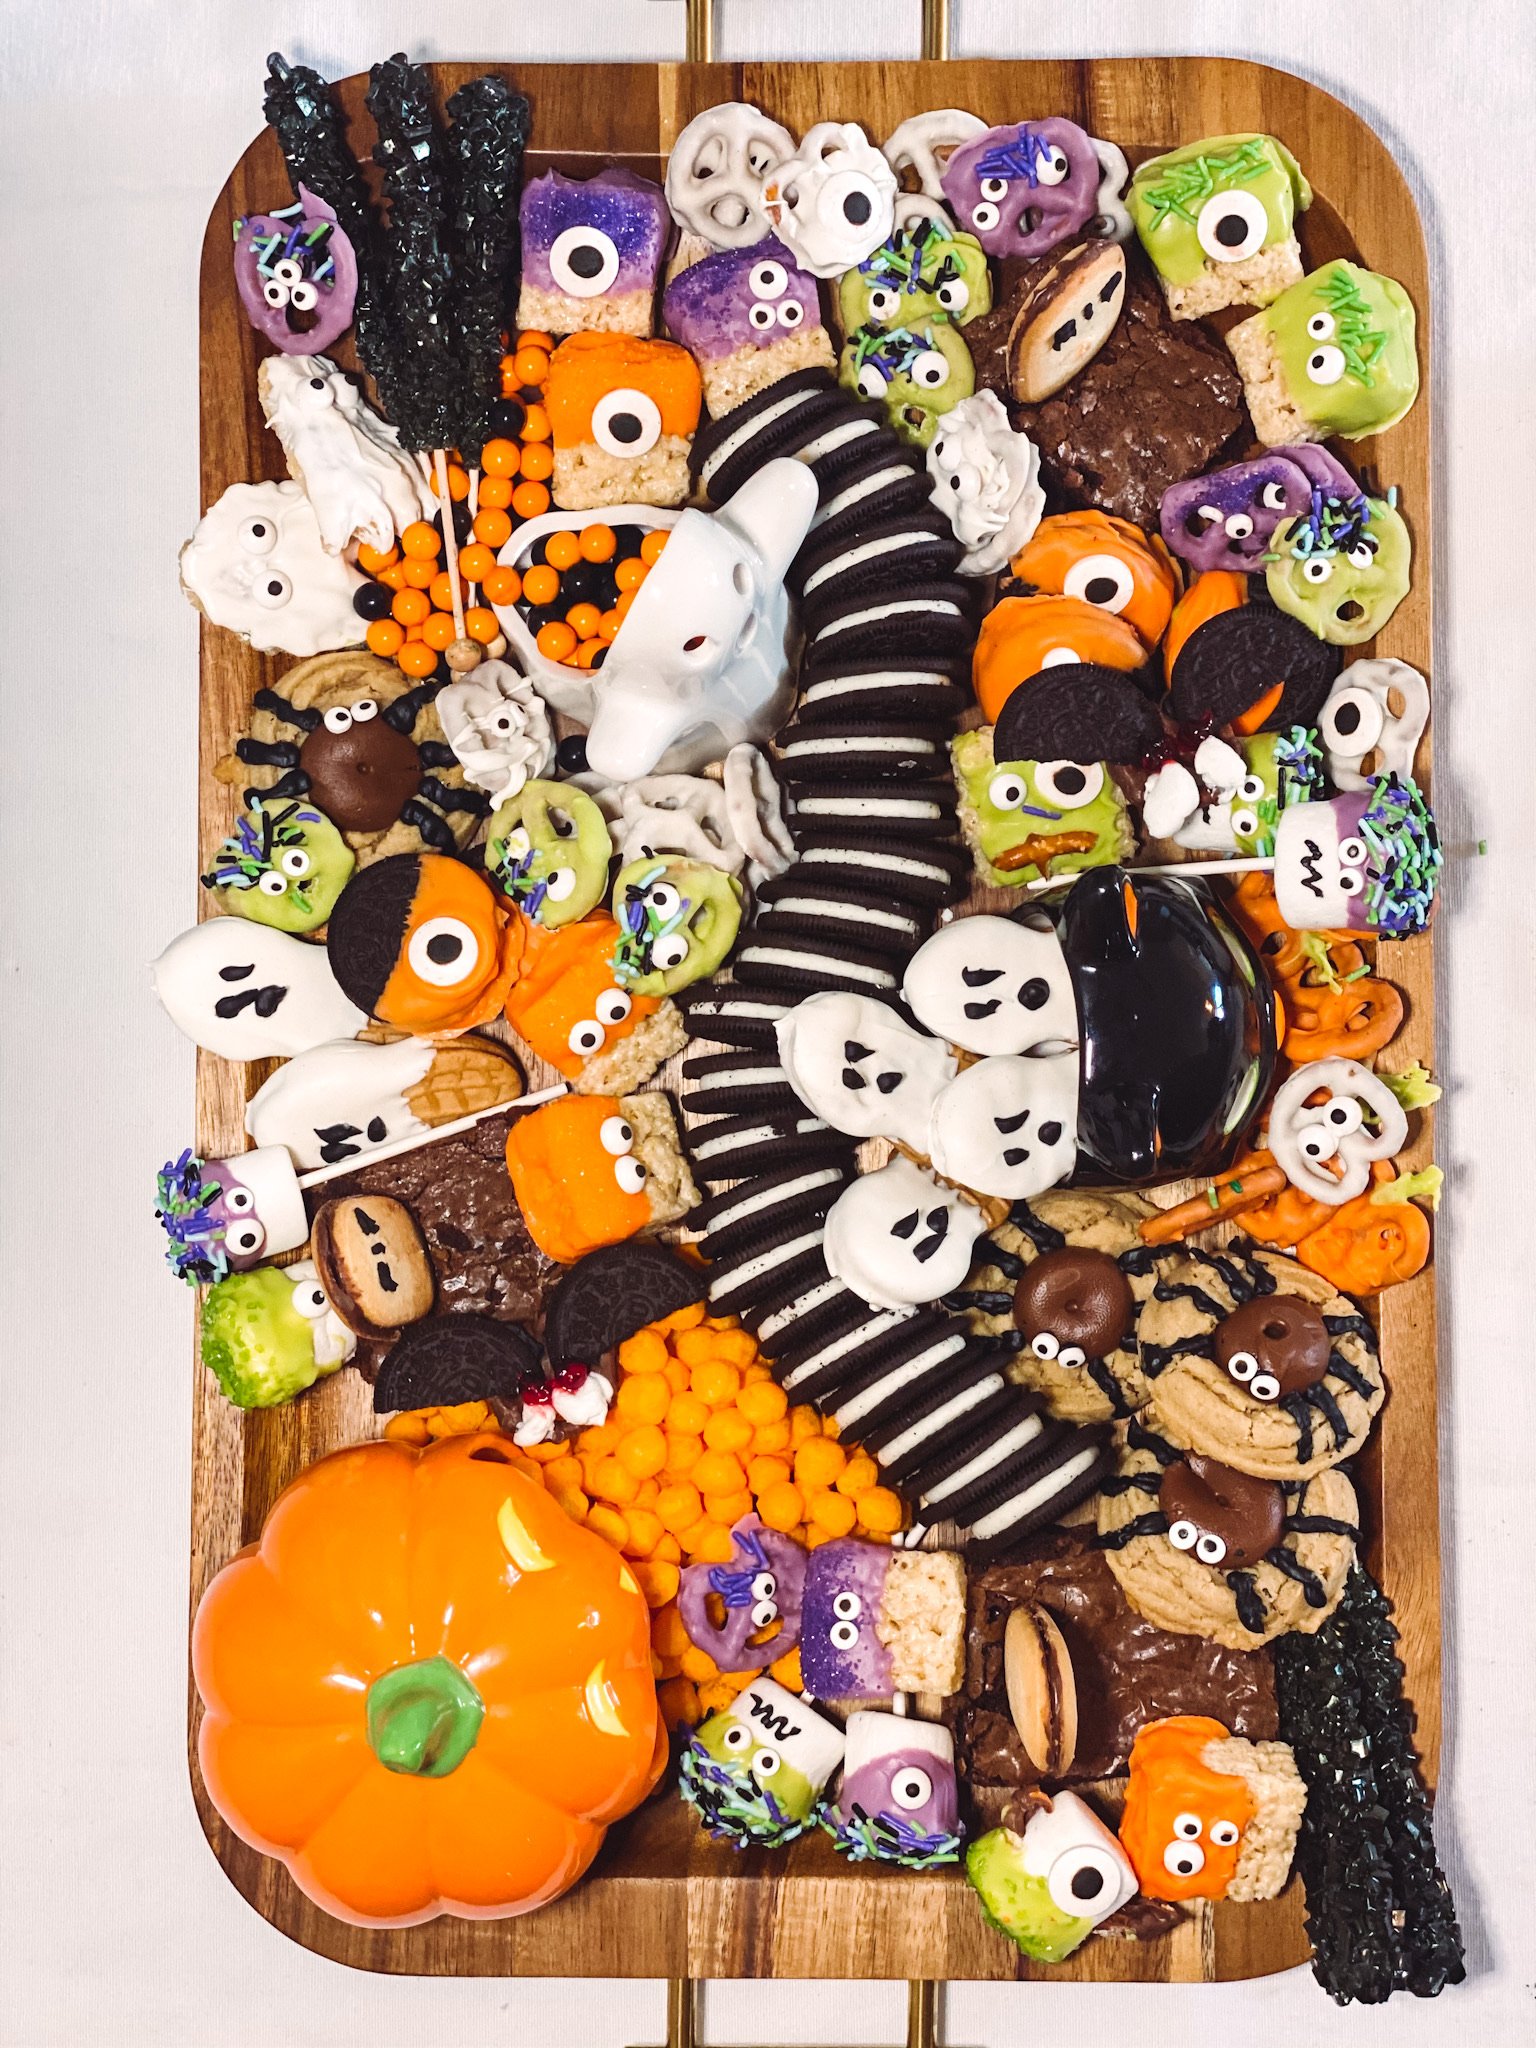
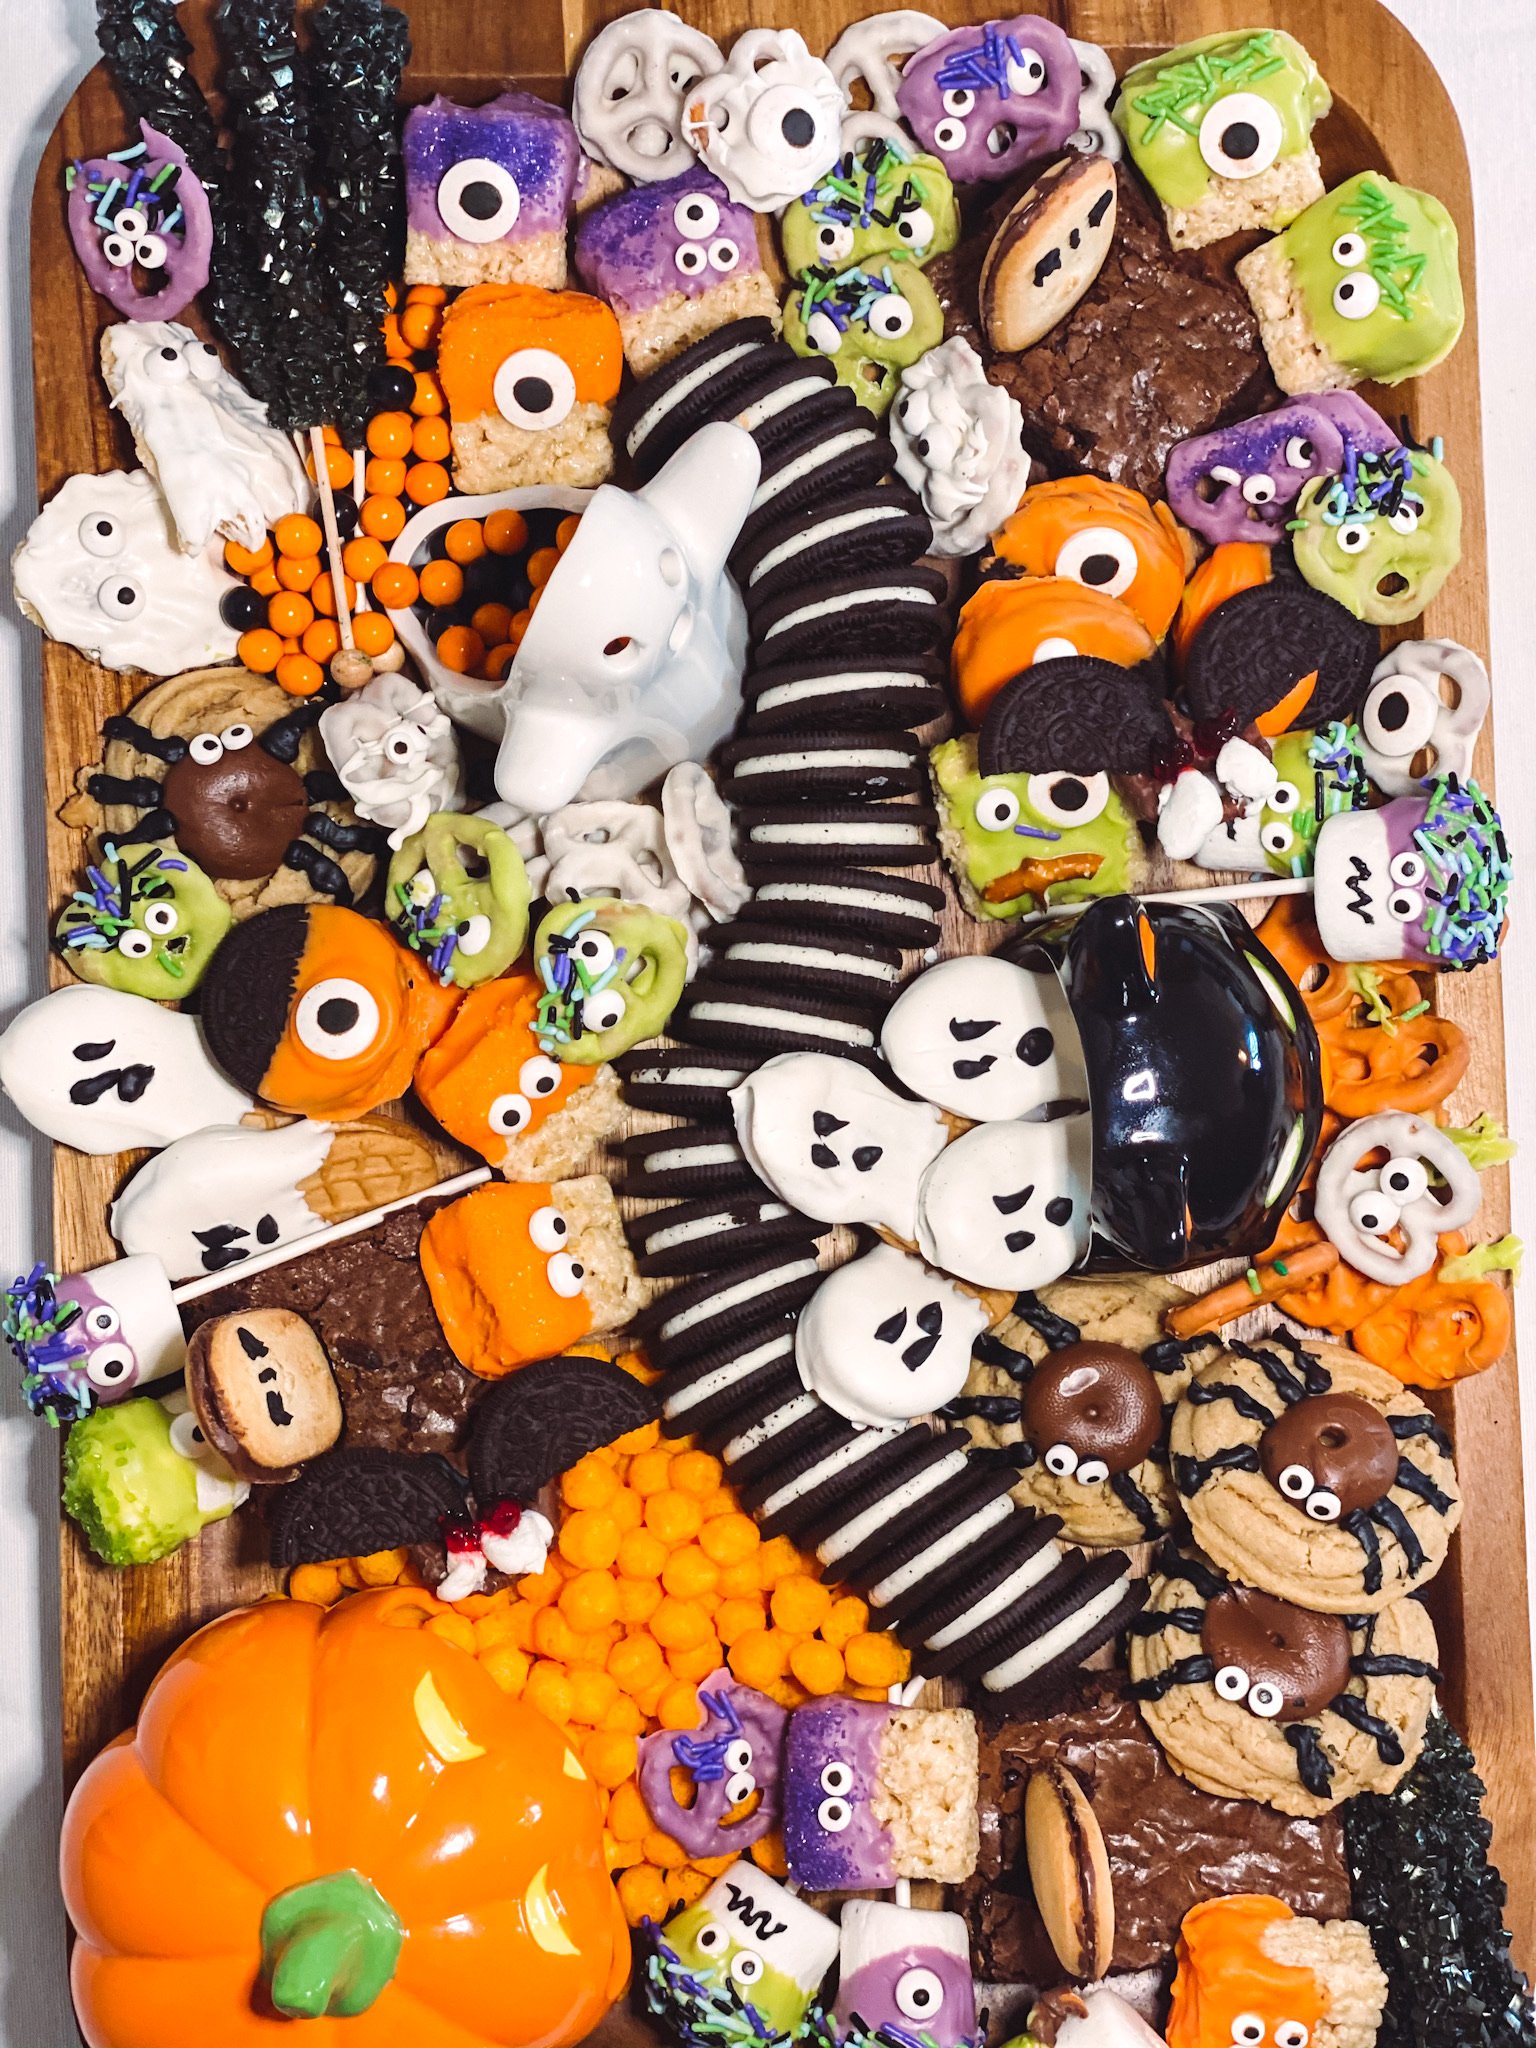
Now that all the creatures are made, it’s time to assemble the tray! Start by placing the ceramic holders on the tray — it’s always easiest to start with the big things first. So next, add the brownie graves. Then start with some of the rock candy, Oreo monsters and Nutter Butter ghosts. I grouped a few of the rice crispy treats together to create little monster friend groups. Same with the lollipop marshmallow monsters. I got to about this point when I realized there was a big hole in the middle so then I decided to add an Oreo river. If you want to do this too, I suggest it being one of your first things. It takes up a lot of room so just snake it down the middle. It’s a fun take on the salami river my boards typically have.
Once you have a good portion of your board complete, it’s time to fill in the holes. Just take your smaller items, like the pretzels, and fill in where you can. I added a few plain fudge covered pretzels to the bottom of some of the piles for added height. Basically you just want to keep filling in until you can’t see the bottom of the board. And then you’re done!
Now it’s your turn! I would love to see your boards so if you post them, remember to use #cerriouslyimadeit so I can follow along.
For other board inspiration check out last years Festive AF Halloween Snack Board, the 15 Minute Meat and Cheese Board or Trader Joe’s Meat and Cheese Board.


tools
Board or Platter — I used this rectangle wood one but you can use anything you have on hand. I used this circle wood board last year and it worked great too.
Pumpkin Open Mouth Candy Dish — again, if you can make it to Target and check the dollar section I highly recommend it. Otherwise, there’s a few options online (like this Jack-O-Lantern) to choose from!
Black Cat Dish — this is technically a tealight holder, but it’s perfect for this board — just the right size!
Ghost Dish — again, also a tealight holder and so so cute.
ingredients